stalled. The fiber board rear cover is added
along with its ferrite rod antenna, wiring of
these devices is begun and the the circuit
board is installed and wired to the chassis
mounted components. The band switch is
added next with lots of connections to the
circuit board. Much of the final wiring is
then finished including a few shielded cables
and the power cord. instructions are given
for wiring the power cord for either 120 or
240 volts.
At final assembly the pulleys are added and
the main and bandspread tuning dials are
strung with their dial pointers. Each dial
cord comes pre-cut to length, a nice touch.
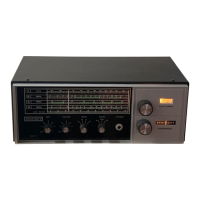
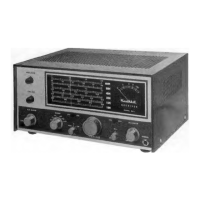
The front panel is attached along with the
knobs,-pilot lamps and S-meter. The bottom
panel is assembled with rubber feet but not
yet attached.
Final testing comes next with resistance and
voltage checks. If all checks out the bottom
plate is mounted and you may align the re-
ceiver with or without test instruments. Of
course test instruments (this kit requires a
simple signal generator and a VTVM, both
available from Heathkit or other places) will
give better results, though the non-test
equipment will produce good results - a feat
Heathkit has been famous for during its
reign.
Throughout the building of the kit are clues
that Heathkit was cutting corners to keep
the price of the kit down. Most notable is
that the S-meter and the speaker are mount-
ed by double back foam tape. For the speaker
it does provide acoustic isolation, however
the meter is taped to both the front panel
and the front sub-panel, making any later
 Loading...