Do you have a question about the Heatmiser neoAir and is the answer not in the manual?
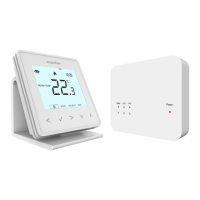
Instructions to access the battery holder and information on battery replacement indicators.
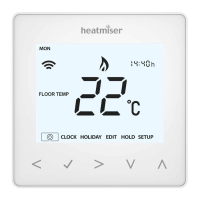
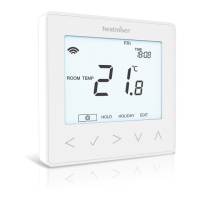
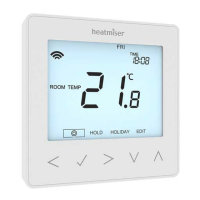
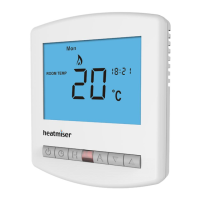
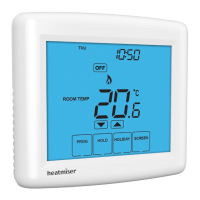
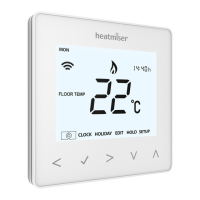
Displays the current sensor temperature.
Displays the time in 24-hour format.
Shown when thermostat is calling for heat.
Displayed when a temperature hold is active.
Connects the thermostat to the neoHub.
Adjusts the thermostat's switching differential for heating control.
Sets the minimum temperature to maintain in Frost Mode.
Selects the sensor (air, floor, or both) for temperature readings.
Internal sensor fault reported.
Remote AIR probe connection issue.
The remote AIR probe is malfunctioning.
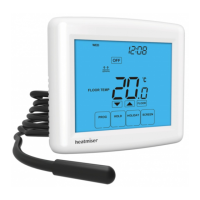
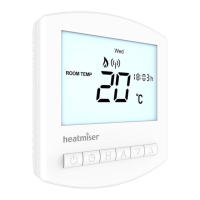
Displays the time in 24-hour format.
Displays the current state of the timed output.
Shown when the time clock is in holiday mode.
Displayed when a timed set period is active.
| Display | LCD |
|---|---|
| Temperature Range | 5°C to 35°C |
| Accuracy | ±0.5°C |
| Weight | 150g |
| Control | Touchscreen |
| Mounting | Wall Mounted |
| Dimensions | 86mm x 86mm |
| Type | Wireless Thermostat |