Do you have a question about the Heatmiser DS1 and is the answer not in the manual?
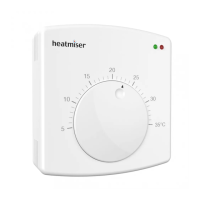
The Heatmiser DS1 dial type thermostat is suitable for conventional or combi-boiler systems.
Incorporates adjustable switching differential, LED heat/power indication, and 230v AC, 3A switching.
Turn off power to the heating system before proceeding with installation to avoid electric shock risk.
Details steps for separating the thermostat, marking holes, wiring, and reattaching the front plate.
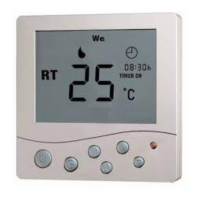
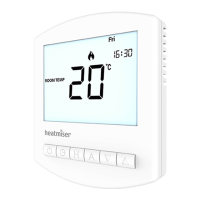
To change the set point, rotate the dial until it points at the desired temperature.
Explains how 1°C, 2°C, and 3°C differentials affect heating activation and deactivation points.
Details DIP switch settings for configuring the 1°C, 2°C, and 3°C switching differentials.
Illustrates wiring connections for a DS1 thermostat to a voltfree boiler system, including 230V supply.
| Power Supply | 230V AC |
|---|---|
| Display | LCD |
| Sensor Type | Internal |
| Accuracy | ±0.5°C |
| Type | Digital Thermostat |
| Switching Capacity | 3A (resistive) |