Page 6 )RUWHFKQLFDOTXHVWLRQVSOHDVHFDOO Item 57612
Symbology
V
Volts
Direct Current
A
Amperes
n
0
xxxx/min.
No Load Revolutions per Minute (RPM)
WARNING marking concerning Risk
of Eye Injury. Wear ANSI-approved
safety goggles with side shields.
Read the manual before set-up and/or use.
Keep hands clear of fence area.
DANGER marking concerning
Risk of Amputation.
Keep hands well clear of cutting area.
Warning Symbols and Definitions
7KLVLVWKHVDIHW\DOHUWV\PERO,WLVXVHGWR
DOHUW\RXWRSRWHQWLDOSHUVRQDOLQMXU\KD]DUGV
2EH\DOOVDIHW\PHVVDJHVWKDWIROORZWKLVV\PEROWR
DYRLGSRVVLEOHLQMXU\RUGHDWK
,QGLFDWHVDKD]DUGRXV
VLWXDWLRQZKLFKLIQRW
DYRLGHGZLOOUHVXOWLQGHDWKRUVHULRXVLQMXU\
,QGLFDWHVDKD]DUGRXV
VLWXDWLRQZKLFKLIQRW
DYRLGHGFRXOGUHVXOWLQGHDWKRUVHULRXVLQMXU\
,QGLFDWHVDKD]DUGRXV
VLWXDWLRQZKLFKLIQRW
DYRLGHGFRXOGUHVXOWLQPLQRURUPRGHUDWHLQMXU\
$GGUHVVHVSUDFWLFHVQRW
UHODWHGWRSHUVRQDOLQMXU\
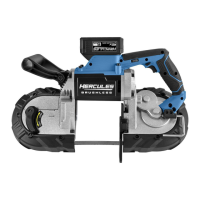
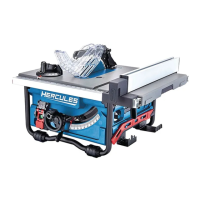
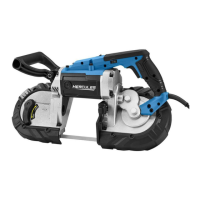
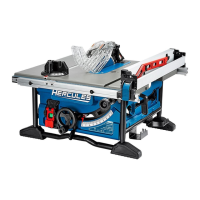
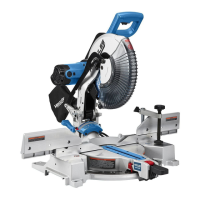
SPECIFICATIONS
Battery Type
20V Li-Ion 57373
57306 Hercules
(sold separately)
Charger Type
20V Li-Ion 56224
56559 56561 Hercules
(sold separately)
Spindle No Load Speed 5000 RPM
Max. Accessory Diameter 7-1/4"
Arbor 5/8" Round
Max. Depth of Cut 45°: 1-7/8" • 90°: 2-1/2"
SET UP - BEFORE USE
Read the (17,5( ,03257$176$)(7<
,1)250$7,21VHFWLRQDWWKHEHJLQQLQJ
RIWKLVPDQXDOLQFOXGLQJDOOWH[WXQGHU
VXEKHDGLQJVWKHUHLQEHIRUHVHWXSRUXVH
RIWKLVSURGXFW
Note: For additional information regarding the
parts listed in the following pages, refer to the
Assembly Diagram near the end of this manual.
Assembly
1. To attach the Dust Chute, align the mounting
hole on the Dust Chute with the threaded
hole on the Upper Blade Guard.
2. Insert mounting screw into hole and tighten securely.
Charging
Charge battery before using this tool. Follow
instructions included with battery charger. Battery
pack and charger sold separately.
Work Area
1. Designate a work area that is clean and well lit.
The work area must not allow access by children
or pets to prevent distraction and injury.
2. There must not be objects, such as utility lines,
nearby that will present a hazard while working.
Saw Blade Selection
1. Any saw blade that will be used must be
marked as suitable for the material to be cut.
2. Use only a saw blade diameter in accordance
with the markings on the saw. See
specification table for the bore diameter.
3. Use only saw blades that are marked with a speed
equal or higher than the speed marked on the tool.
Guard Setup
Check that the Lower Blade Guard is in place,
moves freely, and closes instantly.
Dust Extraction Setup
Connect a dust collection system (sold separately)
to the Dust Chute.

 Loading...