Page 6 )RUWHFKQLFDOTXHVWLRQVSOHDVHFDOO Item 56844
OPERATION
5HDGWKH(17,5(,03257$176$)(7<
,1)250$7,21VHFWLRQDWWKHEHJLQQLQJ
RIWKLVPDQXDOLQFOXGLQJDOOWH[WXQGHU
VXEKHDGLQJVWKHUHLQEHIRUHVHWXSRUXVHRI
WKLVSURGXFW
Tool Set Up
7235(9(176(5,286,1-85<)520
$&&,'(17$/23(5$7,21
0DNHVXUHWKDWWKH7ULJJHULVLQWKHRIISRVLWLRQDQG
XQSOXJWKHWRROIURPLWVHOHFWULFDORXWOHWEHIRUH
SHUIRUPLQJDQ\SURFHGXUHLQWKLVVHFWLRQ
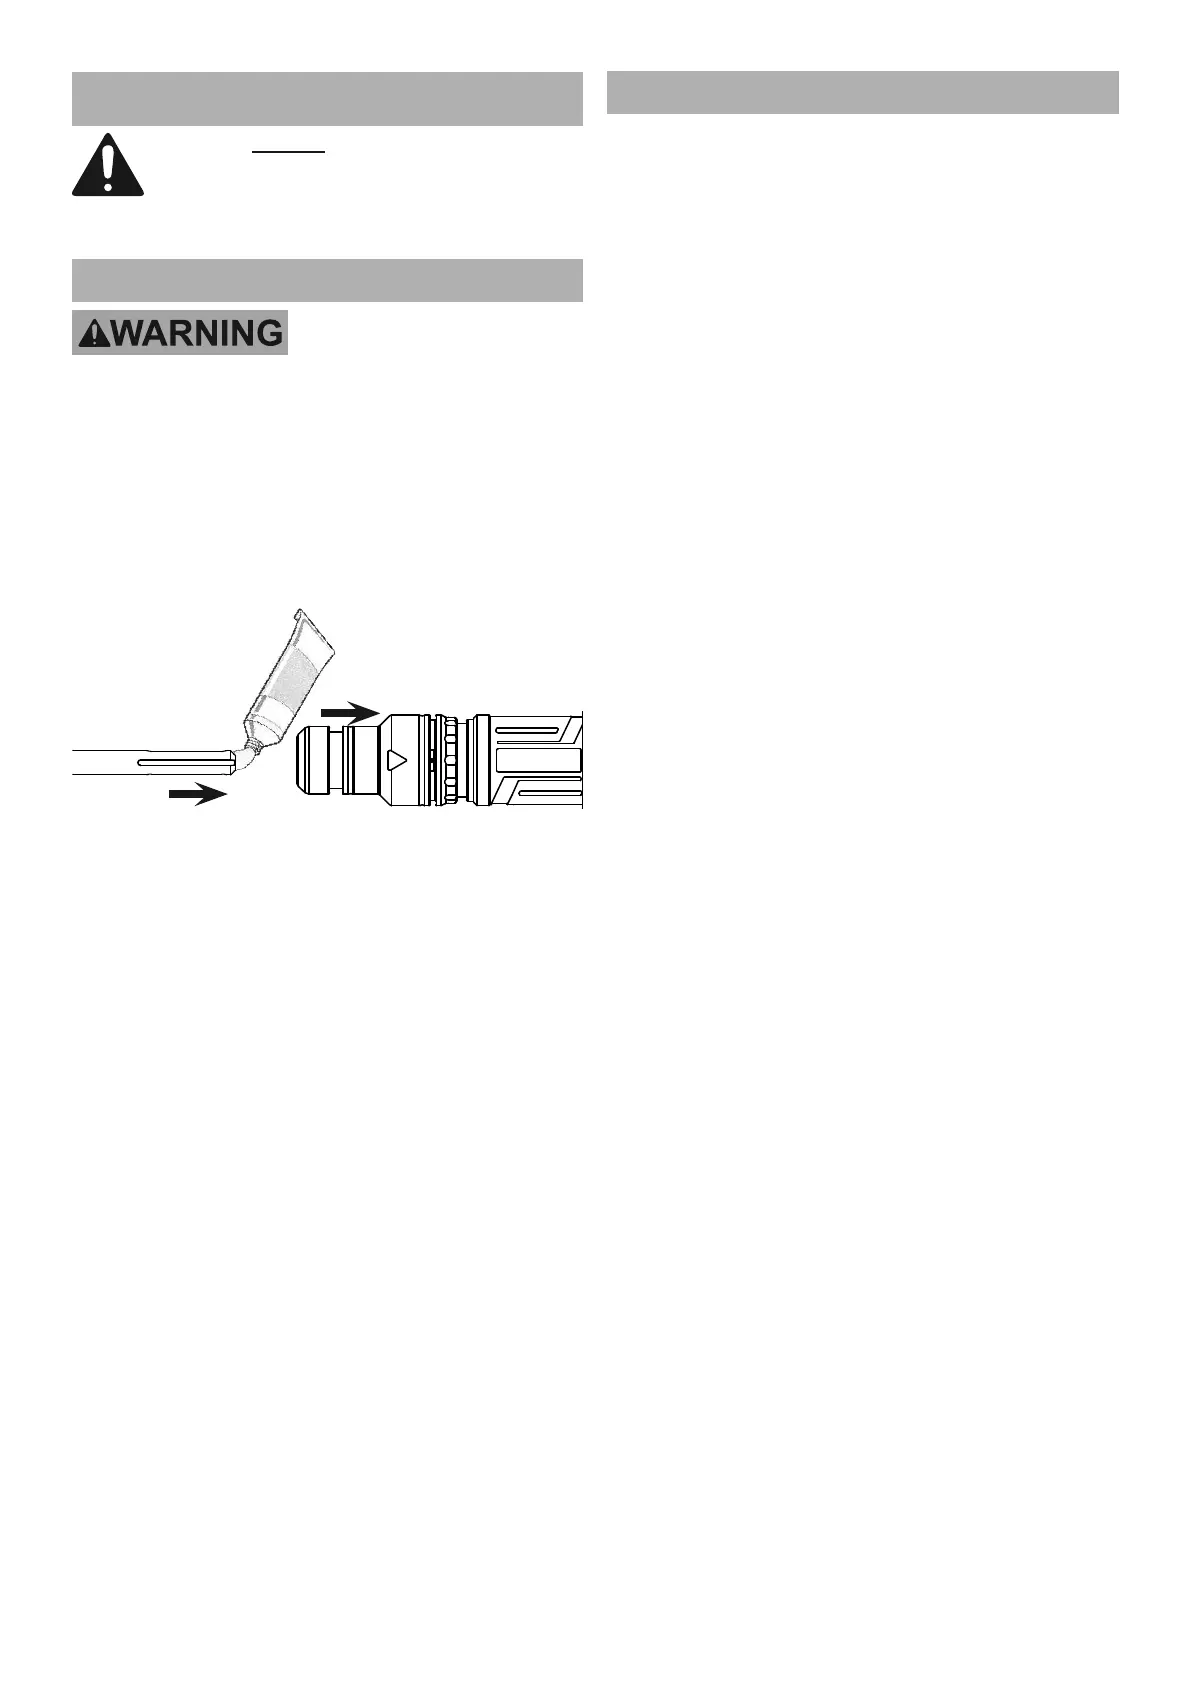
1. Clean the loading end of the Bit to remove any
debris, then lubricate the Bit with grease.
2. Pull the Chuck Ring back and hold it.
3. Insert the Bit while twisting it.
1
2
4. Release the Chuck Ring. If not, adjust the Bit
until the Chuck Ring slides back into place.
5. Physically check that the Bit is secure before
operating. The Bit will have some play, but
should not come out when pulled.
6. To adjust the Front Handle, twist it to loosen it,
rotate it as needed, and retighten it securely.
Workpiece and Work Area Set Up
1. Designate a work area that is clean and well-lit.
The work area must not allow access by children
or pets to prevent distraction and injury.
2. Route the power cord along a safe route to reach
the work area without creating a tripping hazard or
exposing the power cord to possible damage. The
power cord must reach the work area with enough
extra length to allow free movement while working.
3. Secure loose work pieces using a vise or clamps
(not included) to prevent movement while working.
4. There must not be objects, such as utility lines,
nearby that will present a hazard while working.
If working in the ground or on a concrete slab
on the earth, call local utility company to
ensure that area is clear of utility lines.
5. Protect power cord from crushing, abrasion,
and scraping by broken rock or concrete.
6. Keep power cord away from moving machines.