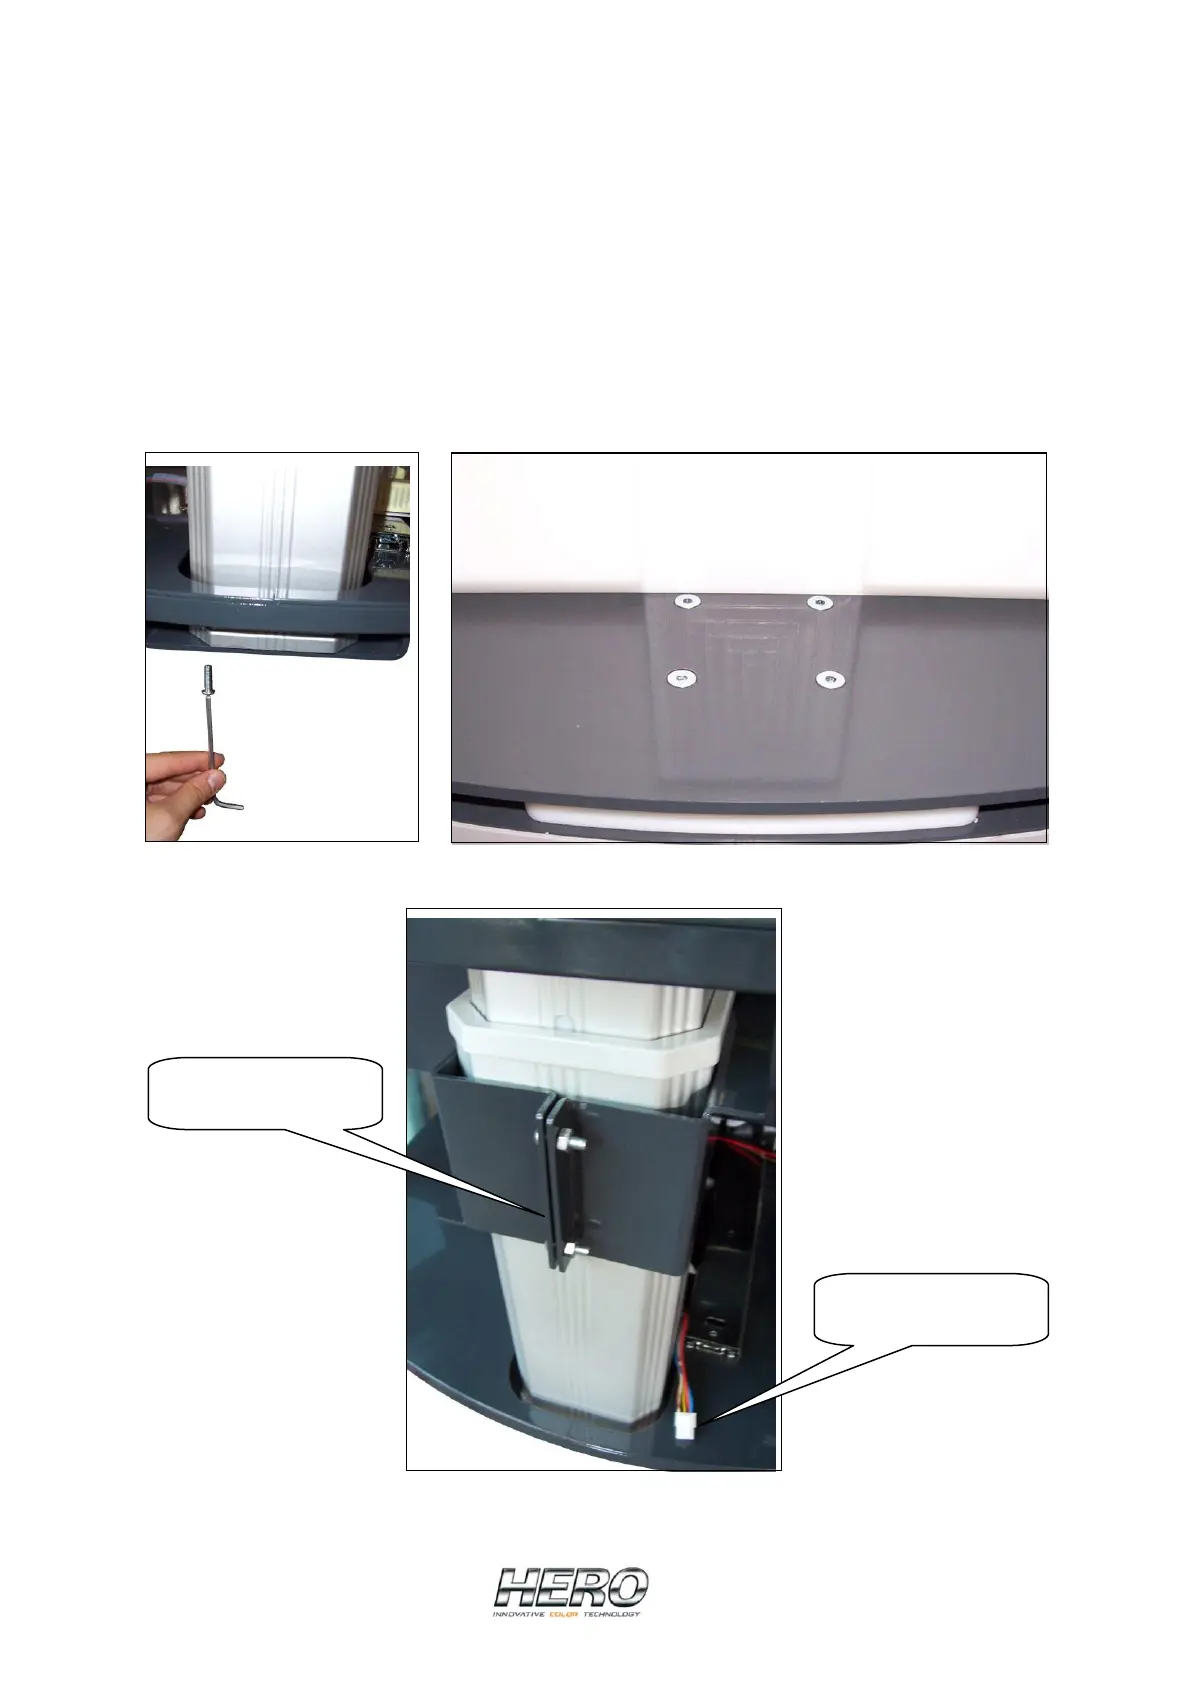
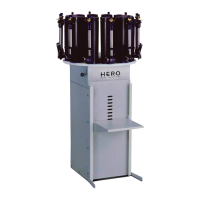
Place the new telescopic column in the dispenser as shown in pictures A, B and C.
Secure the new telescopic column with the four screws previously removed
(Picture D). The dispenser will need to be raised or tilted backwards to reach
these screws.
Attach the can shelf to the top of the telescopic column with the four screws
previously removed (Picture E).
Reassemble the mid-level support bracket that surrounds the telescopic actuator
with the screws previously removed (Picture F).
Plug in the power connector to the actuator motor (Picture F).
Close the front doors of the machine or replace the plastic horizontal panels.
Reconnect the dispenser to its AC power source.
Picture D Picture E
Mid-level support
bracket
Connector
to
Actuator motor
Picture
F