USER OPERATION AND INSTALLATION MANUAL | ES-CAN HL RECEIVER
8
4. Installation
4.1 Pre-Installation Precautions
1. Make sure the transmitter and receiver have identical ADMO numbers and channels.
2. Make sure the receiver is not set to the same channel as any other systems in use in the surrounding area.
3. Make sure that the controller or equipment is working properly prior to radio remote control installation.
4. Make sure the power source to the receiver is set correctly.
5. Switch off the main power source to the controller or equipment prior to installation.
4.2 Step-By-Step Installation
1. For the Radio Remote Control to operate smoothly, the receiver should be installed in such a position as to allow the maximum
reception of radio waves from the antenna. Thus, for best reception the location of the receiver should be such that it is visible to the
operator at all times.
2. The location selection should not be exposed to high levels of electric noise and should not be surrounded by metal or other conductive
materials. Mounting the receiver next to an unshielded variable frequency device may cause interference. The metallic parts of the
machine to be controlled that surround the receiver create a barrier that interferes with reception of the transmitter signal. Always locate
the receiver as far away from variable frequency drives as possible. Sometimes, however, in extreme cases and if the space is inadequate,
installation needs to be carried out inside the electrical boards or in areas of the machine that are not ideal for good radio reception. Should
this kind of installation be necessary, then the equipment must be provided with an additional antenna using an extension to be placed on
the outside. Your dealer will be able to provide further detailed information regarding the most appropriate items specific to the application.
3. Ensure the selected location has adequate space to accommodate the receiver. Always locate the receiver so as to avoid the possibility
of damaging the antenna. In most cases, the receiver can be housed on any side of the machine or, if necessary, for installations on
vehicles even inside the glass cabin. It is also necessary to place the receiver where it is accessible and safe to work both for those who
carry out the installation of the electrical connections and for those who will carry out future maintenance.
4. Depending on the application, the receiver should possibly be installed in such a manner that any connectors or cable plug holes face
downwards. Consult with a Hetronic expert for best antenna mounting orientation on your application,
5. Should such an installation be performed on board mobile machinery or on a vehicle, then you should attach four rubber bumpers that
can be ordered directly from your Hetronic dealer, unless already supplied as standard fittings on the radio control type in use. These
rubber bumpers will dampen the strong vibrations coming from the machine from reaching the receiver.
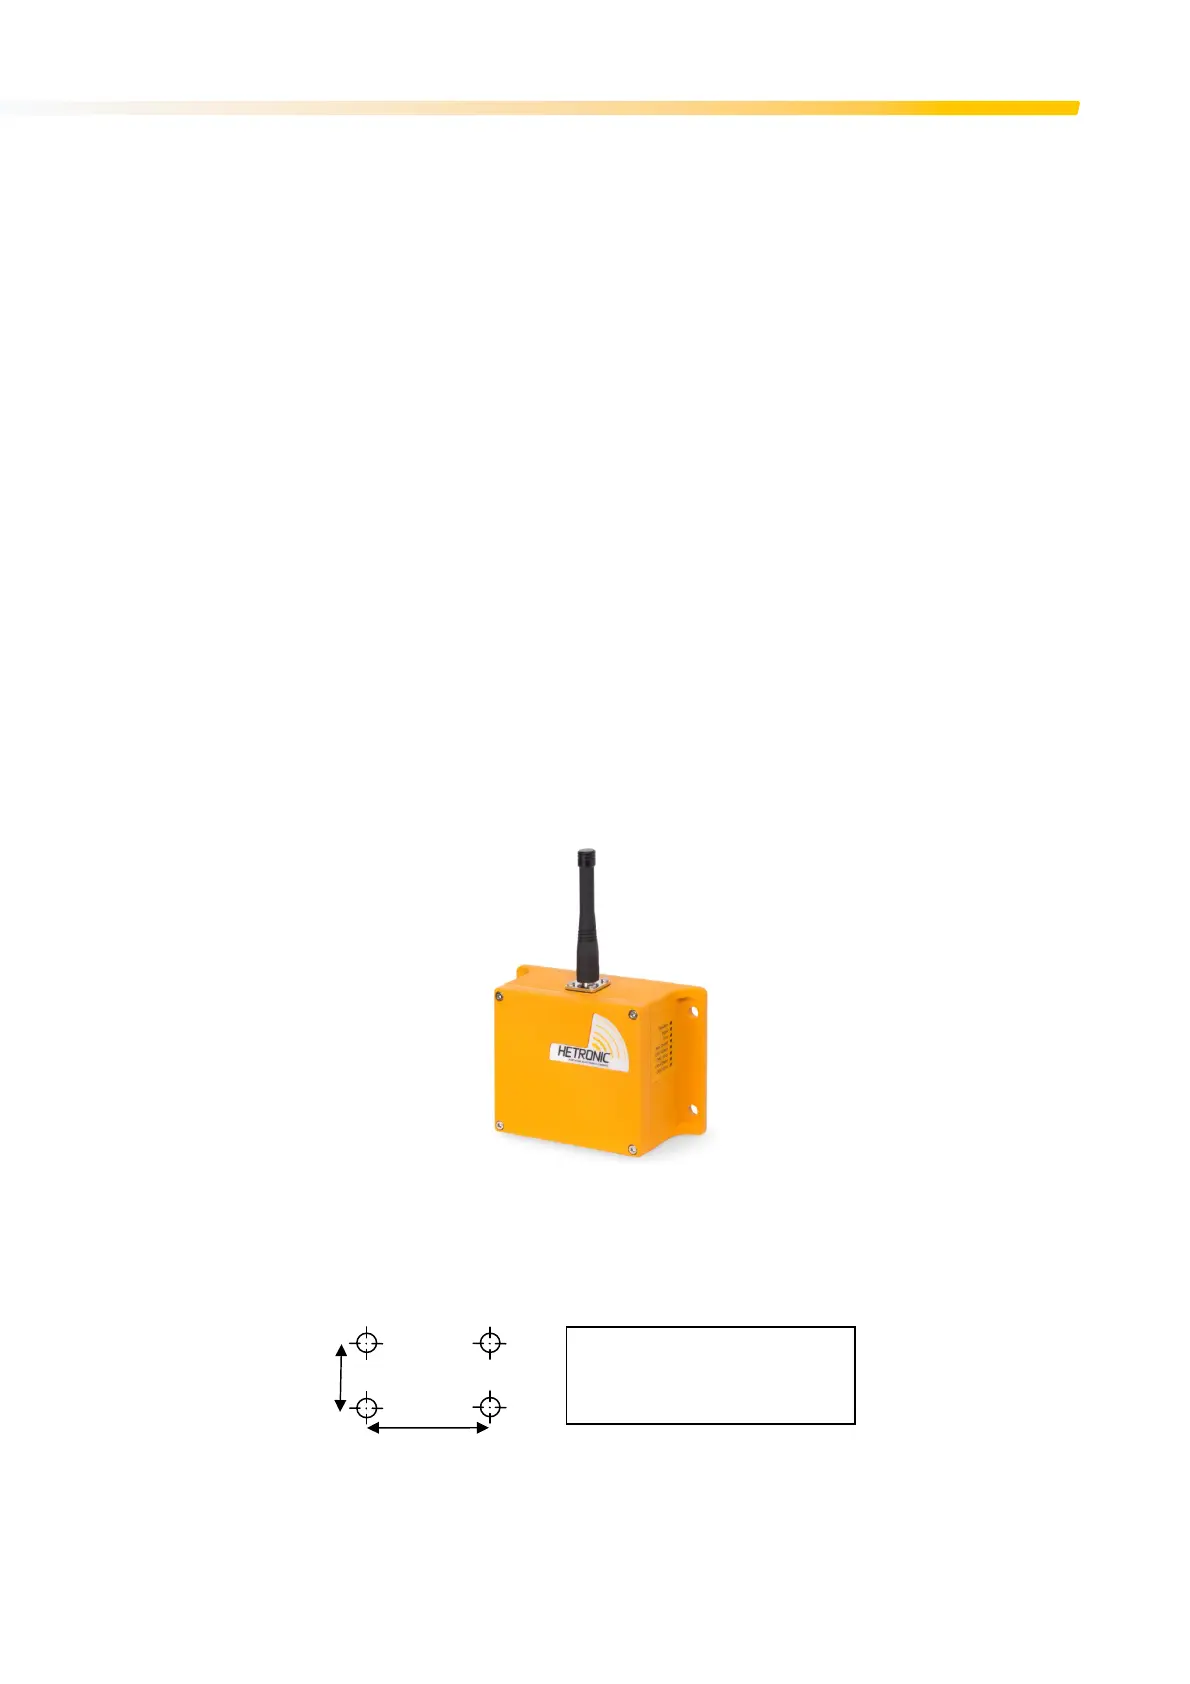
6. Determine the position where the enclosure is to be mounted and drill the holes as per diagram below.
Figure 4. Drill pattern for standard ES-CAN HL Receiver
146mm
76mm
Drill 4 holes Ø9mm.
Use 8mm bolts.



 To Next Page