2
Power Pet, Regular Height, Patio Door Assembly Steps
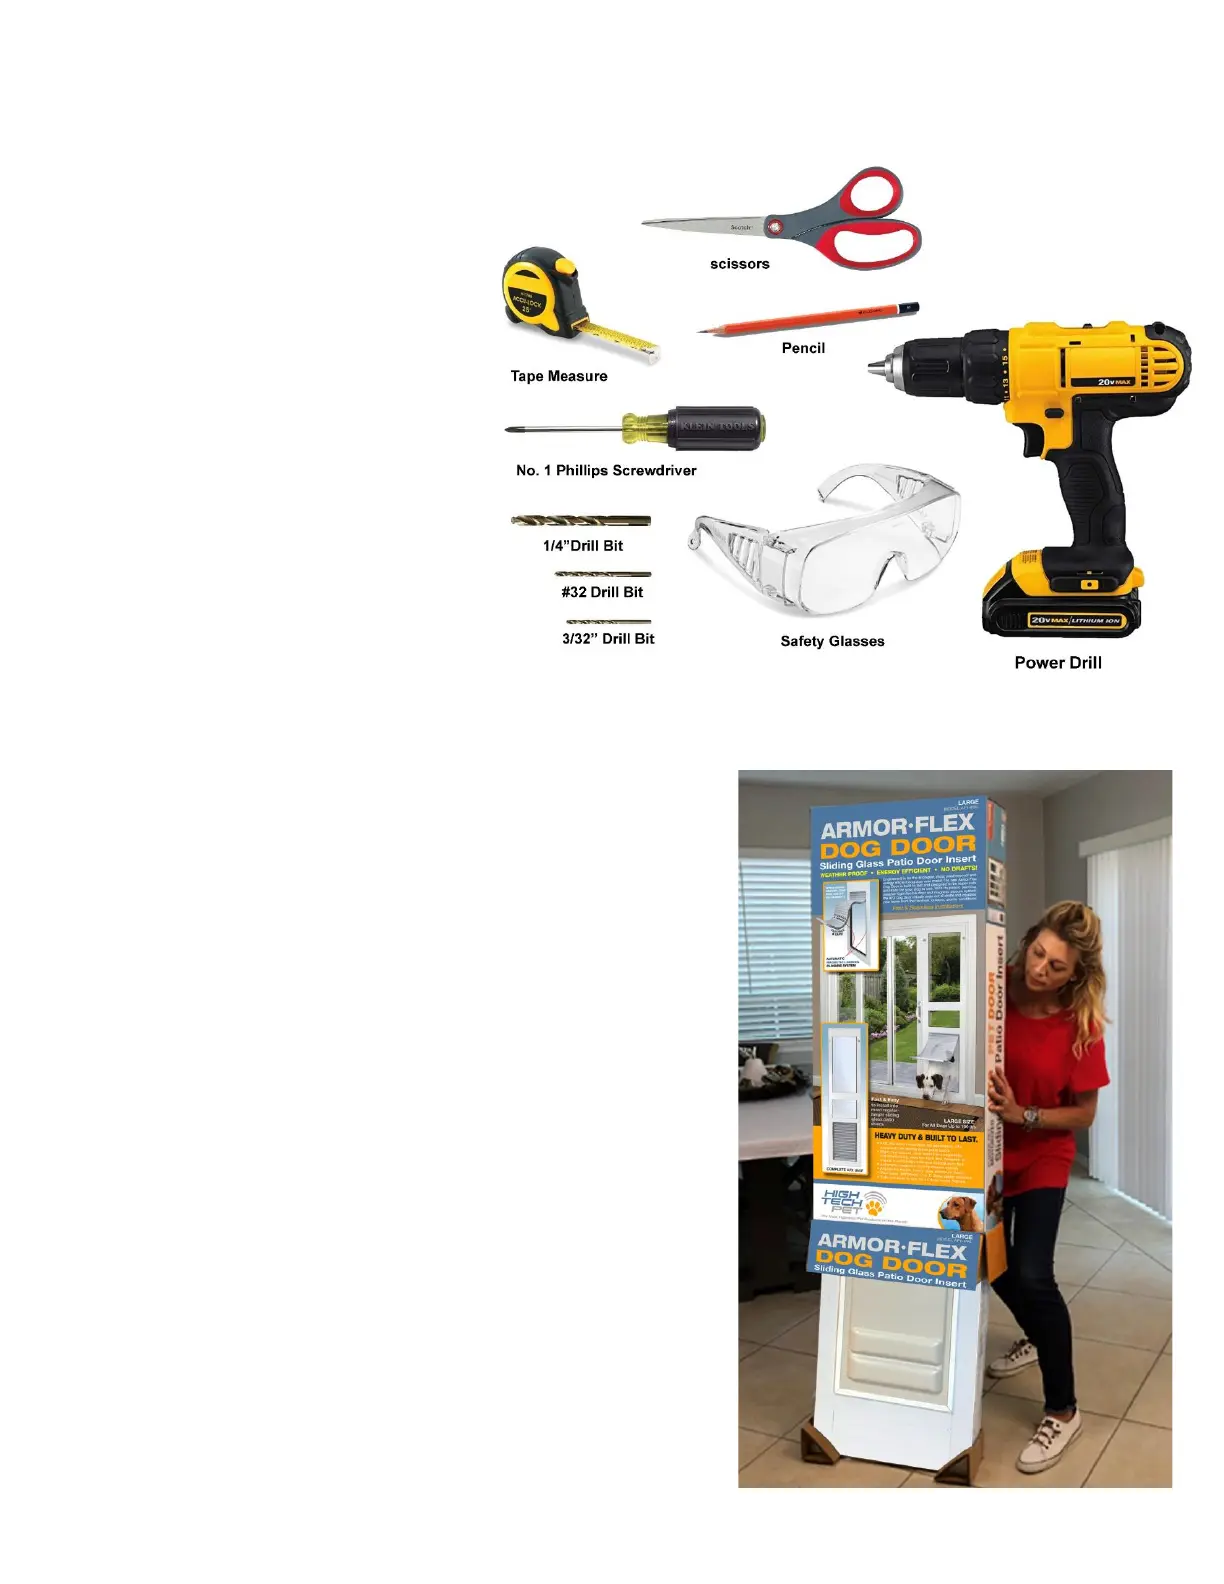
1. Size #1 Phillips screwdriver
2. Electric drill
3. #32 (.117”) drill bit
4. 3/32” drill bit
5. 1/4 drill bit
6. Scissors
7. Tape Measure
8. Pencil
9. Safety Glasses
STEP 2. Unpack your door
Remove all parts from box. Plastic corner protectors may be discarded.
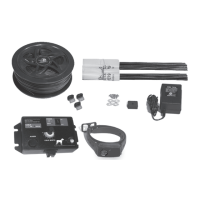
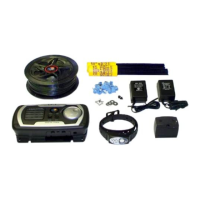
STEP 3: Lay Out All Included Parts
Your door contains all of the parts shown in Figures 3A and 3B and
listed below.
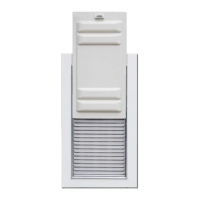
1. Bottom Panel Assembly with PX-2 Power Pet Door
2. Top Panel Assembly
3. Security Panel
4. Weather Stripping
5. Draft Stopper Seal
6. Section Connectors (2)
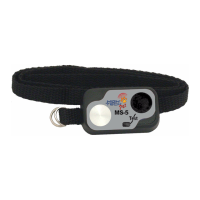
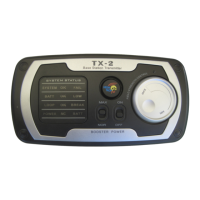
7. Door Lock Housing (1)
8. Lock Handle (1)
9. Lock Hasp
10. House Lock Tab (2)
11. Vacation Lock (1)
12. Rectangular Hole Plug (1)
13. Round Hold Plug (2)
14. 1/16 Allen wrench
15. 1/8 Allen wrench
16. 1/4-20 X 1/2 flat head machine screw (8)
17. #8 X 5/8 round head sheet metal screw (4)
18. #6 X 1/2 round head sheet metal screw (6)
19. #4 X 3/8 flat head sheet metal screw (4)