Do you have a question about the High Tech Pet Armor Flex and is the answer not in the manual?
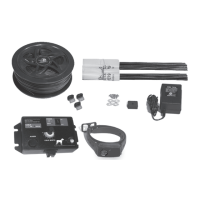
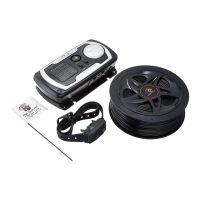
Lists required tools for assembly, unpacks the door, and identifies all included components.
Connects the top and bottom panel assemblies and installs the initial lock mechanism components.
Guides users on measuring the sliding glass door track height and removing the riser extension if needed.
Joins panel assemblies, loosens top slider screws, and guides the insertion of the door into the track.
Installs a house lock tab onto the top panel assembly for securing the pet door.
Details marking height, drilling holes, and screwing the house lock tab to the door track.
Guides the user to slide the pet door and engage the house lock tabs with the door track.
Installs the lock housing, knob, and hasp, and transfers the hasp to the sliding door.
Secures the hasp to the door, drills holes, and applies weather stripping to the door panel.
Installs the vacation lock by drilling holes and screwing it to the sliding glass door.
Applies the draft stopper seal and provides final congratulatory remarks and support info.
The provided manual details the installation of the Armor Flex™ Low-E Patio Pet Door, a product designed to integrate a pet door into a sliding glass patio door system. This device offers a convenient and energy-efficient solution for pet access while maintaining the security and weatherproofing of a home.
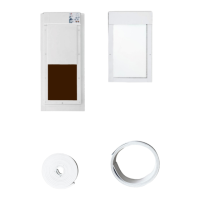
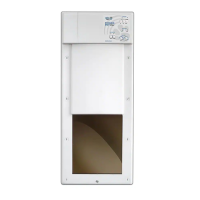
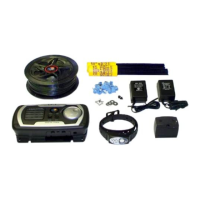
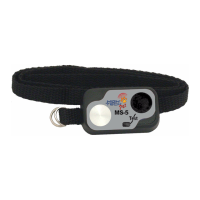
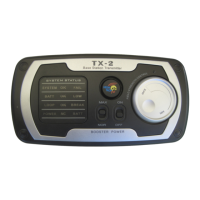
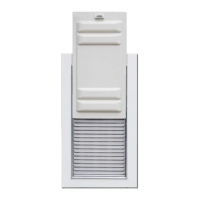
The Armor Flex™ Patio Pet Door is an insert that fits into the track of an existing sliding glass patio door, allowing pets to enter and exit freely without requiring the main patio door to be opened. It features a built-in pet door, which is likely an automatic or electronic pet door given the "Power Pet" branding and the presence of a "PX-2 Power Pet Door" in the parts list. This suggests advanced features such as automatic opening and closing, potentially controlled by a pet's collar tag or other sensor, to prevent unwanted animals from entering and to maintain energy efficiency. The "Low-E" designation indicates that the glass used in the patio door insert is a low-emissivity type, designed to reduce heat transfer and improve insulation, making the product more energy-efficient. The "Armor Flex" name implies durability and possibly a flexible flap design for the pet door itself. The system includes various locking mechanisms—a universal lock assembly, house lock tabs, and a vacation lock—to ensure the security of the home. Weatherstripping and a draft stopper seal are also included to maintain the thermal integrity of the installation.
The manual primarily focuses on installation and does not explicitly detail ongoing maintenance. However, based on the components, general maintenance would likely include:
The Armor Flex™ Low-E Patio Pet Door is a comprehensive solution for pet owners seeking to integrate a pet door into their sliding glass patio door while prioritizing energy efficiency and home security. Its modular design, adjustable height, and multiple locking options make it adaptable to various home configurations and security needs.
| Brand | High Tech Pet |
|---|---|
| Model | Armor Flex |
| Category | Pet Care Product |
| Language | English |