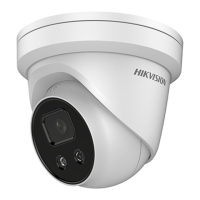
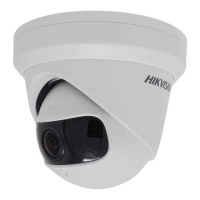
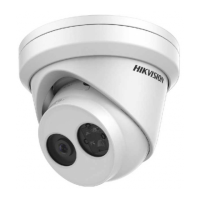
Network Turret Camera·Quick Start Guide
Steps:
Mark the screw holes on desired mounting place. 1.
Dimension of Demonstrated Wall Mounting Bracket Figure 2-30
Drill four screw holes with a Φ10 mm drill. 2.
Route the cables and fix the bracket with four M6 expansion 3.
bolts.
Disassemble the camera. 4.
Refer to step 1 in ceiling mounting of each camera type.
Fix the mounting base to the cap of wall mount with 3 supplied 5.
self-tapping screws.
 Loading...
