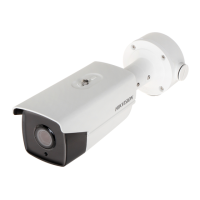
Figure 2-31 Combine the Junction Box Cover and Body
8. Fix the base onto the junction box cover with three
M4 × 10 screws.
Figure 2-32 Fix the Base
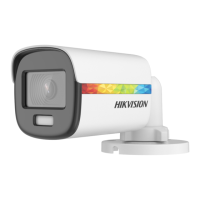
9. Connect the power cord and video cable and put
the cables back into the junction box.
10. Repeat the step 6, 8, and 9 of 2.4.1 Ceiling Mounting
Without Junction Box to finish the installation.
Figure 2-33 Finish the Installation
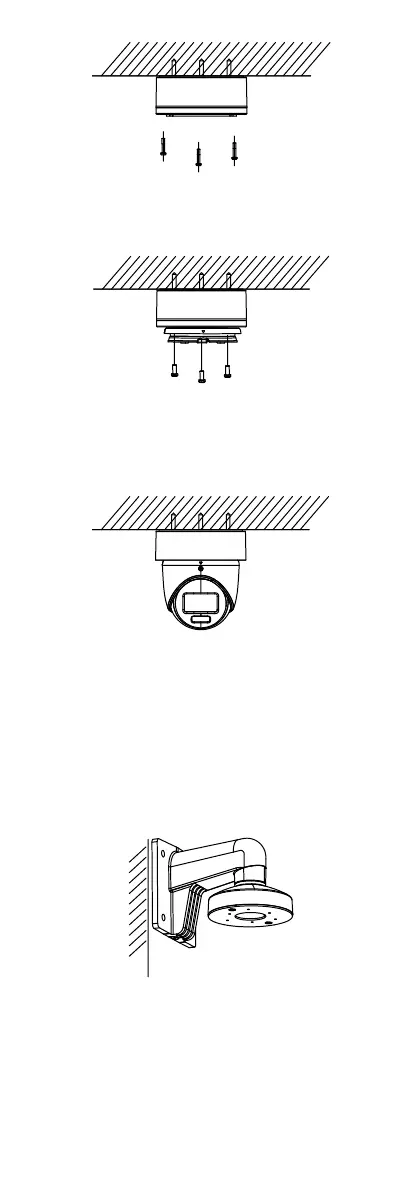
2.4.3 Wall Mounting
Before you start:
You need to purchase a wall mount in advance.
Steps:
1. Drill Φ 10 mm screw holes in the wall where you
want to install the wall mount.
2. Use four M6 expansion bolts to fix the wall mount
onto the wall.
Figure 2-34 Fix the Wall Mount
3. Loosen the set screw.
4. Rotate the camera to align the triangle mark with
the screw hole, and disassemble the camera.
 Loading...