Figure 2-48 Combine Junction Box Cover with Body
11. Refer to step 7 of 2.4.1 Ceiling Mounting Without
Junction Box to adjust the angle.
2.5.3 Wall Mounting
Before you start:
You need to purchase a wall mount in advance.
Steps:
1. Drill Φ 10 mm screw holes in the wall where you
want to install the wall mount.
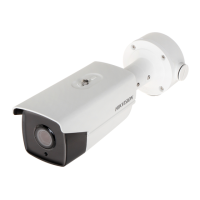
2. Use four M6 expansion bolts to fix the wall mount
onto the wall.
Figure 2-49 Fix the Wall Mount
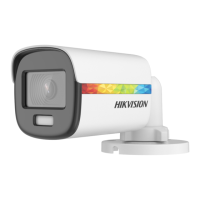
3. Use three PM4 × 10 screws to fix the gang box onto
the wall mount.
Figure 2-50 Fix the Gang Box
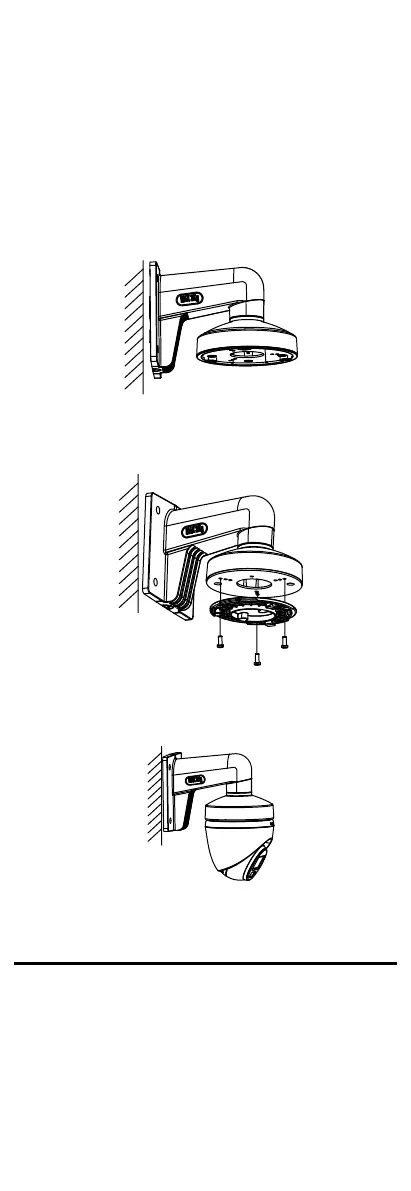
4. Repeat the step 4 to 7 of 2.4.1 Ceiling Mounting
Without Junction Box to finish the installation.
Figure 2-51 Finish the Installation
3 Menu Description
Please follow the steps below to call the menu.
Note:
The actual display may vary with your camera model.
Steps:
1. Connect the camera with the TVI DVR and the
monitor, as shown in figure 3-1.
 Loading...