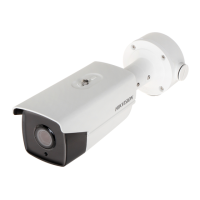
Figure 2-35 Dissemble the Camera
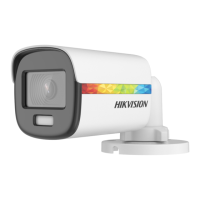
5. Use M4 × 10 screws to fix the base onto the wall
mount.
Figure 2-36 Fix the Wall Mount
6. Repeat steps 6 to 9 of 2.4.1 Ceiling Mounting
Without Junction Box to finish the installation.
Figure 2-37 Finish the Installation
2.5 Installation of Type V Camera
2.5.1 Ceiling Mounting without Junction Box
Steps:
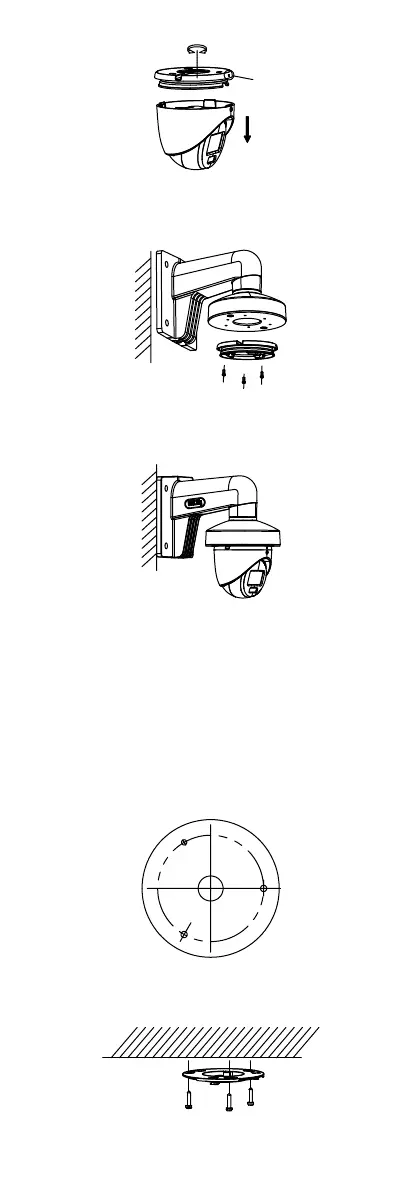
1. Paste the drill template (supplied) to the place
where you want to install the camera.
2. (Optional) For cement ceiling, drill the screw holes
with a 5.5 mm drill and insert the supplied wall
plugs.
Figure 2-38 Drill Template
3. Attach the gang box to the ceiling and secure it with
three PA4 × 25 screws (supplied).
Figure 2-39 Attach the Gang Box to the Ceiling
4. Fit the camera onto the gang box.
 Loading...