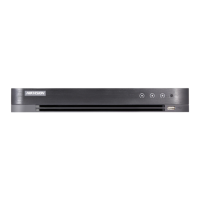
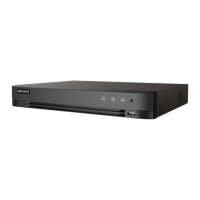
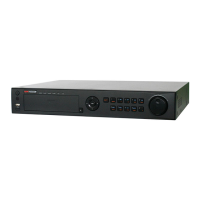
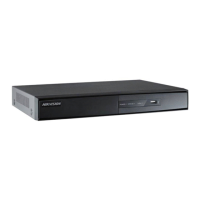
Digital Video Recorder Quick Start Guide
5
Chapter 1 Rear Panel Interfaces Description
The rear panel interfaces vary according to different models. Refer to Table 1-1 for the common interfaces description.
Common Interfaces Description of Rear Panel
Chapter 2 Installation and Connections
DVR Installation
During installation of the DVR:
Use brackets for rack mounting.
Ensure ample room for audio and video cables.
When routing cables, ensure the bend radius of the cables are no less than five times of its diameter.
Allow at least 2 cm (≈0.75 inch) of space among racks mounted devices.
Ensure the DVR is grounded.
Environmental temperature should be within the range of -10 °C to 55 °C (14 °F to 131 °F).
Environmental humidity should be within the range of 10% to 90%.
HDD Installation
Before you start
Ensure power is disconnected.
Prepare a factory recommended HDD, and cross screwdriver.
Bracket Installation
Bracket installation is applicable when it requires to remove the device cover, and install HDD on the internal bracket.
Unfasten screws on the back, and push the cover backwards to remove the cover. Refer to Figure 2-1.
Fix the HDD on the bracket with screws. Refer to Figure 2-2.
Please uninstall the upper layer bracket first before installing HDD on the lower layer bracket.
Connect the data cable and power cable. Refer to Figure 2-3.
You can repeat the steps above to install other HDDs.
Reinstall the device cover and fasten screws.

 Loading...


