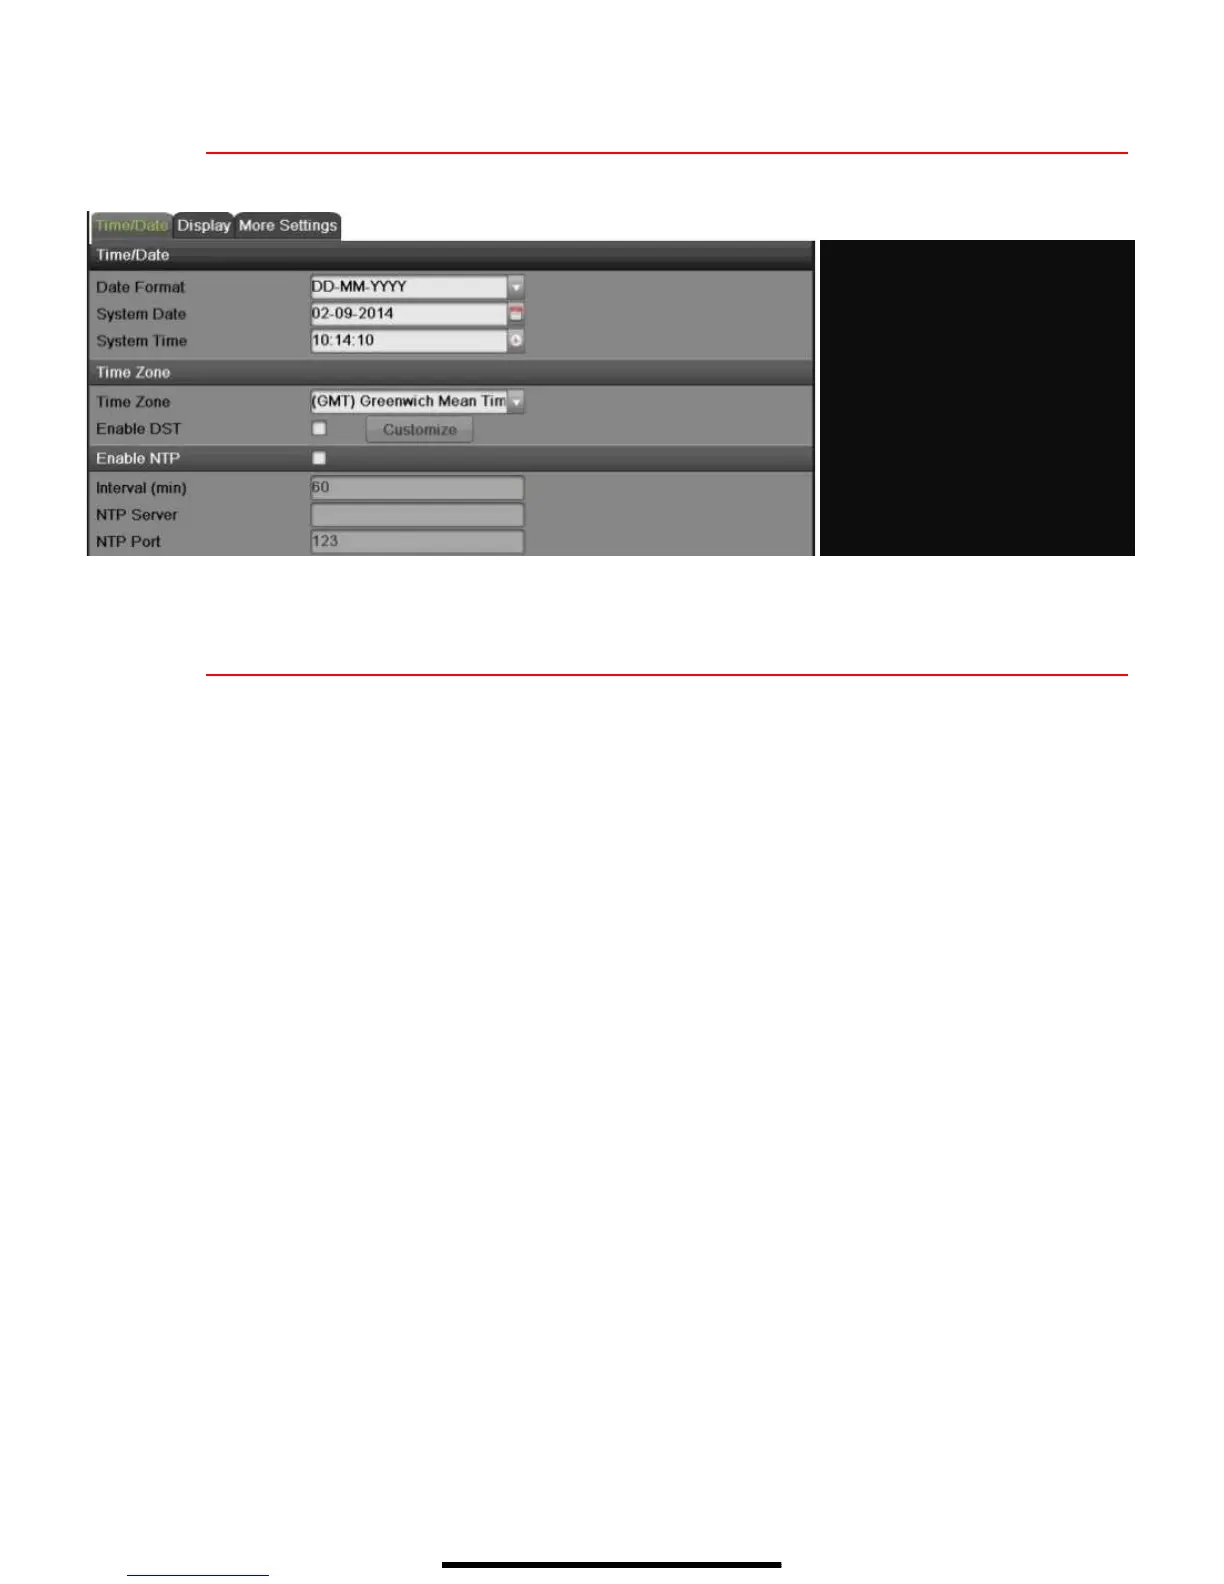
5 S E T D A T E A N D T I M E
1. Go to MENU > SYSTEM CONFIGURATION > GENERAL.
6 S E T U P N E T W O R K A C C E S S
1. Go to MENU > SYSTEM CONFIGURATION > NETWORK > GENERAL.
2. Use pull-down Working Mode menu to select “Multi-address.”
3. Use the pull-down Select NIC menu to select the network interface card you want to configure as the
camera LAN (“LAN 1” or “LAN 2”).
4. Use the pull-down Default Route menu to select the NIC that is to connect to the cameras’ LAN.
5. Uncheck the Enable DHCP checkbox.
6. Set the IPv4 network IP address, subnet mask, and default gateway to match the IP subnet of the
cameras.
7. Use the pull-down Select NIC menu to select the network interface card you want to configure for the
external computer LAN.
8. Set the IPv4 network IP address, subnet mask, and default gateway to match the IP subnet of the
external computer LAN.
9. Change the “Preferred DNS Server” value to 8.8.8.8 (leave Alternate DNS Server blank).
 Loading...