EasyManuals Logo

HIKVISION DS-KIS603-P User Manual

HIKVISION DS-KIS603-P
60 pages
To Next Page IconTo Next Page
To Previous Page IconTo Previous Page
Page #38 background imageLoading...
Page #38 background image
Video Intercom Villa Door Station User Manual
28
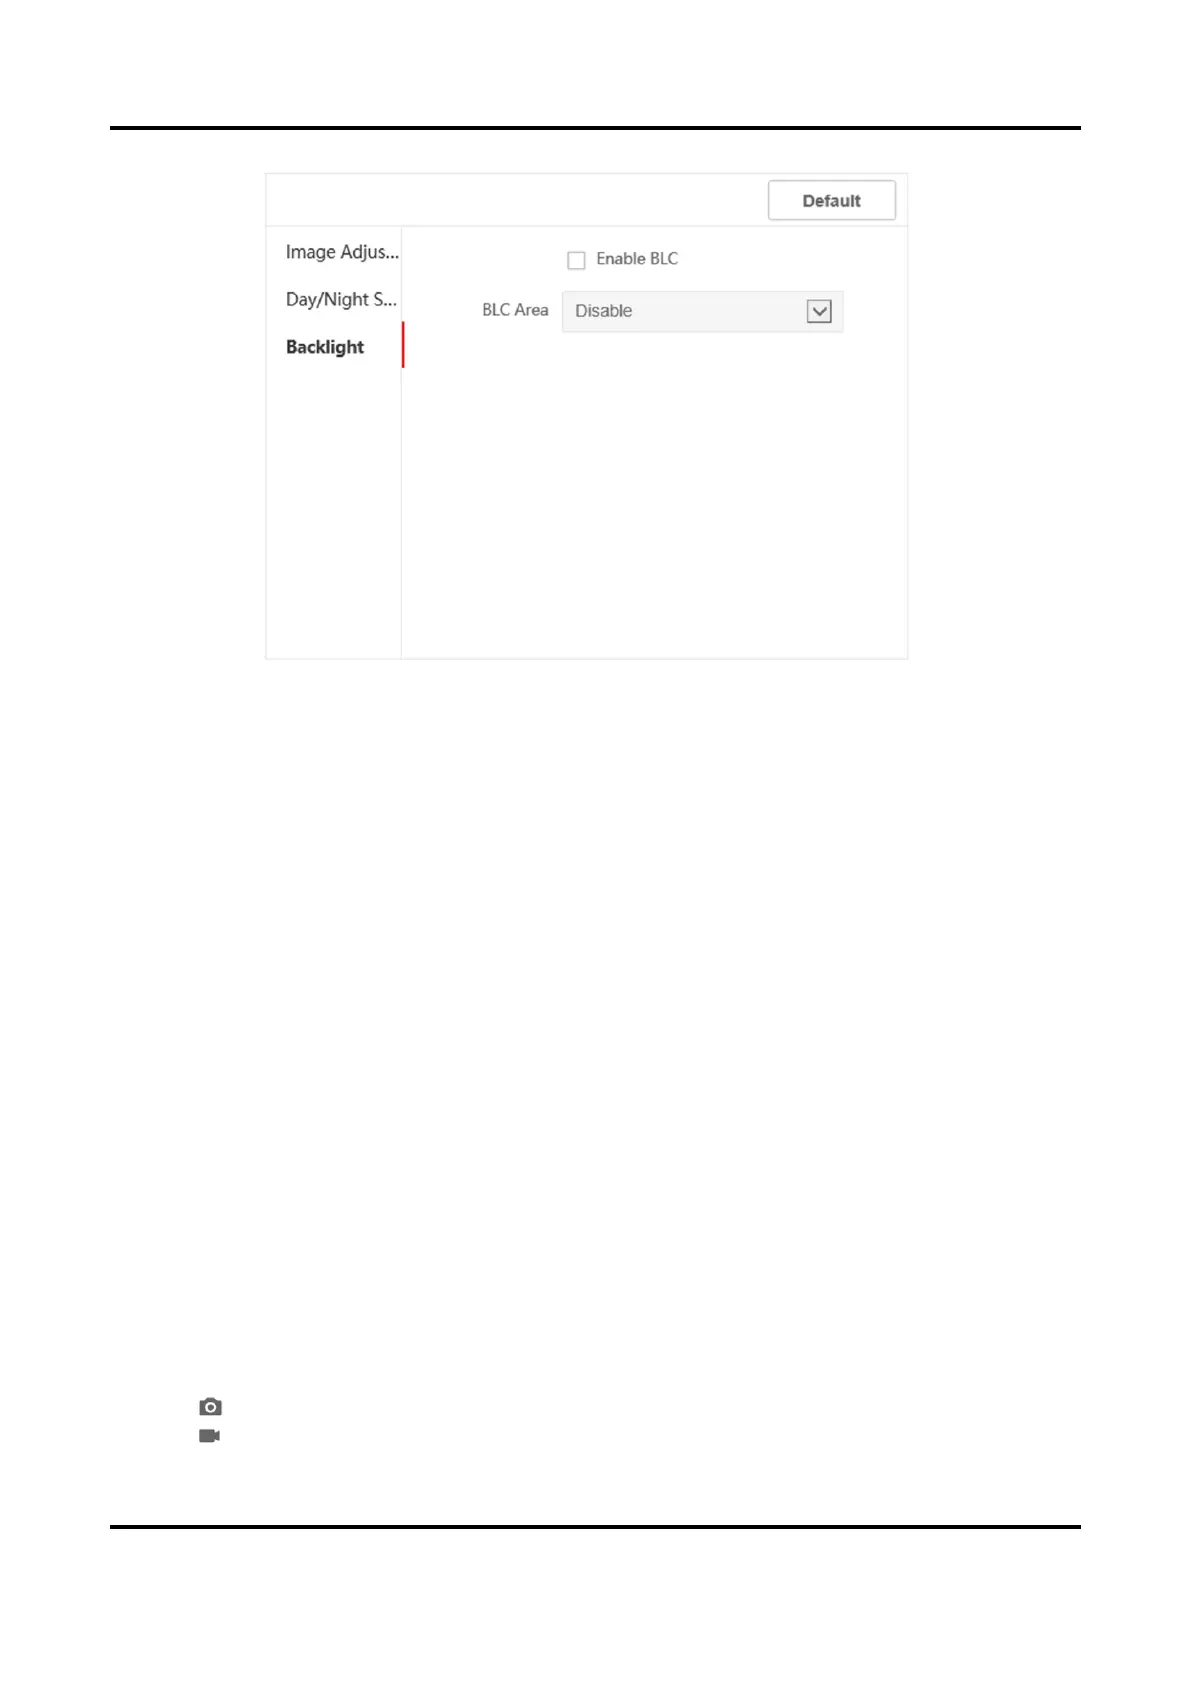
Figure 5-12 Backlight
1) Check the checkbox to enable BLC.
2) Select BLC Area.
6. Click Save to enable the settings.
OSD Settings
You can customize the camera name, time/date format, display mode, and OSD size displayed on
the live view.
Steps
1. Click Image OSD Settings to enter the settings page.
2. Check the corresponding checkbox to select the display of camera name, date or week if
required.
3. Edit the Camera Name.
4. Select from the drop-down list to set the Time Format and Date Format.
5. Adjust the OSD position.
6. Click Save to enable the settings.
Target Cropping
Steps
1. Click Image.
2. Enable target cropping.
3. Click " " to crop photo.
4. Click " " to crop video.

Other manuals for HIKVISION DS-KIS603-P

Questions and Answers:

Question and Answer IconNeed help?

Do you have a question about the HIKVISION DS-KIS603-P and is the answer not in the manual?

HIKVISION DS-KIS603-P Specifications

General IconGeneral
ModelDS-KIS603-P
CategoryIntercom System
Resolution1024 x 600
Camera2 MP HD Camera
Audio InputBuilt-in Omnidirectional Microphone
Audio OutputBuilt-in Loudspeaker
Operating Temperature-10°C to 55°C (14°F to 131°F)
Supported ProtocolsTCP/IP, SIP, RTSP
Display7-inch TFT LCD
Network ProtocolTCP/IP
Power Supply12 VDC
InstallationSurface Mount
IR SupplementIR Supplement
Protection LevelIP65
Power Consumption<10 W
Humidity10% - 90% (non-condensing)
Communication InterfaceEthernet

Related product manuals