4
2 Installation
The package contains the mount. Table mounting and
wall mounting share the same mount.
The installation methods are not compulsory. You can just
put the camera on the table, if this way meets your
needs.
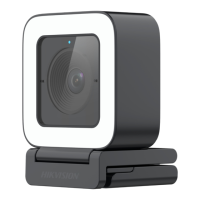
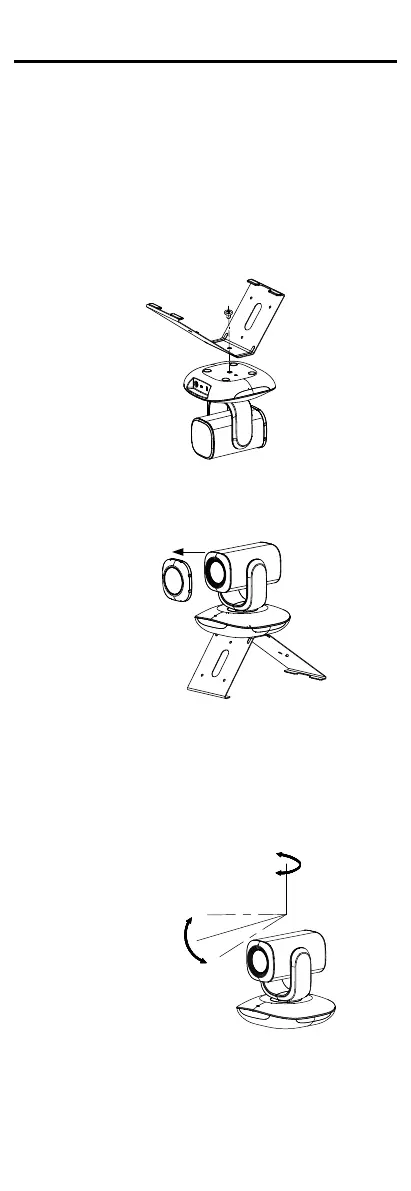
2.1 Table Mounting
Steps:
1. Align the screw hole in camera with that on the
mount.
2. Use the supplied screw to secure the camera on the
mount.
Figure 2-1 Fix the Camera on the Mount
3. Take the lens cover out of the camera to finish the
installation
Figure 2-2 Put the Lens Back
4. Power on the camera and connect the camera with
the computer.
5. Check whether the image on the screen is gotten from
the optimum angle. If not, adjust the view angle by
remote control shown as the figure below.
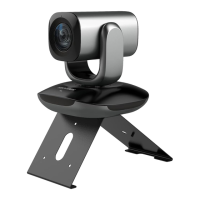
Rotation Range:
-170° to 160°
Tilt Range:
-28° to 28°
Figure 2-3 Angle Adjustment
1) Press right/left direction button on the remote
control to adjust the pan range from -170° to 160°.
2) Press up/down direction button on the remote
control to adjust the tilt range from -28° to 28°.