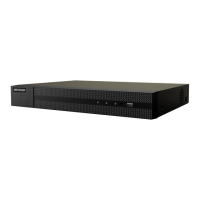
3. Take apart the junction box, and align the screw
holes of the camera with those on the Junction
box’s cover.
4. Attach the camera on the junction box’s cover with
supplied screws.
Figure 2-3 Attach the Camera on the Junction Box’s
Cover
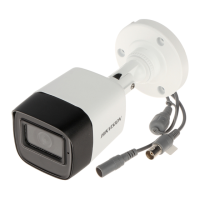
5. Secure the junction box’s body on the ceiling/wall
with supplied screws.
Figure 2-4 Secure the Junction Box on the Wall/Ceiling
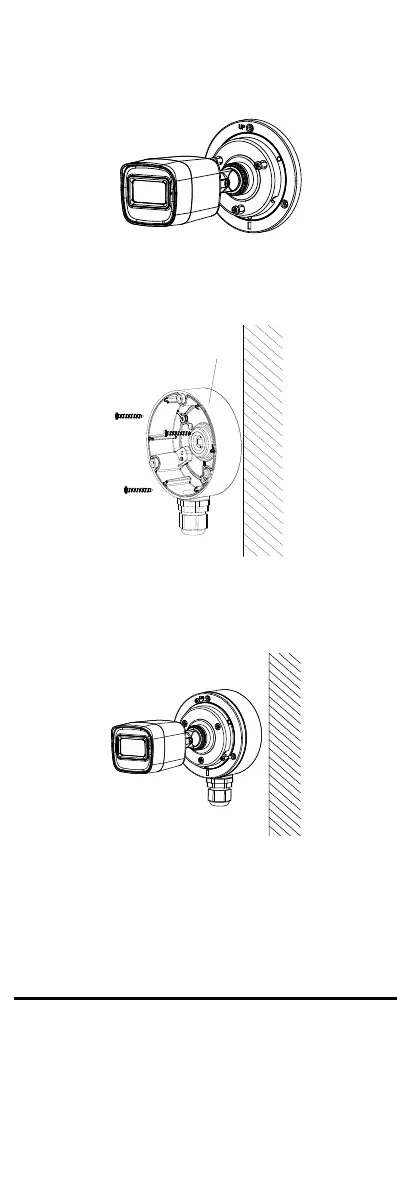
6. Route the cables through the bottom cable hole, or
the side cable hole of the junction box.
7. Combine the junction box cover with its body.
Figure 2-5 Combine the Junction Box Cover back to its
Body
8. Repeat the step 4 to 6 of 2.1.1 Ceiling/Wall
Mounting without Junction Box to finish the
installation.
3 Menu Description
Please follow the steps below to call the menu.
Note:
The actual display may vary with your camera model.
Steps:
1. Connect the camera with the TVI DVR, and the
monitor, shown as the figure 3-1.
 Loading...