Network Video Recorder Quick Start Guide
26
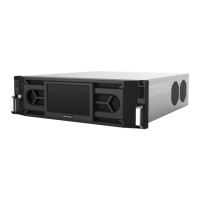
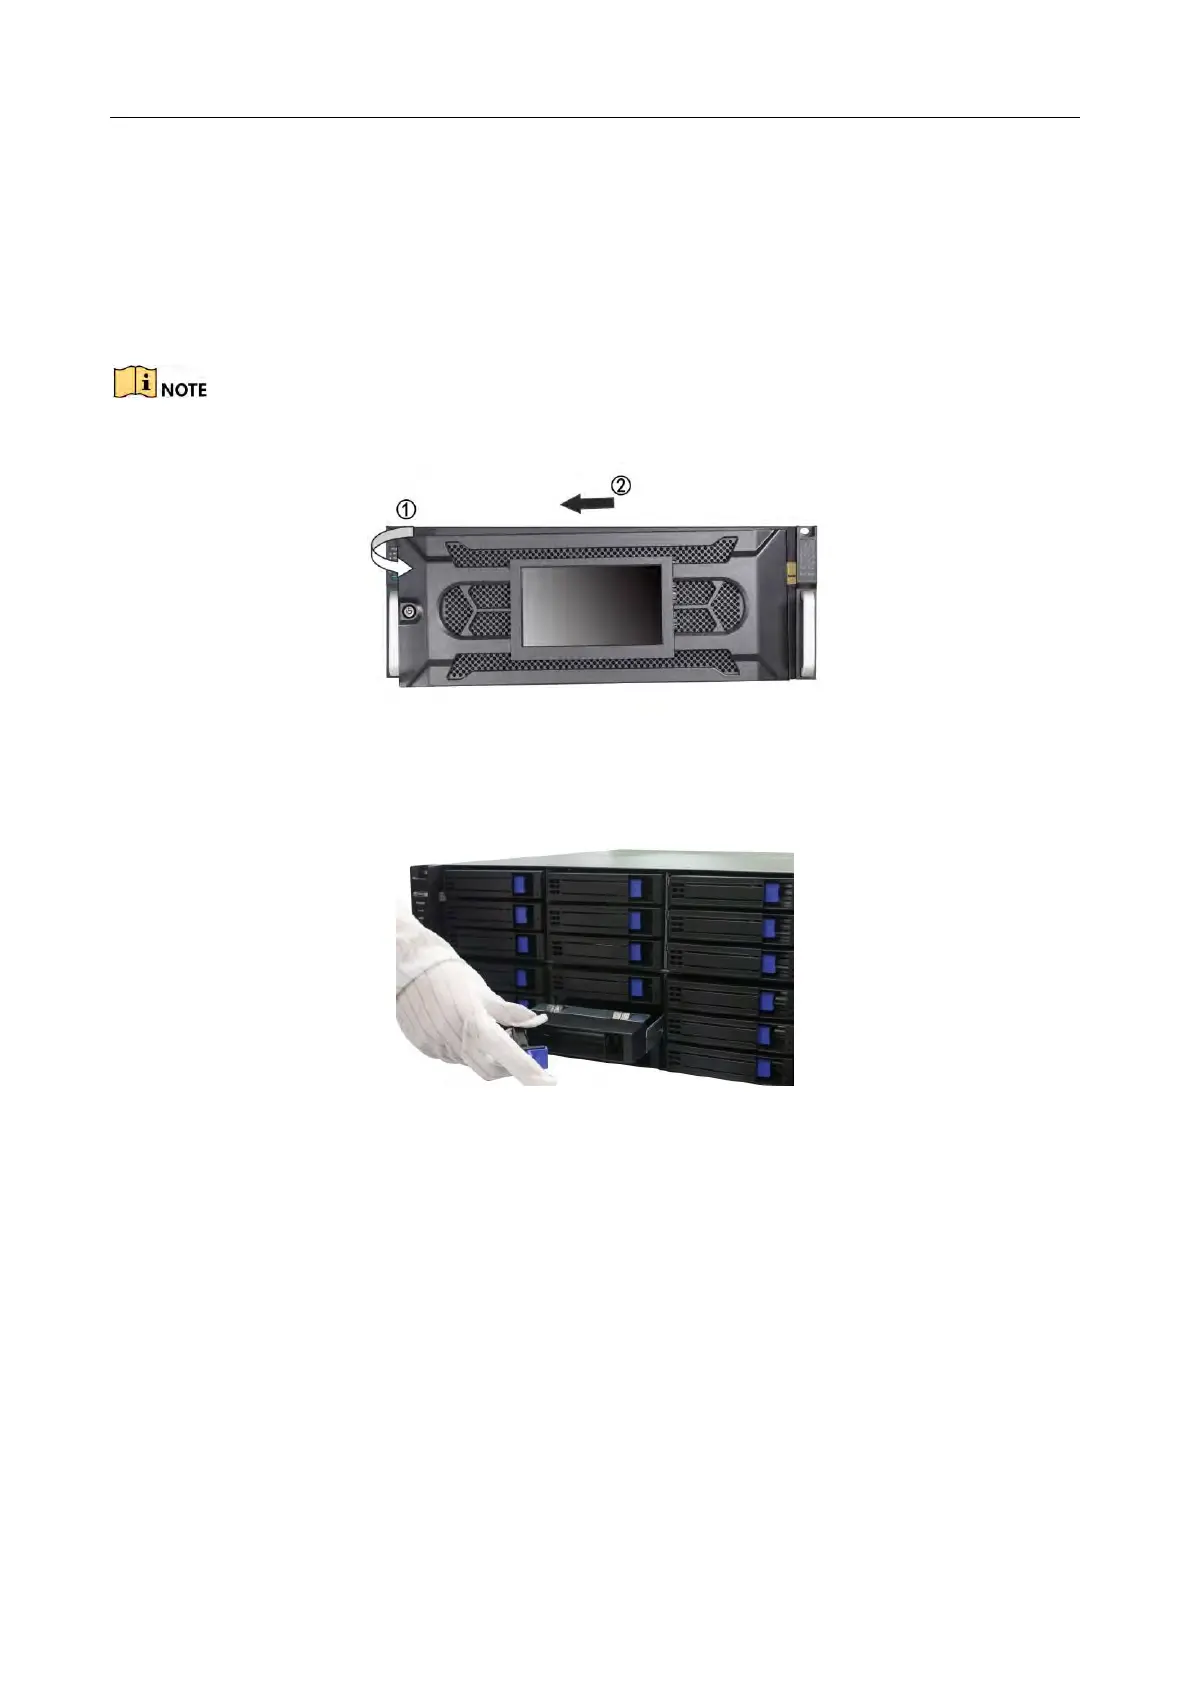
Step 2 To remove the cover from front panel, follow steps below:
1) Gently pull the cover out of the device along the direction arrow ① and make it a
little above the left handle. The angle between the cover and the front panel must be
within 10°.
2) Pull the front panel out of the device along the direction arrow ②.
Handle with care to avoid damage.
Figure 2-2 Remove the Cover
Step 3 Press the blue button to pop up the handle and hold the handle and pull the dummy HDD
out of the slot.
Figure 2-3 Pull out Dummy HDD
Step 4 Fix the hard disk in the dumy HDD.
1) Place a hard disk in the dummy HDD. The SATA interface must face the dummy HDD
bottom.
2) Adjust the hard disk position. Ensure the hard disk rear is aligned with hard disk
bottom.
3) Use a screwdriver to fasten the four screws into the screw holes that in both sides.
 Loading...