Do you have a question about the Hilti DX 450 and is the answer not in the manual?
Explains warning symbols, instruction symbols, and lists product details like name and serial number.
Covers basic safety, user/workplace requirements, personal safety, and safe tool use.
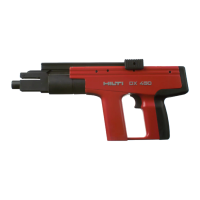
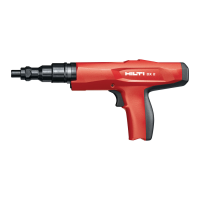
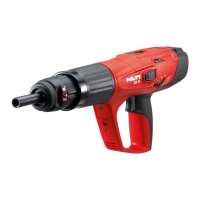
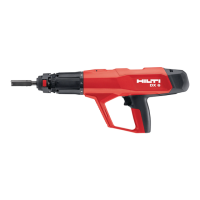
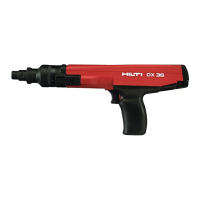
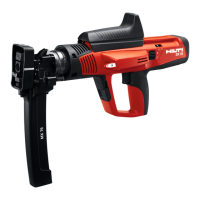
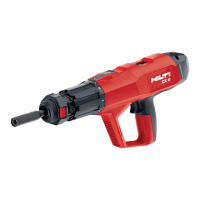
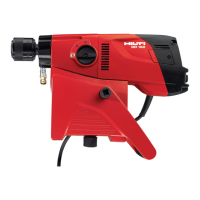
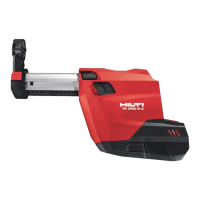
Details tool components, views, applications, and cartridge requirements.
Provides product properties, dimensions, fastener specs, and noise/vibration data.
Covers workplace prep, tool assembly, and setting driving energy.
Details how to load, drive, and unload fasteners for DX 450-FA and DX 450-USS.
Covers jamming, misfires, tool care, and general maintenance procedures.
Details tool servicing, disassembly, component checks, wear criteria, and cleaning/oiling.
Addresses common tool and cartridge issues, including jams and firing problems.
Official statement confirming the product's compliance with relevant regulations.
| Power Source | Powder-actuated |
|---|---|
| Base Material | Concrete, Steel |
| Approvals | CE |
| Fastener Shank Diameter | 4.5 mm |
| Tool Type | Powder-actuated tool |