g) Do not dischargethe batteries by short circuiting
as this may cause them to overheat and present
a risk of personal injury (burns).
h) Do not attempt to open the batteries and do not
subject them to excessive mechanical stress.
i) Do not use damaged batteries.
j) Do not mix old and new batteries. Do not mix
batteries of different makes or types.
5.6 Liquids
Under abusive conditions, liquid may leak from the
battery. Avoid contact. If contact accidentally oc-
curs, flush with water. In the event of the liquid
coming into contact with the eyes, rinse the eyes
with plenty of water and consult a doctor. Liquid
ejected from the battery may cause irritation or burns.
6. Before use
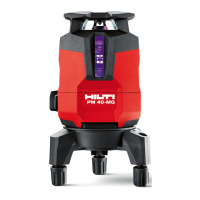
6.1 Inserting the batteries 2
DANGER
Use only new batteries.
1. Open the battery compartment.
2. Remove the batteries from the packaging and
insert them in the tool.
NOTE Only batteries recommended by Hilti may
be used to power the tool.
3. Check that the battery terminals are positioned
correctly as shown on the underside of the unit.
4. Close the battery compartment. Check that the
catch engages properly.
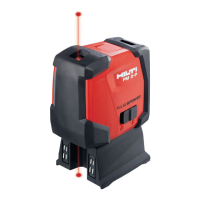
7. Operation
7.1 Operation
7.1.1 Switching the laser beams on
Slide the on/off switch backwards.
7.1.2 Switching the tool / laser beams off
Slide the on/off switch forwards.
NOTE
The tool switches itself off automatically after approx.
15 min.
7.1.3 Deactivating the automatic power-off
feature
Switch the tool on, then off and on again within 3
seconds. The laser beam blinks five times to confirm
deactivation.
NOTE
The tool will be switched off when the on/off switch
is slid forward or when the batteries are exhausted.
7.2 Examples of applications
7.2.1 Setting out drywall track for a partition
wall 3
7.2.2 Setting up lighting elements 4
7.3 Checking
7.3.1 Checking the plumb point 5
1. Make a mark on the floor (a cross) in a high
room (e.g. in a stairwell or hallway with a height
of 5–10 m).
2. Place the tool on a smooth, level (horizontal)
surface.
3. Switch the tool on.
4. Position the tool with the lower beam on the
center of the cross.
5. Mark the position of the vertical beam on the
ceiling. Attach a piece of paper to the ceiling
before making the mark.
en
16
 Loading...