Do you have a question about the Hilti TE56-ATC and is the answer not in the manual?
Explains signal words like CAUTION and NOTE used for safety warnings.
Illustrates warning signs, obligation signs, and general symbols with their meanings.
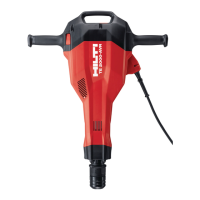
Details the intended use and working environment for the tool.
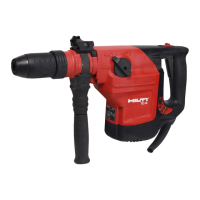
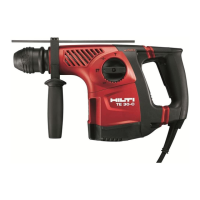
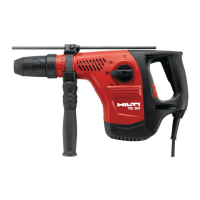
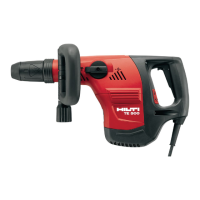
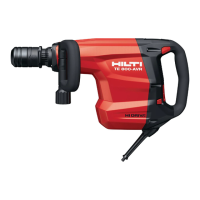
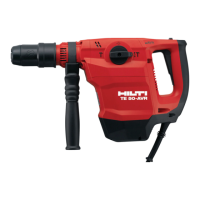
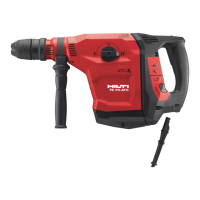
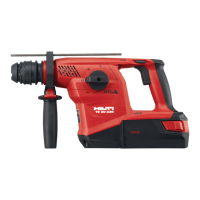
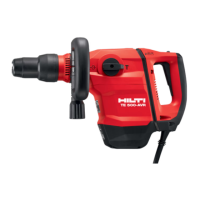
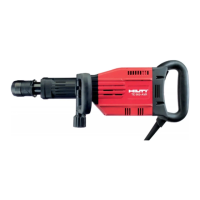
Describes the types of chucks available for different tool models.
Explains the function of the speed control switch for smooth starting.
Details the settings for hammer drilling, drilling without hammering, and chisel adjustment.
Covers the adjustable side handle and vibration-absorbing grip.
Highlights the mechanical slip clutch and ATC system for user safety.
Describes the lubrication for the gearing and hammering mechanism.
Explains the meaning of power indicators, service indicator, and anti-theft indicator.
Covers fundamental safety rules for tool operation, environment, and modifications.
Details precautions for a safe workplace, including lighting, ventilation, and personal space.
Provides essential safety measures for handling the tool, including grip, starting, and storage.
Focuses on care, maintenance, and correct fitting of insert tools for mechanical safety.
Addresses the condition of the tool, cords, plugs, and switches for electrical safety.
Warns about hot insert tools and the need for protective gloves.
Recommends breathing protection and dust removal systems when working with dust.
States that the tool is for professional use by trained personnel only.
Lists the essential personal protective equipment required for safe operation.
Step-by-step instructions for attaching and positioning the side handle.
Guide on how to install and adjust the depth gauge for drilling depth control.
Provides recommendations for using approved extension cords with adequate cross-section.
Specifies conditions for powering the tool with generators or transformers.
Refers to separate instructions for activating the tool's theft protection system.
Instructions for safely inserting drill bits or chisels into the chuck.
Steps for safely removing drill bits or chisels from the chuck.
How to set and secure the depth gauge for precise drilling depth.
Detailed steps for performing hammer drilling with full or reduced power.
Instructions for drilling without hammering action, specifically for TE 56-ATC.
Guidance on setting up and performing chiseling operations.
Explains how to adjust the chisel to the desired position.
Details how to lock the chisel in place for chiseling operations.
Steps for performing chiseling with full or reduced power.
Instructions on how to lock the control switch for sustained chiseling.
Guidance on cleaning and protecting insert tools from corrosion.
Instructions for cleaning the tool's exterior, ventilation slots, and grip surfaces.
Explains the function and meaning of the tool's service indicator lights.
Outlines regular checks for tool damage and control functionality.
Emphasizes checking all items function correctly after care and maintenance.
| Power | 1500 W |
|---|---|
| Impact Energy | 4.6 J |
| Drilling Diameter in Steel | 13 mm |
| Sound Pressure Level | 93 dB(A) |
| Sound Power Level | 104 dB(A) |
| ATC - Active Torque Control | Yes |
| Type | Rotary Hammer |
| Voltage | 230 V |
| Tool Length | 400 mm |
| Drilling Diameter (Steel) | 13 mm |
| Chuck Type | SDS-plus |