11
English
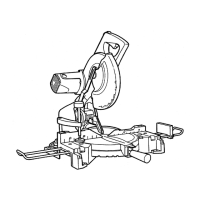
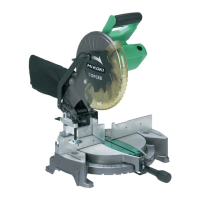
3. Installing the dust bag, miter handle, extension wing, stock stop and vises. (The
extension wing and stock stop are optional accessories).
Attach the dust bag, miter handle, extension wing, stock stop and vise assembly as indicated in Fig. 1.
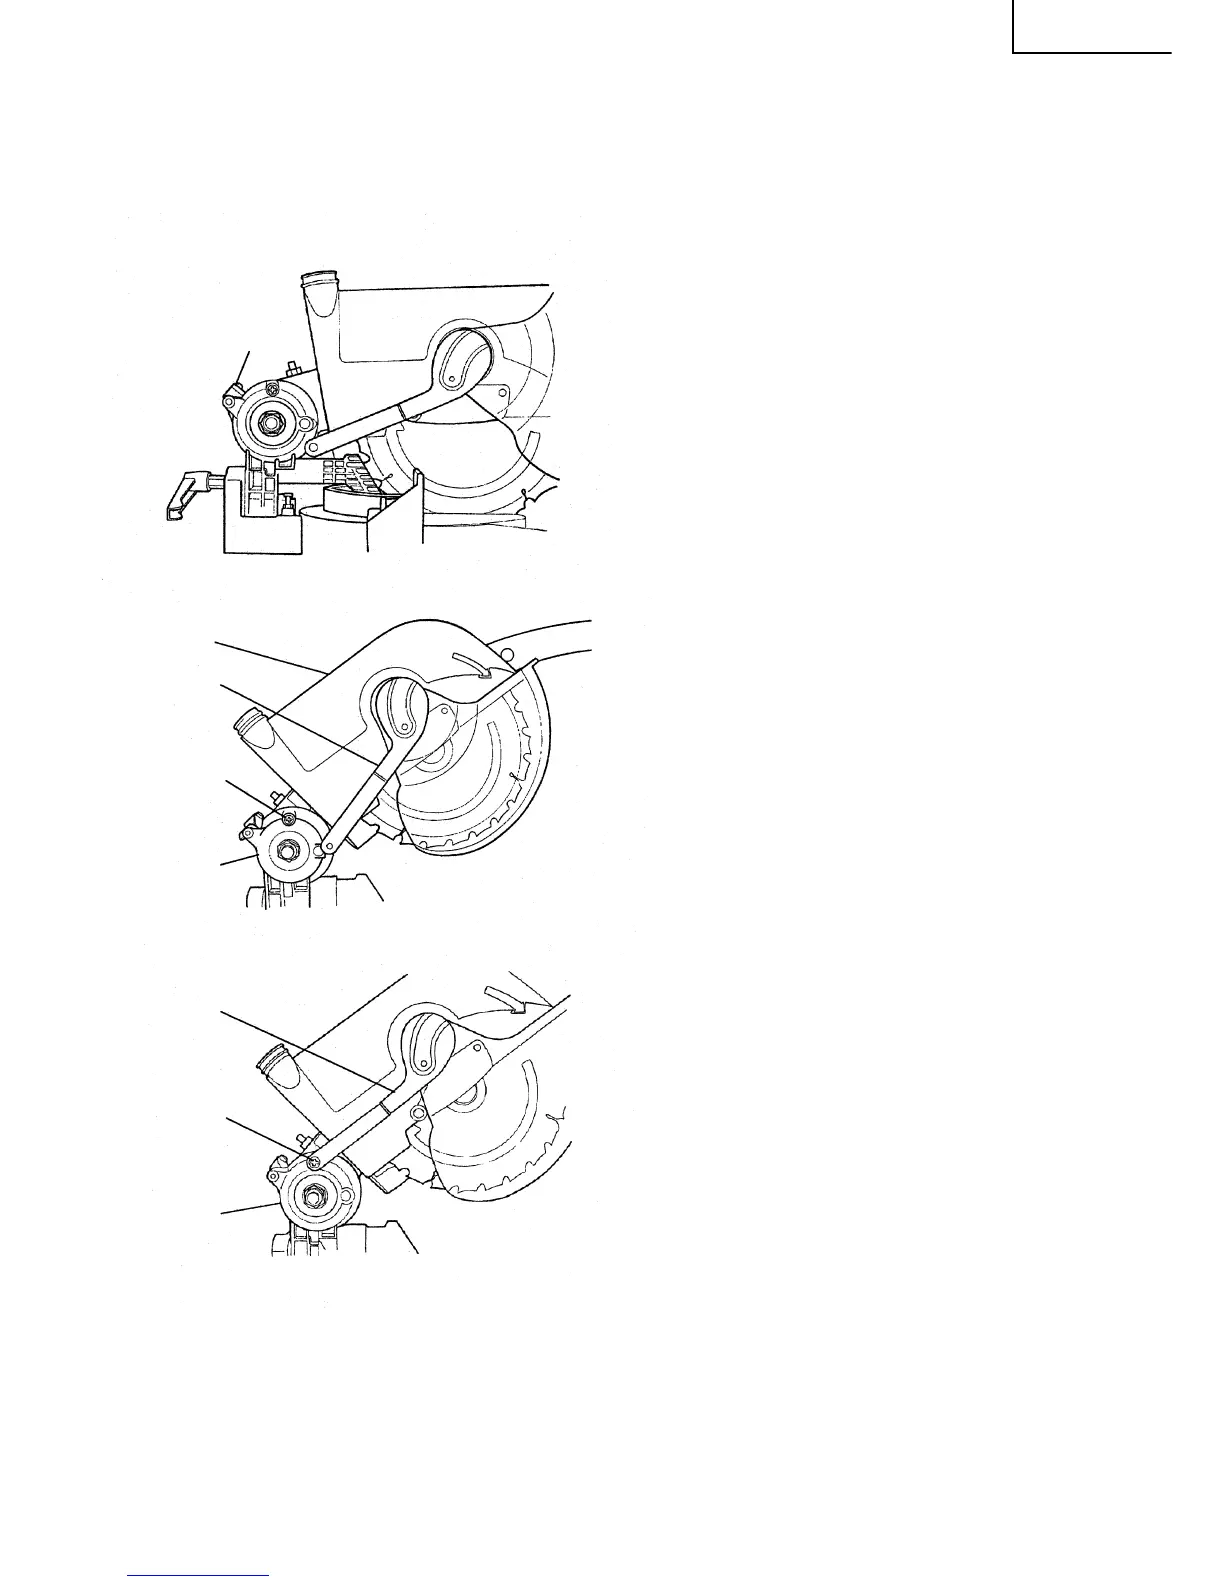
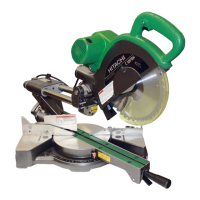
Installing the lever and clamp handle.
Attach the lever and clamp lever as shown in the followings.
(1) Assembly of lever
q Push down on the handle (see Fig. 1) slightly and
turn the lock plate to the unlocked position.
w The head will then move to the up position and
the lever will be hanged freely in the down
position, as shown in Fig. 7.
e Remove special screw from the angle regulator.
r Insert special screw into hole at the end of lever
and reassemble special screw into hole in angle
regulator as shown in Fig. 8.
Fig. 6
Lock Plate
Head
Lever
Angle
Regulator
Special
Screw
Fig. 7
Lever
Angle
Regulator
Special
Screw
Fig. 8