Operating
1.
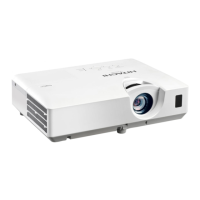
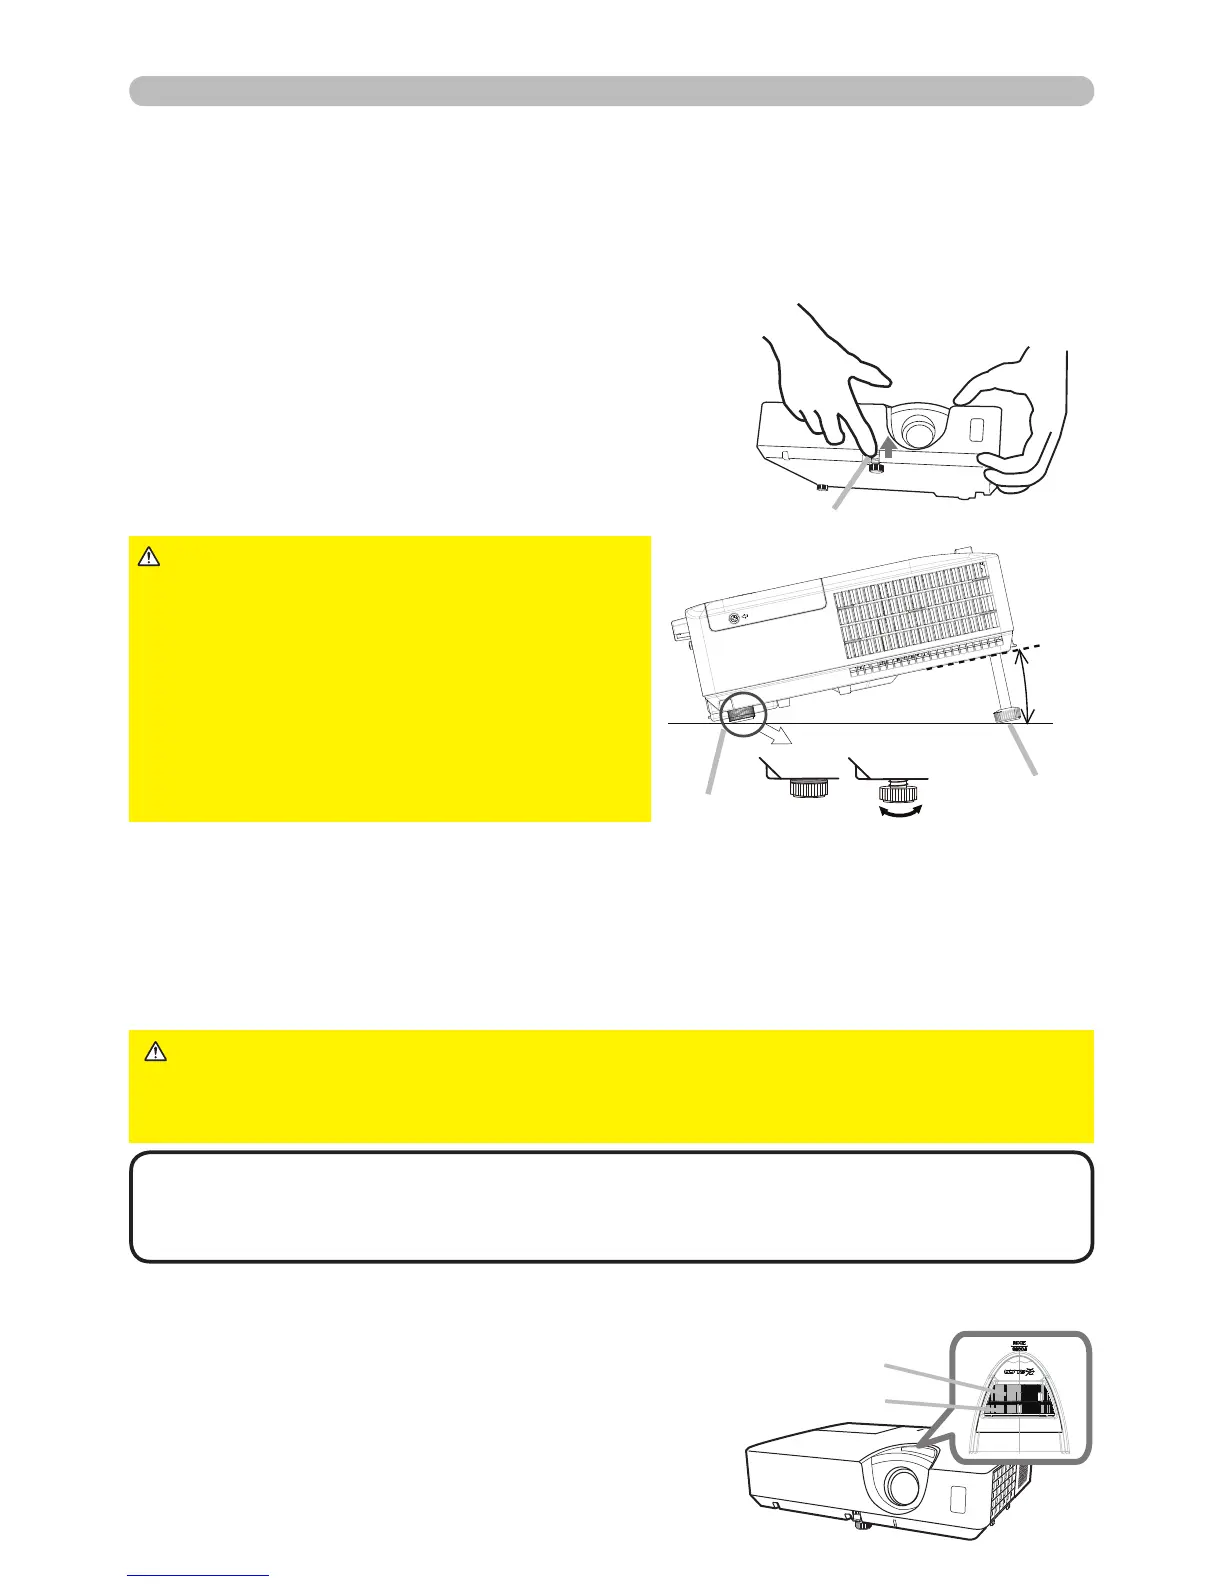
Use the ZOOM ring to adjust the screen size.
2.
Use the FOCUS ring to focus the picture.
Adjusting the zoom and focus
►
Do not handle the
elevator button without holding the projector,
since the projector may drop down.
►Do not tilt the projector other than
elevating its front within 12 degrees using
the elevator foot. A tilt of the projector
exceeding the restriction could cause
malfunction or shortening the lifetime of
consumables, or the projector itself.
CAUTION
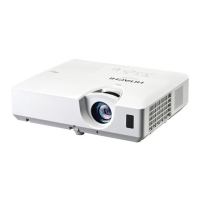
<Front Foot>
Using the Front elevator foot can tilt the projector in order to project at a suitable
angle to the screen, elevating the front side of the projector within 12 degrees.
The elevator foot is adjustable while pushing the elevator button.
1.
Holding the projector, push the elevator
button to loose the elevator foot.
2.
Release the elevator button in order to
lock the elevator foot.
3.
If necessary, the elevator foot can be manually
twisted to make more precise adjustments.
Hold the projector when twisting the foot.
<Rear Foot>
When the place to put the projector is slightly uneven to the left or right, use the
Rear elevator foot to place the projector horizontally.
A spacer is installed on the
Rear elevator foot at the time of shipment, and the projector is ready for use. If
necessary, detach the spacer, and the elevator foot can be manually twisted to
make more precise adjustments.
Adjusting the projector’s elevator
Front foot
Rear foot
Elevator button
►Keep the spacer away from children and pets. Be careful not
to let them swallow the spacer. If swallowed consult a physician immediately for
emergency treatment.
WARNING
•
After the foot is adjusted, it is possible to return it to the state of the shipment
with a spacer.
It is recommended to keep the spacer and reuse it when relocating
the projector.
NOTE
FOCUS ring
ZOOM ring

 Loading...