53
CP-X505(EDX35N)
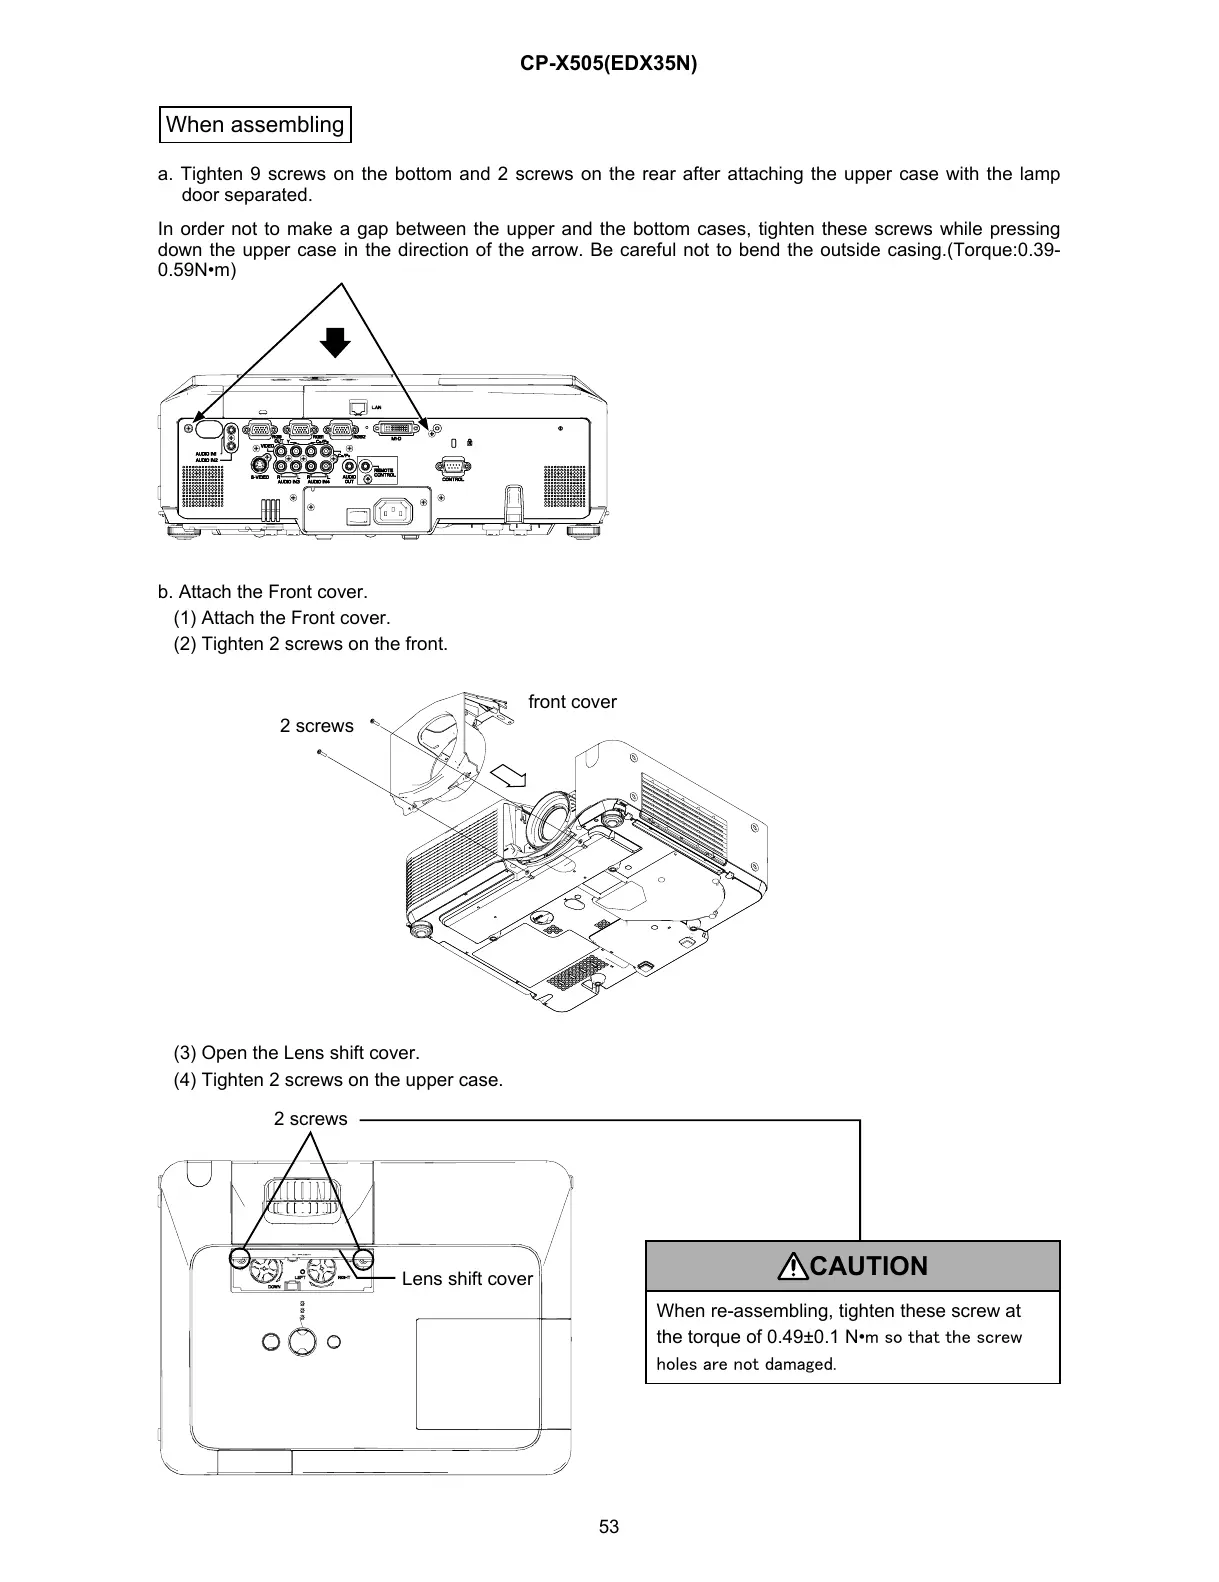
a. Tighten 9 screws on the bottom and 2 screws on the rear after attaching the upper case with the lamp
door separated.
In order not to make a gap between the upper and the bottom cases, tighten these screws while pressing
down the upper case in the direction of the arrow. Be careful not to bend the outside casing.(Torque:0.39-
0.59N•m)
When assembling
b. Attach the Front cover.
(1) Attach the Front cover.
(2) Tighten 2 screws on the front.
(3) Open the Lens shift cover.
(4) Tighten 2 screws on the upper case.
CAUTION
When re-assembling, tighten these screw at
the torque of 0.49±0.1 N•
m so that the screw
holes are not damaged.
2 screws
Lens shift cover
2 screws
front cover

 Loading...