--- 14 ---
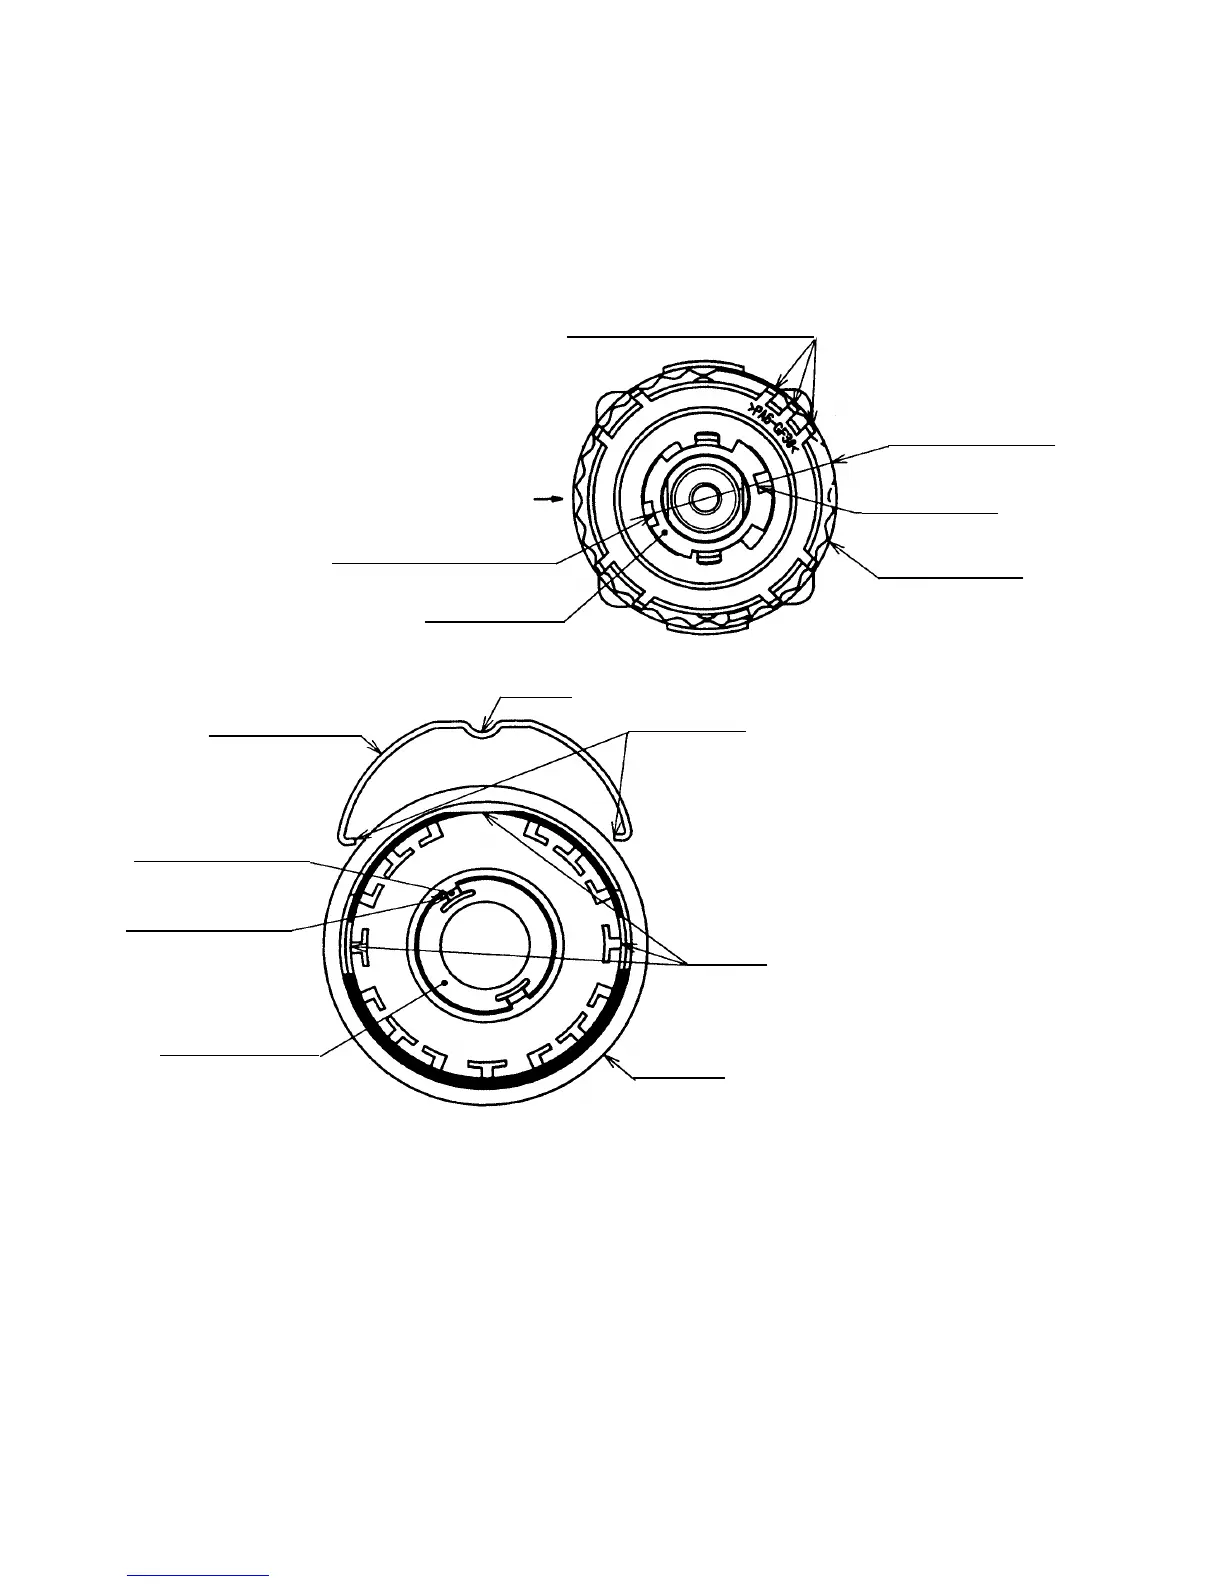
(c) Install the Click Spring [5] and the Cap [4] to the assembly reassembled in step (b). (See Fig. 11.)
(i) Insert the ridge and the projections of the Click Spring [5] into the holes of the Cap [4].
(ii) When the Nut [9] is screwed in the Front Case [12] about 1-3/8 turns (495˚), the three projections of the
Nut [9] and the marking of the Rear Case [20] are positioned as shown in Fig. 11. Set the narrow slit of
switch flange as shown in Fig. 11. Mount the Cap [4] aligning the ridge of the Click Spring [5] with the
three projections of the Nut [9].
Fig. 11
Click Spring [5]
Marking of the
Rear Case [20]
Holes
Ridge
Three projections of Nut [9]
Cap [4]
Wide slit of switch flange
Lock Washer [7]
Switch flange
Narrow slit of
switch flange
Narrow projections
of Cap [4]
Narrow slit of
Lock Washer [7]
Projections
Center of the flat
surface of Front
Case [12]
Front Case [12]
 Loading...