Accessories
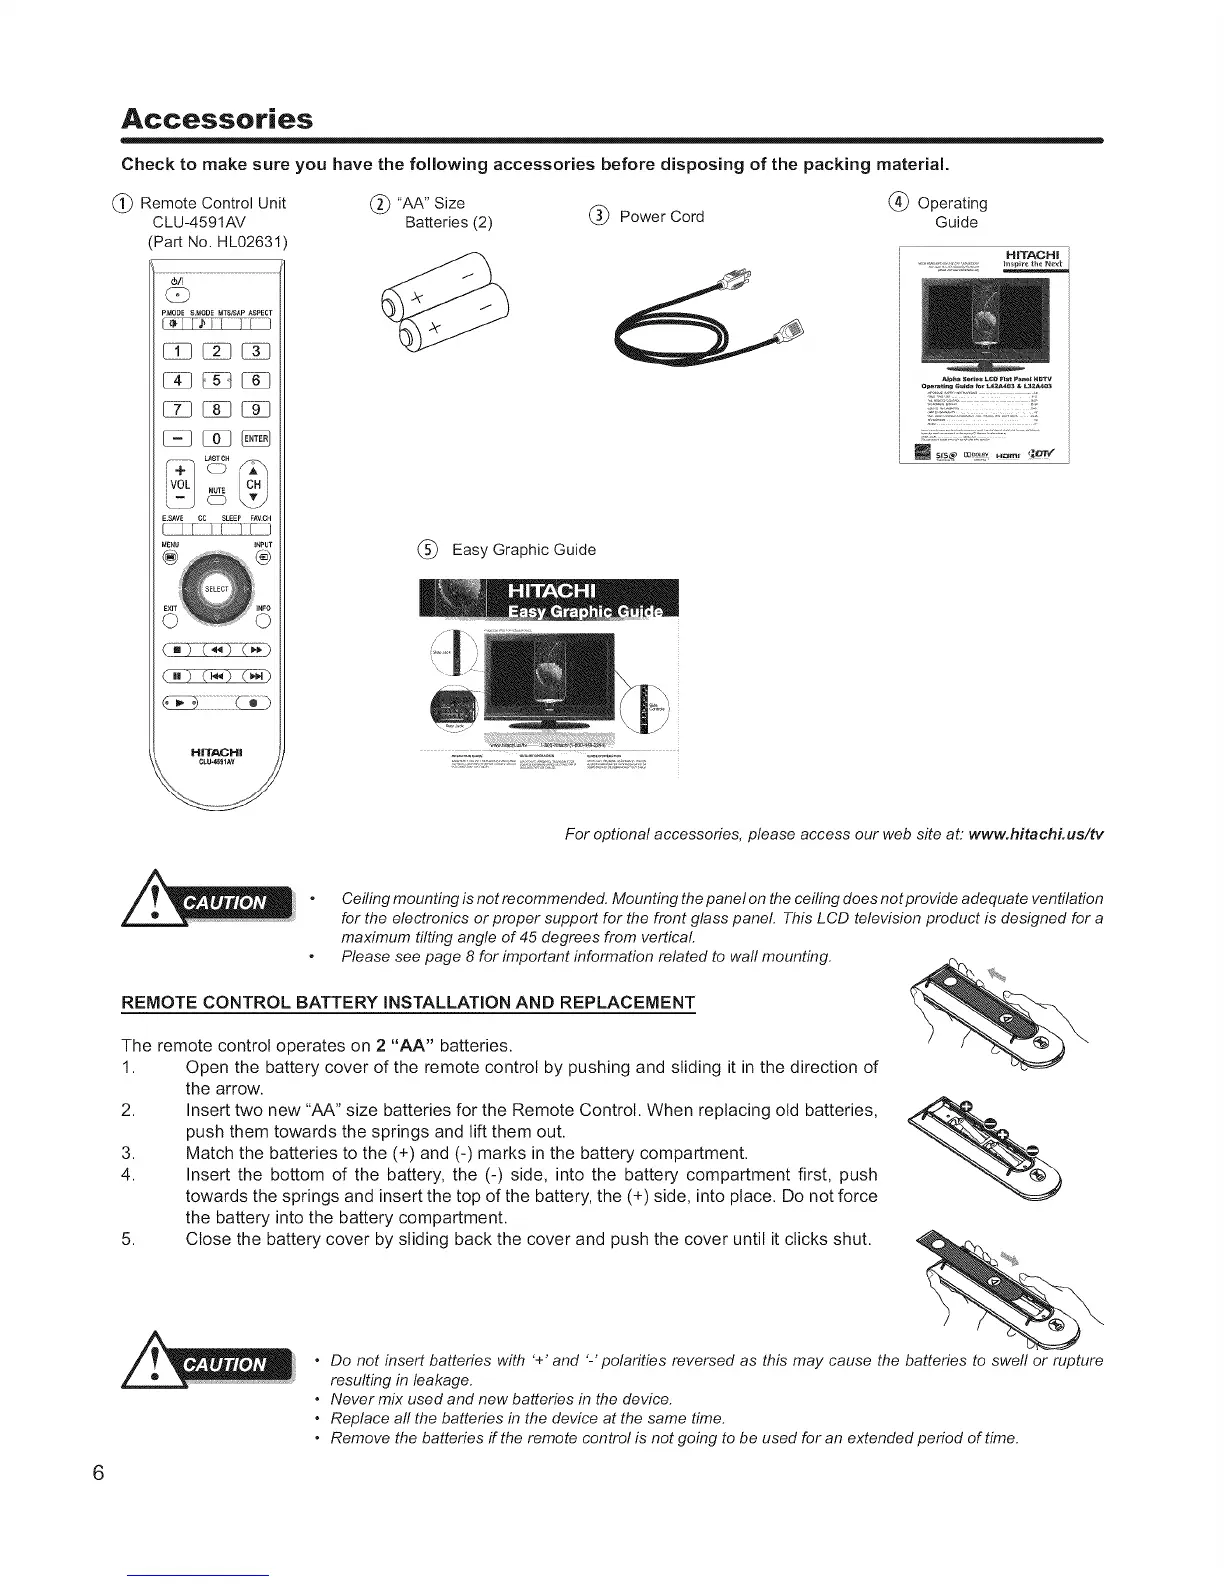
Check to make sure you have the following accessories before disposing of the packing material.
(_ Remote Control Unit _ "AA" Size (_ Operating
CLU-4591AV Batteries (2) (_ Power Cord Guide
Part No. HL02631
PMODE &MODE MTBISAP ASPECT
I_! [_!4 I! b
GD GD _D
MENU I_UT
i
=============================
HiTACHi
CLU-_IAV
HiTACHi
(_ Easy Graphic Guide
/
For optional accessories, please access our web site at: www.hitachi.us/tv
Ceiling mounting is not recommended. Mounting the panel on the ceiling does not provide adequate ventilation
for the electronics or proper support for the front glass panel. This LCD television product is designed for a
maximum tilting angle of 45 degrees from vertical
Please see page 8 for important information related to waft mounting.
%
REMOTE CONTROL BATTERY INSTALLATION AND REPLACEMENT
The remote control operates on 2 "AA" batteries.
1. Open the battery cover of the remote control by pushing and sliding it in the direction of
the arrow.
2. Insert two new "AA" size batteries for the Remote Control. When replacing old batteries,
push them towards the springs and lift them out.
3. Match the batteries to the (+) and (-) marks in the battery compartment.
4. Insert the bottom of the battery, the (-) side, into the battery compartment first, push
towards the springs and insert the top of the battery, the (+) side, into place. Do not force
the battery into the battery compartment.
5. Close the battery cover by sliding back the cover and push the cover until it clicks shut.
• Do not insert batteries with '+' and '-' polarities reversed as this may cause the batteries to swell or rupture
resulting in leakage.
• Never mix used and new batteries in the device.
• Replace all the batteries in the device at the same time.
• Remove the batteries if the remote control is not going to be used for an extended period of time.
 Loading...