20
6.2 Electrical Wiring Connection
6.2.1 For Outdoor Unit
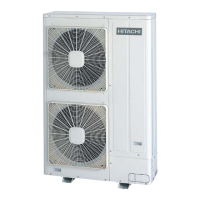
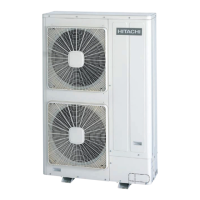
The electrical wiring connection for the outdoor
unit is shown in Fig. 6.1
(1) Connect the power supply wires to L1, L2,
L3, and N (for 380-415V), to R, S and T (for
220V) for the three phase power source on
the terminal board and ground wires to the
terminals in the electrical control box.
(2) Connect the wires between the outdoor
and indoor units to terminals 1 and 2 on the
terminal board.
(3) Do not wire in front of the xing screw of the
service panel. If do, the screw can not be
removed.
6.2.2 Electrical Wiring Between Indoor Unit and
Outdoor Unit
Connect the electrical wires between the indoor
unit and the outdoor unit, as shown in Fig. 6.2 and
Fig. 6.3.
Check to ensure that the terminal for power
source wiring (terminals “L1” to “L1” and “N” to “N”
of each terminal board: AC380-415V, terminals
“R” to “L1” and “S” to “L2” of each terminal board:
AC 220V) and intermediate wiring (Operating
Line: terminals “1” to “1” and “2” to “2” of each
terminal board: DC5V) between the indoor unit
and the outdoor unit coincide correctly. If not,
some component will be damaged.
(1) Use shielded wires (>0.75mm
2
) for
intermediate wiring to protect electrically
noise obstacle at length of less than 1,000m
and size complied with local code.
(2) Open a hole near the connection hole of
power source wiring when the multiple
outdoor units are connected from one power
source line.
(3) The recommended breaker sizes are shown
in Table 6.1.
(4) In the case that a conduit tube for eld-wiring
is not used, x rubber bushes with adhesive
on the panel.
Keep a distance between
each wiring terminal and
attach insulation tape or
sleeve as shown in the figure.
Insulation Tape or Sleeve
Correct Incorrect
Do not use a solderless
terminal when
a single wire is used.
If used it causes
abnormal heating at
the caulking portion
of the terminal.
If a single wire is used
connect the
wire direct as shown
in the figure.
Make a loop of the wires so that disconnecting
the wirings for replacing parts is not required.
CAUTION:
Piping Cover
Conduit
Power Supply Cable
When using conduit, do NOT lead it in the outdoor
unit. If the conduit wiring touches the compressor
and refrigerant cycle in the outdoor unit, it may
cause to damage them.
Rubber Bush
(Accessory)
Earth Wire
Power Supply
Cable
Control Cable
Earth
Wire
Rear Cover
Wiring Method with Clamp
1. Insert the wires by into the
cord clamp and clamp them
as shown in the figure.
2. Perform wiring so that wires
do not touch the compressor,
refrigerant pipes or edge of
the covers.
OutdoorFig. 6.1 Wiring Connection for Unit
l Install an ELB in the power source.
If ELB is not used, it will cause electric shock or fire
at the worst.
l The tightening torque of each screw shall be as
follows.
M4: 1.0 to 1.3 N-m
M5: 2.0 to 2.5 N-m
M6: 4.0 to 5.0 N-m
M8: 9.0 to 11.0 N-m
M10: 18.0 to 23.0 N-m
Keep the above tightening torque when wiring work.

 Loading...


