1
For Sealing
Knockout Hole
3.1.2 Initial check
Install the indoor unit with proper clearance around it for
operation and maintenance working space, as shown below
Min. 40
Min. 300 Min. 300
(mm)
Min.
500
Min. 400
Min. 8
Check down slope pitch of drain piping is following the
specication indicate in chapter 'Drain Piping'
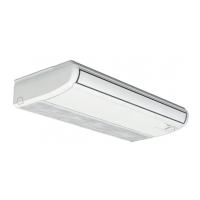
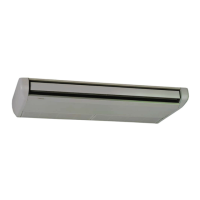
3.1.3 Installation
Mounting suspension bracket
• When installing the indoor unit, use the installation pattern
printed on the inner side of the carton box, cutting the carton
box along dotted lines when unpacking is performed
Dotted line
• Installation pattern is giving the following information:
- Pintch of sling bolt for case (a) and case (b) showed
below
- Hole Positions of Refrigerant Piping
- Hole Positions of Drain Piping
• Suspension bracket has the following two possible positions:
CASE A CASE B
Unit: mm
Model A B C D E F
RPC-3.0
1314 1140 1230 110 280 235
RPC-4.0
RPC-5.0
1574 1400 1490 110 280 235
RPC-6.0
• Select the suspension bracket system depending of your
needs, for semi-concealed installation we recommend Case
(a)
• Mount the suspension brackets to the slings bolts or anchor
bolt and secure them with nuts (File-Supplied), as shown
below
Indoor unit
rear side
Sling Bolt (M10)
(Field-Supplied)
Suspension
Bracket
Indoor unit
Front side
Nuts and Washers
(Field-Supplied)
? NOTE
Tighten the nuts of the sling bolts or anchor bolts with the suspension
brackets after the adjustment is completed. Apply Lock-Tight paint to the
bolts and nuts in order to prevent them from loosening.
UNITS INSTALLATION
 Loading...