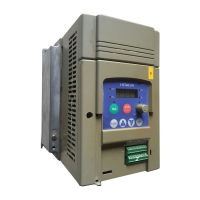
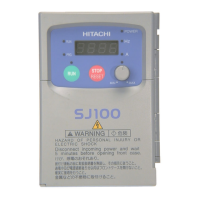
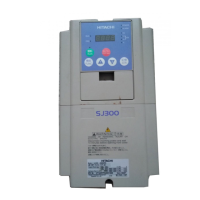
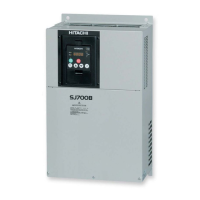
Check the contents in the package, and also check
the model of your inverter on the specification label.
or Preparation of Operation
Check the contents in the package, and also check
the model of your inverter on the specification label.
Included items that vary depending on models
(enclosed in the package)
Install the inverter. Leave sufficient space around the
A clearance of22 cm or more is required below the inverter
The inverter needs to be removed to replace aged parts for
3.2.2 Install the Inverter
or Preparation of Operation
Check the contents in the package, and also check
the model of your inverter on the specification label.
Included items that vary depending on models
(enclosed in the package)
Install the inverter. Leave sufficient space around the
A clearance of22 cm or more is required below the inverter
for the following models:
The inverter needs to be removed to replace aged parts for
3.2.2 Install the Inverter
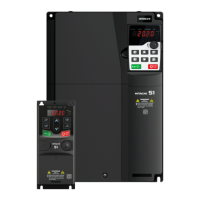
You Can Run the Inverter after Reading This Chapter
or Preparation of Operation
Check the contents in the package, and also check
the model of your inverter on the specification label.
Included items that vary depending on models
(enclosed in the package)
Install the inverter. Leave sufficient space around the
A clearance of22 cm or more is required below the inverter
for the following models:
The inverter needs to be removed to replace aged parts for
3.2.2 Install the Inverter
You Can Run the Inverter after Reading This Chapter
or Preparation of Operation
Check the contents in the package, and also check
the model of your inverter on the specification label.
Included items that vary depending on models
Install the inverter. Leave sufficient space around the
A clearance of22 cm or more is required below the inverter
for the following models:
The inverter needs to be removed to replace aged parts for
You Can Run the Inverter after Reading This Chapter
Install the inverter. Leave sufficient space around the
See “Chapter 4 Main Body of the Product” and “Chapter 5
Included Items” for details.
See “Chapter 6 Installation” for details.
A clearance of22 cm or more is required below the inverter
The inverter needs to be removed to replace aged parts for
You Can Run the Inverter after Reading This Chapter
See “Chapter 4 Main Body of the Product” and “Chapter 5
Included Items” for details.
See “Chapter 6 Installation” for details.
Eye bolts for hanging the inverter
You Can Run the Inverter after Reading This Chapter
See “Chapter 4 Main Body of the Product” and “Chapter 5
Included Items” for details.
See “Chapter 6 Installation” for details.
Eye bolts for hanging the inverter
You Can Run the Inverter after Reading This Chapter
See “Chapter 4 Main Body of the Product” and “Chapter 5
See “Chapter 6 Installation” for details.
Eye bolts for hanging the inverter
You Can Run the Inverter after Reading This Chapter
See “Chapter 4 Main Body of the Product” and “Chapter 5
You Can Run the Inverter after Reading This Chapter
See “Chapter 4 Main Body of the Product” and “Chapter 5
 Loading...