9
English
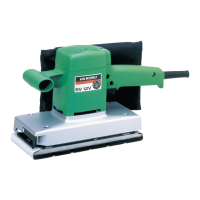
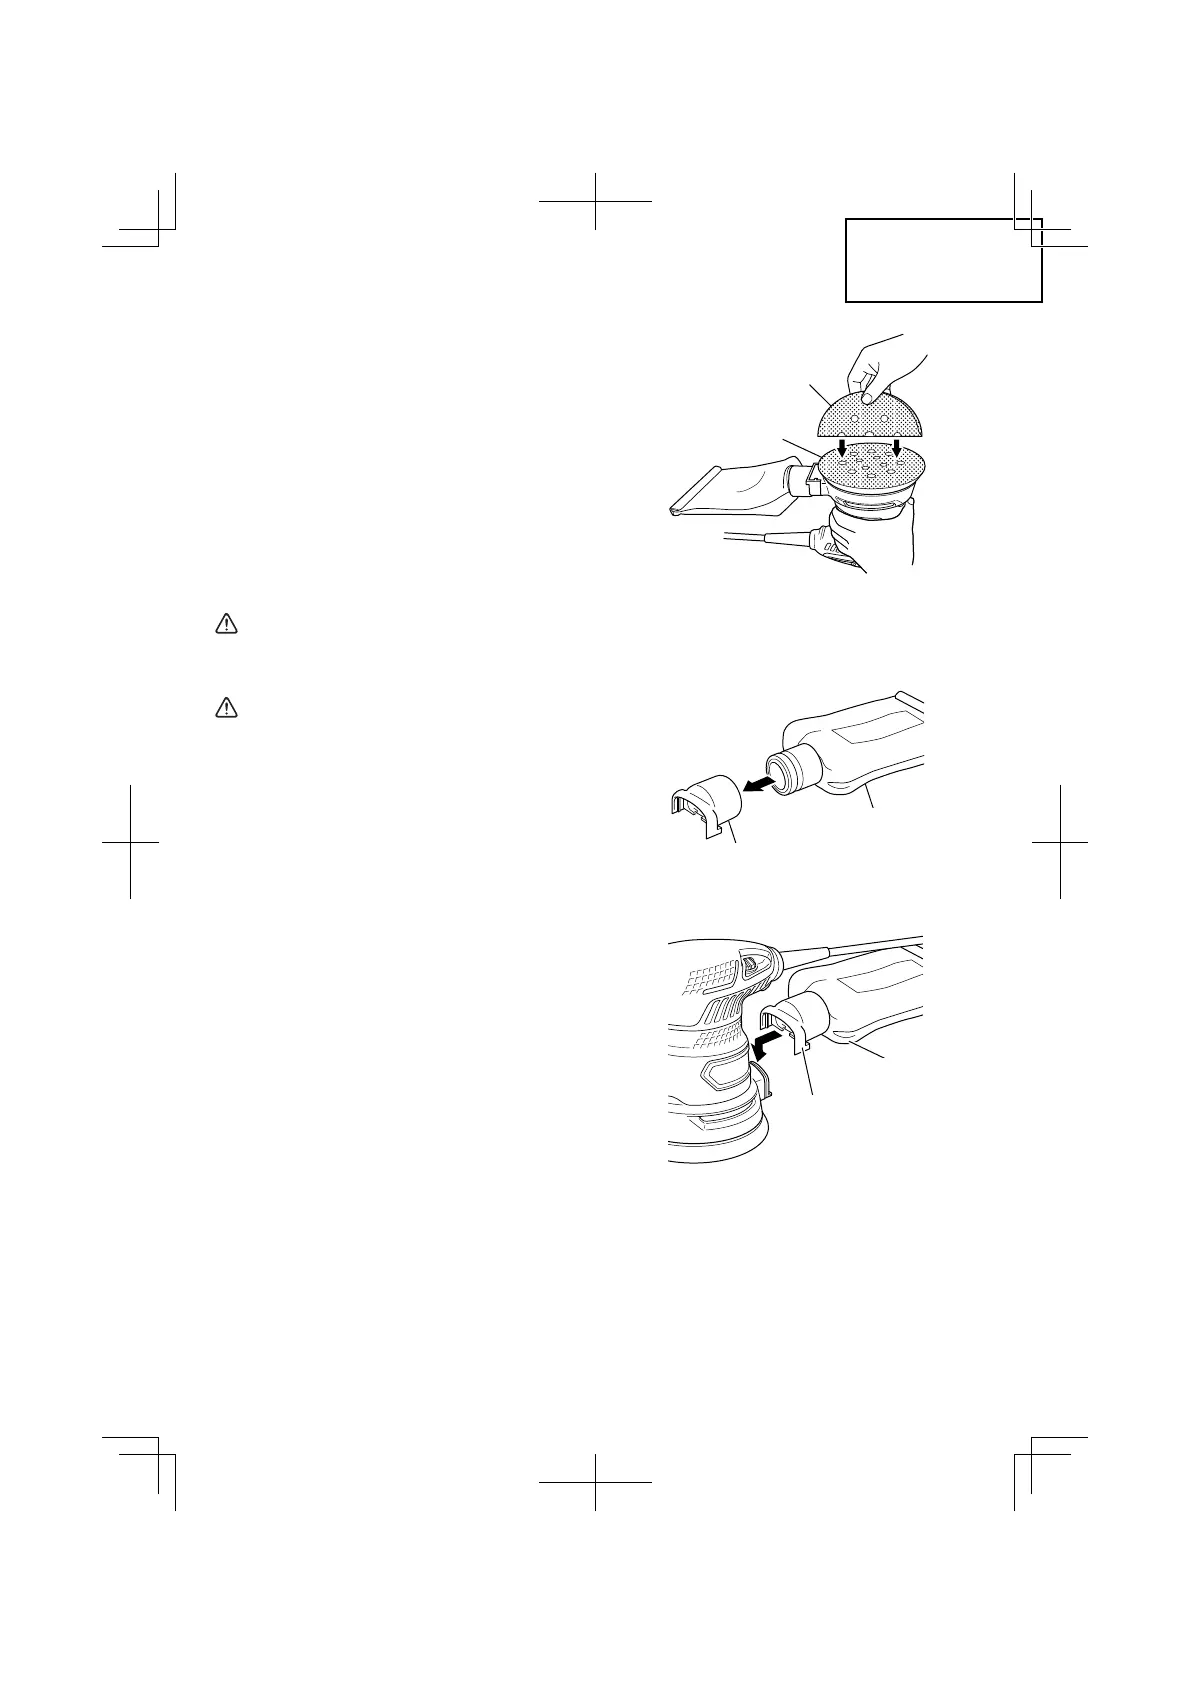
6. Installing the sanding paper
Since the attachment is a hook-and-loop
type, the sanding paper can be installed
easily by just pressing it onto the pad.
When installing the sanding paper, in order
to match it to the holes in the pad, gently
fold it along the axis of two holes as shown
in Fig. 2.
Next, use the holes along the fold as a
guide to match the sanding paper and the
pad. Finally, press the entire sanding paper
uniformly onto the pad.
WARNING:
Be sure to switch power OFF and
disconnect the plug to avoid accidents.
CAUTION:
○ Use only sanding paper size specifi ed
on the product nameplate.
○ Do not use accessories with poor
adhesion.
7. Attaching and removing the dust bag
Attaching the dust bag to dust bag adapter.
As shown in Fig. 3, hold the dust bag
adapter and push it in the direction of arrow
A to attach it to the dust bag.
To attach the dust bag (Flg. 4):
(1) Unplug the sander.
(2) Align the raised rib on the dust bag with the
grooves of the sander, and then attach the
dust bag to the sander.
NOTE:
Make sure that the dust bag is secured to
the tool before beginning operation.
To detach the dust bag:
(1) Unplug the sander.
(2) Pull up on the dust bag and remove it from-
the tool.
Fig. 2
Sanding paper
Pad
Fig. 3
Dust bag
Dust bag adapter
Fig. 4
Dust bag
Dust bag adapter
000BookSV13YST.indb9000BookSV13YST.indb9 2017/07/109:01:142017/07/109:01:14

 Loading...