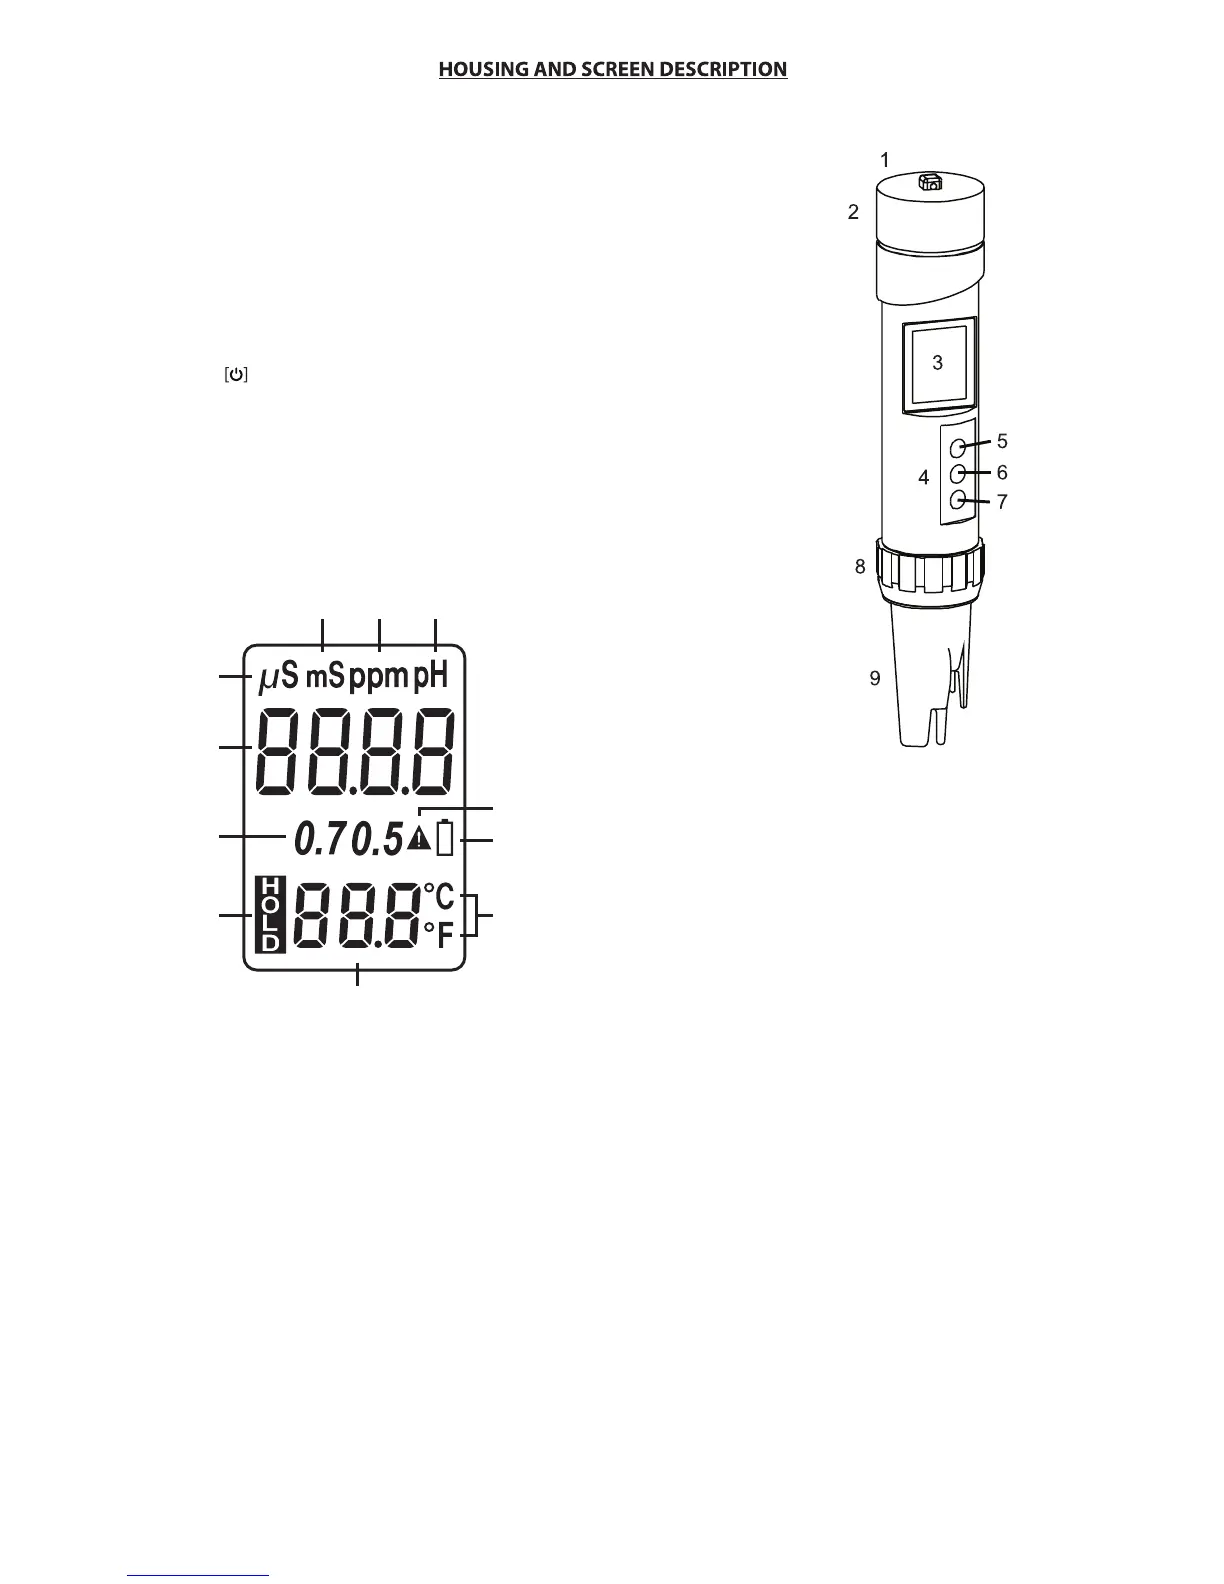
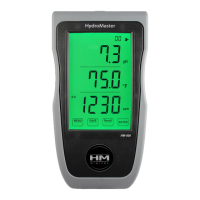
1. Lanyard hook
2. Battery compartment
3. LCD display
4. Button panel
5. Power/Enter button
6. PH/EC mode, calibration mode, calibration-up button
7. EC/TDS mode, hold, calibration-down button
8. Sensor locking ring
9. Detachable sensor (Part # SP-C3)
Housing
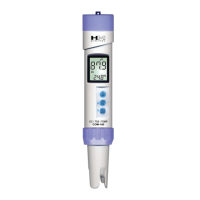
SWITCHING BETWEEN pH AND EC/TDS MODES: To switch between the pH and EC/Conductivity modes
press the ‘PH/EC’ (middle button) on the meter.
BEFORE YOU START!
1. The meter's electrode is shipped with a wetted sponge of Potassium Chloride (KCI) storage solution.
If the sponge is dry (solutions can evaporate) use the included Mylar pack of storage solution
to saturate the probe before 1st use. Let it sit in solution for a minimum of 30 minutes.
2. For new meters, for your first few tests, lightly swirl the meter in the water or solution you
are testing 3 times and allow the meter to sit while adjusting to the reading.
3. If you need to test the pH of low conductivity/TDS water (below 50 µS/25 ppm), you should do so only
after using the meter a few times in a pH buffer solution or higher conductivity water.
4. Never touch the glass sensor or reference tube with your fingers. Be sure not to hit
the sensor or reference tube against a glass or beaker, to avoid cracking it.
5. Always make sure that the cap is on tight after usage.
1. EC mode (µS)
2. EC mode (mS)
3. TDS mode (ppm)
4. pH mode
5. pH / EC / TDS measurement
6. Calibration solution / conversion factor selected
7. Hold mode (appears when HOLD is pressed)
8. Temperature measurement
9. Celsius / Fahrenheit mode
10. Low battery indicator
11. Warning symbol
LCD Display
10
5
7
6
1
2 3 4
9
8
11
2