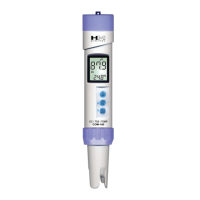
EC / TDS CALIBRATION
The COM-300 is factory calibrated to a 1413 µS KCl solution. The COM-300 will retain its calibration for a very long time,
but there may be cases when it is necessary to recalibrate the meter. Additionally, though factory calibration will be
suitable for most applications, it may be necessary to recalibrate the meter for more accurate results.
EC and TDS meters should be calibrated as close as possible to the range that will be measured. For example, if you are
typically measuring the TDS levels of ltered water and tap water, it is recommended to recalibrate at a lower level. HM
Digital’s 342 ppm NaCl solution is highly recommended for this. For hydroponics, pools and aquarium testing, it may not be
necessary to recalibrate the meter, or you may wish to recalibrate using HM Digital’s 1000 ppm (2000 µS) NaCl solution. If
you are unsure if your meter needs to be calibrated, always consult a professional prior to changing the calibration of the
meter. Incorrectly calibrating the COM-300 may result in inaccurate measurements.
When to recalibrate the COM-300: You will need to recalibrate if the factory calibration isn’t suitable for your application (see
above) or if the calibration has shifted. This can happen based on time, usage or care of the meter. The only method of
determining and check the COM-300 is calibrated properly is to obtain a bottle of laboratory-certied EC or TDS calibration
solution and check the meter against the solution value. The COM-300 can be calibrated to any brand or value EC or TDS
Calibration Solution within the meter’s range. Always calibrate to a fresh solution.
The COM-300 features digital calibration. To recalibrate the meter:
1. Turn the meter on by pressing the power button.
2. Make sure the meter is in the mode that match the solution. if not, change the mode accordingly.
(For example, if you are calibrating to a 0.7 solution for TDS, change the mode to ppm 0.7. See Switching modes on
page 4 for more information.)
3. Dip the meter into a laboratory-certied EC or TDS calibration solution.
Lightly stir and tap the meter on the bottom of the glass to remove
any air bubbles or lingering electrical charges.
NOTE- If the measurement matches the calibration solution value,
then your COM-300 is already properly calibrated. Stop here!
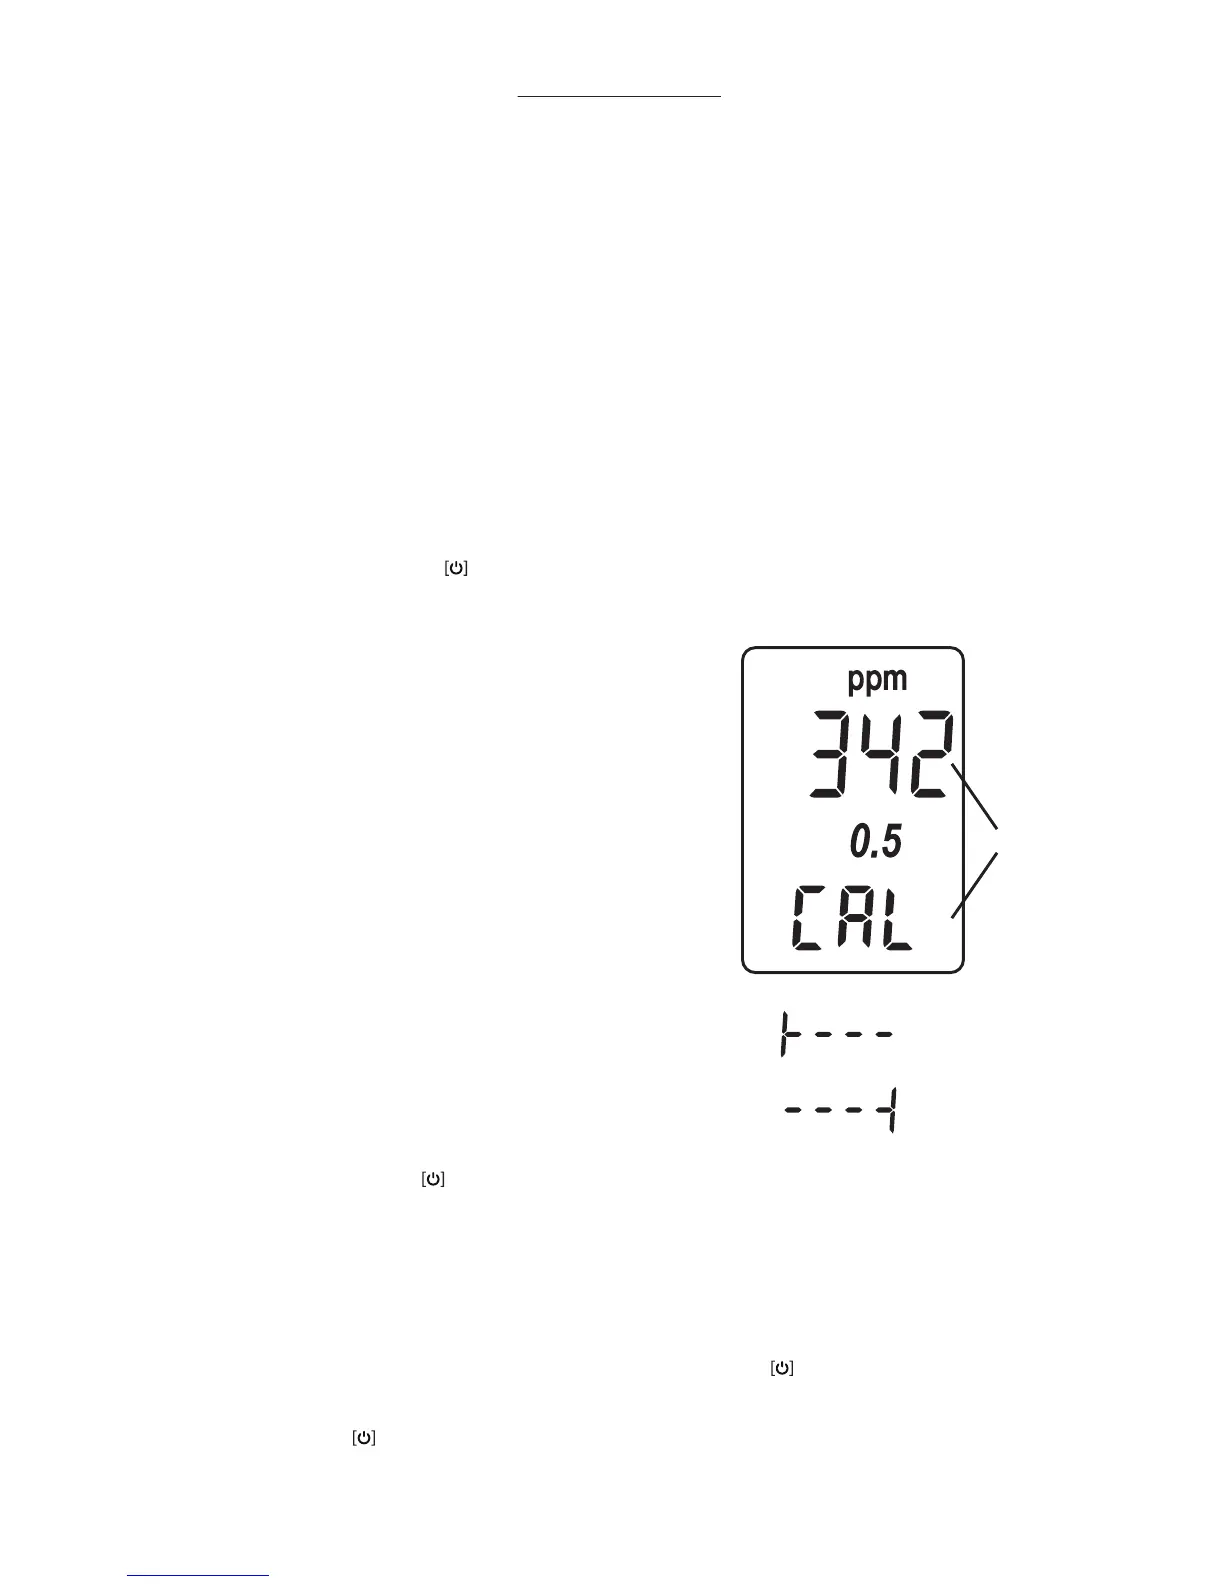
4. Press and hold the ‘PH/EC/CAL’ button. The temperature display will
change to a ‘CAL’ image.
5.The meter will automatically adjust to a reading within a range of the
calibration solution.
6. Change the reading so that it matches the calibration solution.
For example, if your calibration solution is 342 ppm, adjust the
current reading until reads ‘342’. To increase the reading, press
the ‘UP’ button (PH/EC/CAL). To decrease the reading,
press the ‘DOWN’ button (HOLD/MODE).
7. To set the calibration, press the power button just once. You will see a ashing image on the screen that says “CAL”
After ashing a few times, The ashing image will change to “END”. (If the “END” image does not ash on the screen,
the meter has not been properly calibrated).
8. Your meter is now recalibrated.
Temperature Calibration
1. You must have a correct thermometer next to the COM-300.
2. With the COM-300 on and the cap o and the meter in the air, press and hold power and ‘PH/EC/CAL’ button
together for 3 seconds. The meter will enter temperature calibration mode.
3. Adjust to the correct temperature by pressing the ‘UP’ or ‘DOWN’ buttons.
4. Once correct, click the power button. The temperature will ash and the screen will ash C...CA...CAL.
5. The screen will briey display “End” and then revert to measurement mode. It is now calibrated.
NOTE- If the calibration reading is lowered or raised to the minimum or
maximum level within the range, the screen will display the ‘minimum
calibration reached’ icon or ‘maximum calibration reached’ icon,
respectively. Note that this occurs only within the range of the solution the
meter is currently in. When ‘CAL’ does not ash, it means calibration is in the
middle of the range. The meter does not restrict calibration.
Flashing
min. calibration
reached
max. calibration
reached
6
 Loading...