Island Assembly
The instructions below will help guide you through the
most efficient way to assemble your Tandem Island.
Depending on how you transport your kayak (roof racks/
trailer), you may be able to eliminate some steps.
Installing the Akas
1. Lay the Tandem Island hull on flat dry ground. If you
are planning to transport the kayak after it is assembled,
now is a good time to plug in your heavy-duty plug-in
cart. (Assembling the Island on the cart is much easier.)
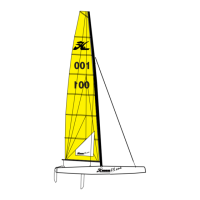
2. Remove the akas from the carrying bag and install
them on the deck-mounted bars. It is important to
differentiate the rear bars from the forward bars. The
rear bars have an additional smaller tube that can
swivel. With the rear akas, it is also important to note
that there are port and starboard bars. The diagram
below will show you proper orientation.
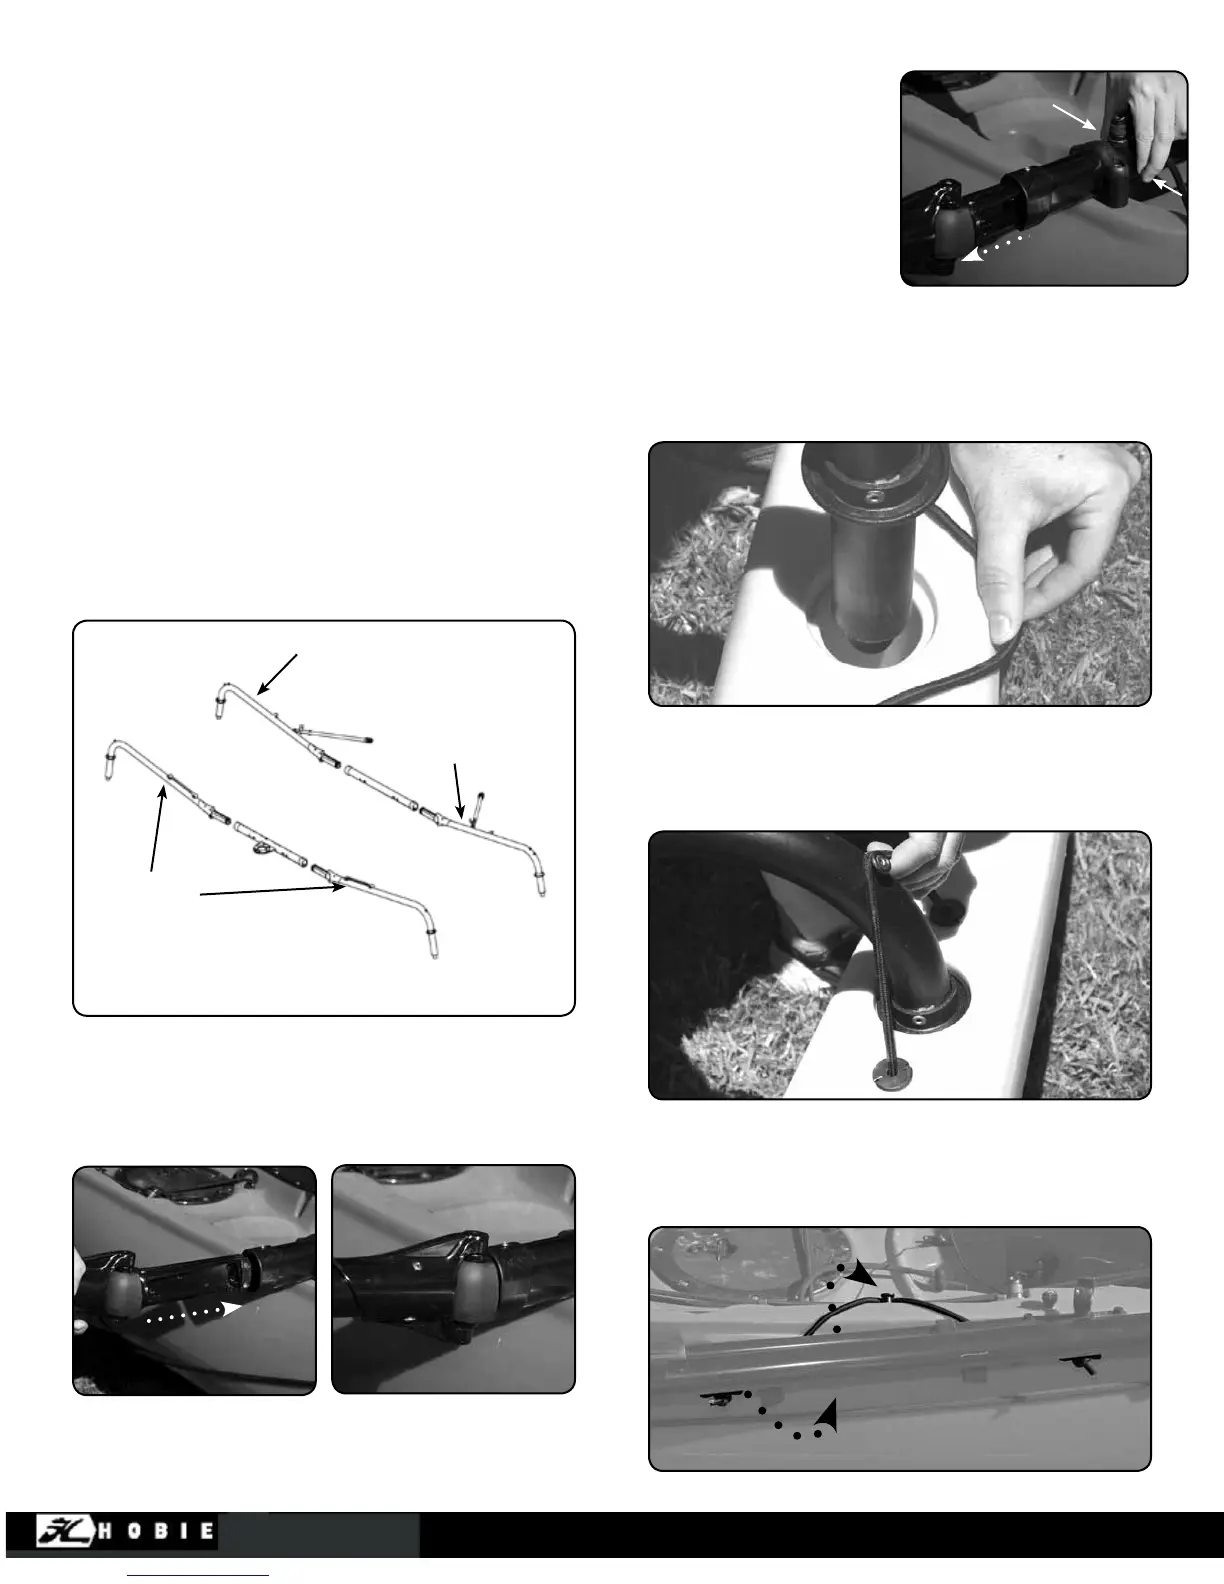
3. To install the akas, slide the casting on the aka into
the deck mounted crossbar until it clicks into place.
Please note the layout of the bars in the diagram above.
Installing the Amas
1. Both amas are identical, so they can go on either
side. Simply install the end of the aka into the scupper
holes on the ama. Keep the Bungee® on the ama on
the outside of the scupper.
2. Once completely installed, stretch the Bungee cord
over the eyelet posts on the akas. Make sure the aka is
fully seated.
3. When transporting the Island, it is easier to keep the
amas folded along the side of the hull. Pivot the bars
back and stretch the Bungee underneath the forward
aka over the eyelet post near the map pocket.
Starboard Rear Aka
Port Rear Aka
Forward Akas
7
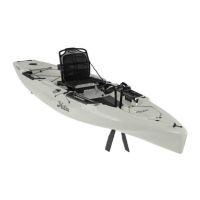
Removing the Akas
To remove the aka bars
from the deck mounted
bars, squeeze the two
butt o n s on t h e d eck
mounted crossbar and
pull out the aka arm.

 Loading...