12
Assembly - Attaching the Blades (continued)
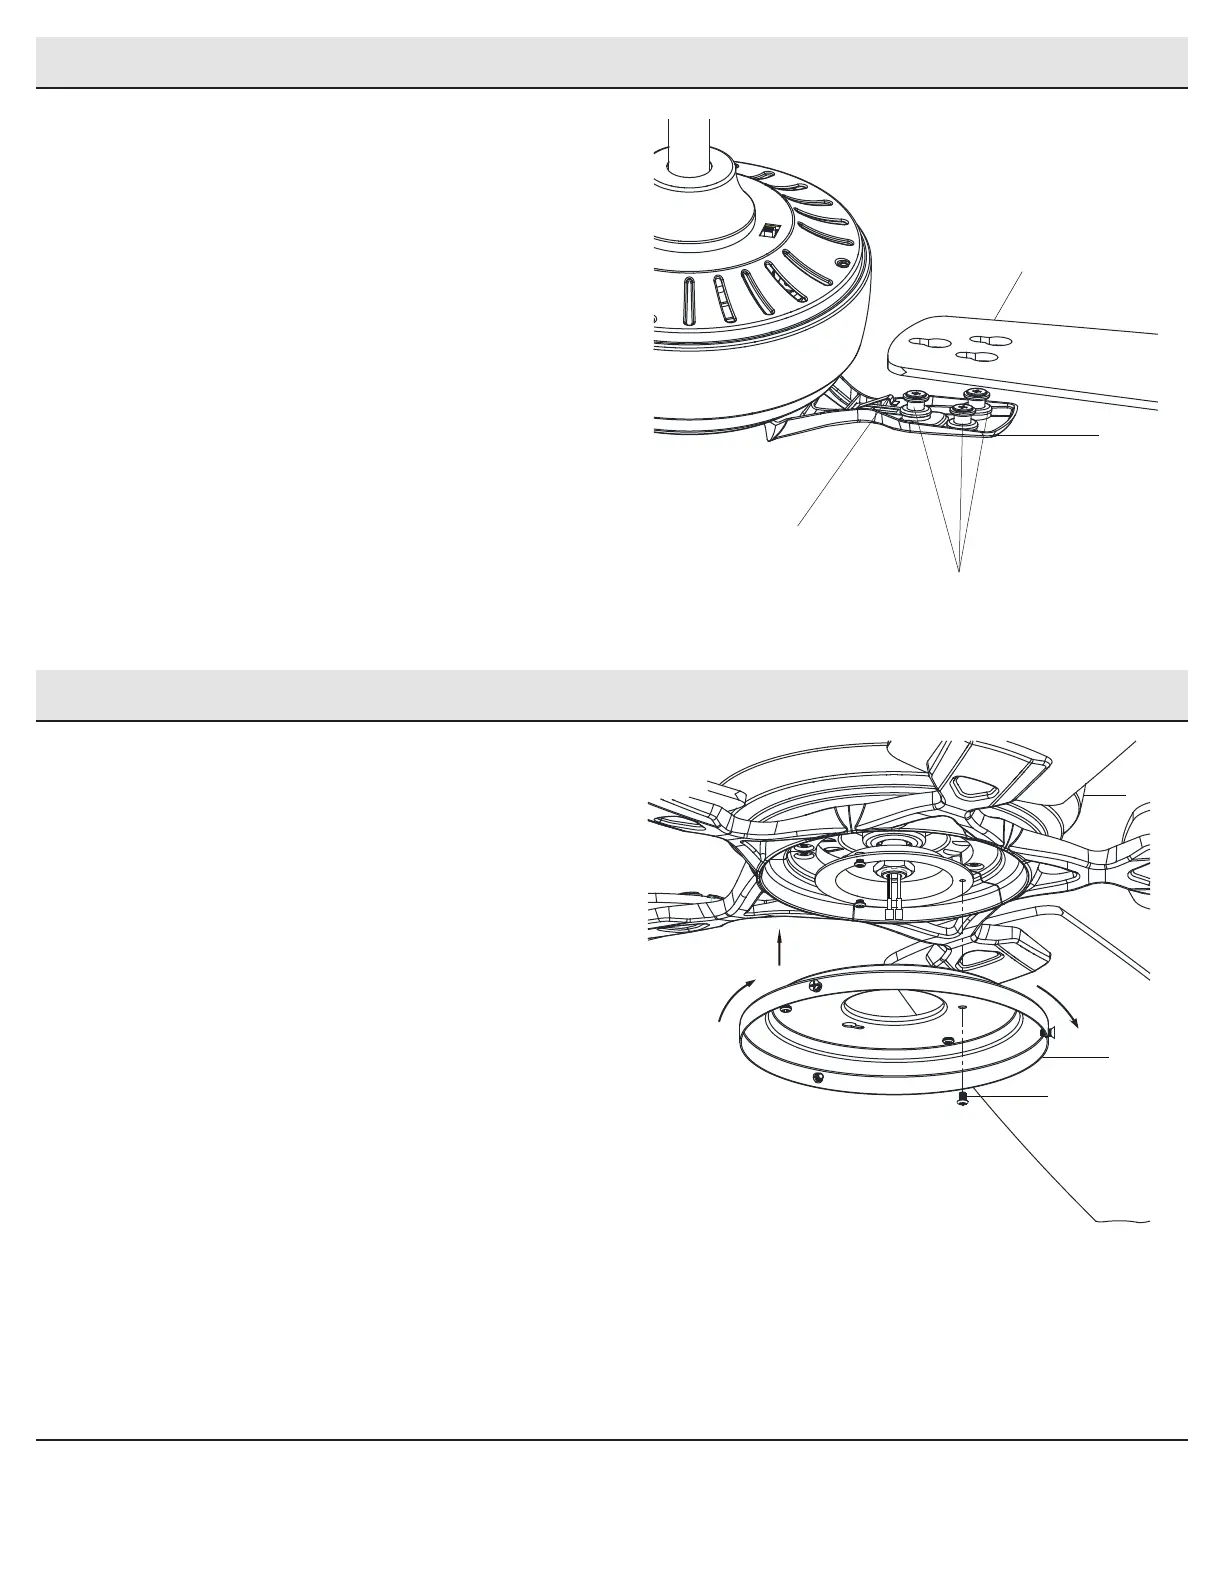
Attaching the blades to
the motor assembly
2
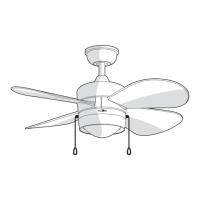
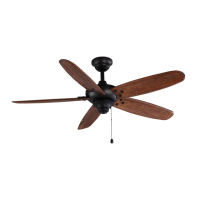
□ Mount the fan blades (G) to the blade arms (F) by aligning the
three key-slot holes in the blade (G) with the three posts (RR)
on the top of the blade arms (F).
□ Hold the blade (G) with both hands close to the blade arm (F)
and press the blade (G) down rmly. Ensure the key-slot holes
are properly seated on the blade arm posts.
□ While still holding the blade (G) down with both hands, rmly
slide the blade (G) away from the motor housing until the
blade (G) engages in the locking mechanism (SS). Make sure
the steel locking mechanism (SS) at the rear of the blade arm
springs upward and butts against the edge of the blade (G)
indicating a secure connection.
□ Visually inspect the top of the blade arms (F) to ensure the
locking mechanism (SS) is securely in place.
□ Repeat for the remaining blades.
G
F
SS
RR
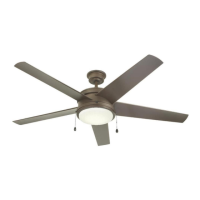
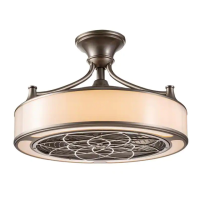
Assembly - Attaching the Light
Attaching the light kit pan
1
□ Remove one screw (FF) from the black bracket below the fan
motor assembly (E), and loosen, but do not remove the other
two screws.
□ Push the light kit pan (H) up to the black bracket so that the
two loosened screw heads t into the keyhole slots. Turn the
light kit pan (H) clockwise to secure.
□ Re-install the screw (FF) that was removed in step 1.
□ Make sure all the screws are rmly tightened.
H
E
FF
 Loading...