© 2008 American Honda Motor Co., Inc. – All Rights Reserved. AII 38576-38846 (0802) 19 of 23
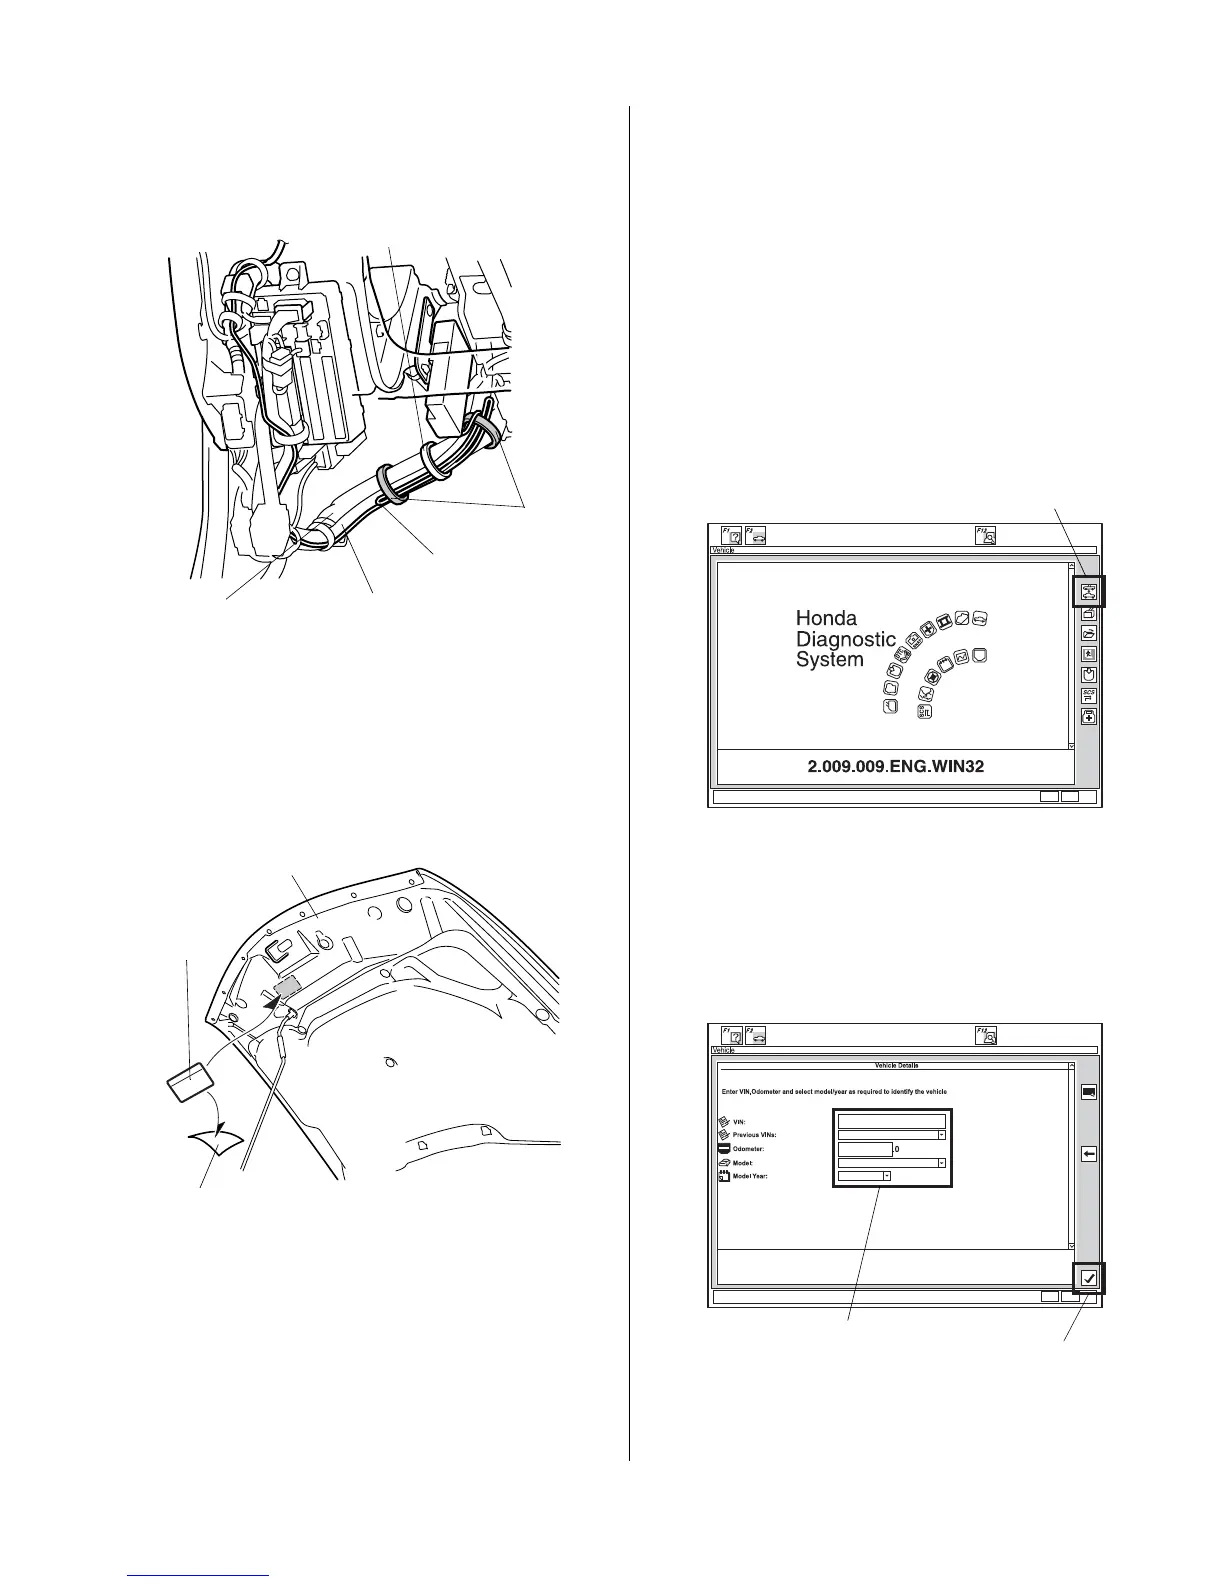
72. Bundle the excess antenna cable and secure it to the
engine starter harness and the vehicle harness with
the loosely installed wire tie.
73. Secure the antenna cable to the engine starter
harness with two additional wire ties.
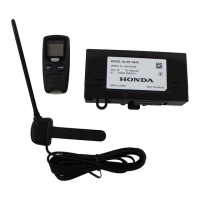
74. Under the hood, locate the area where the caution
label will attach. Using isopropyl alcohol on a shop
towel, clean the hood where the caution label will
attach.
75. Attach the caution label to the hood in the area
shown.
76. Reinstall all removed parts. Check that all clips and
other fasteners are installed securely. Take care not
to pinch the airbag with the clip during reinstallation
of the front pillar trim. Do not push excessively on the
front pillar trim.
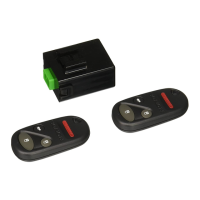
WIRE TIE
(Loosely attached.)
Bundle the
antenna cable.
ENGINE STARTER
HARNESS
VEHICLE
HARNESS
WIRE
TIES
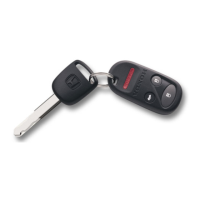
HOOD
CAUTION
LABEL
ADHESIVE
BACKING
77. Reconnect the negative cable to the battery.
78. Enter the customer’s radio anti-theft code, and reset
the radio station presets.
79. Reset the clock.
80. Do the REMOTE ENGINE STARTER
REGISTRATION (page 19) and FUNCTION
CHECK (page 22).
REMOTE ENGINE STARTER REGISTRATION
1. Acquire the PCM code from the Interactive Network.
2. Connect the HDS tester to the OBD II data link
connector, then turn the ignition switch to the ON (II)
position.
3. Start the HDS, and click the car icon.
4. Input the VIN and other required information into the
HDS, then click the check button.
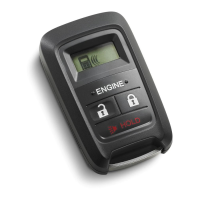
CHECK BUTTON
Input the VIN and
other required
information.