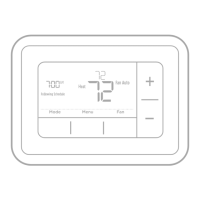
6
Quick Installation Guide
14 Mount the UWP and close the
door.
Mount the UWP using the provided
screws. Install all three screws for
a secure fit on your wall. Close the
door after you’re finished.
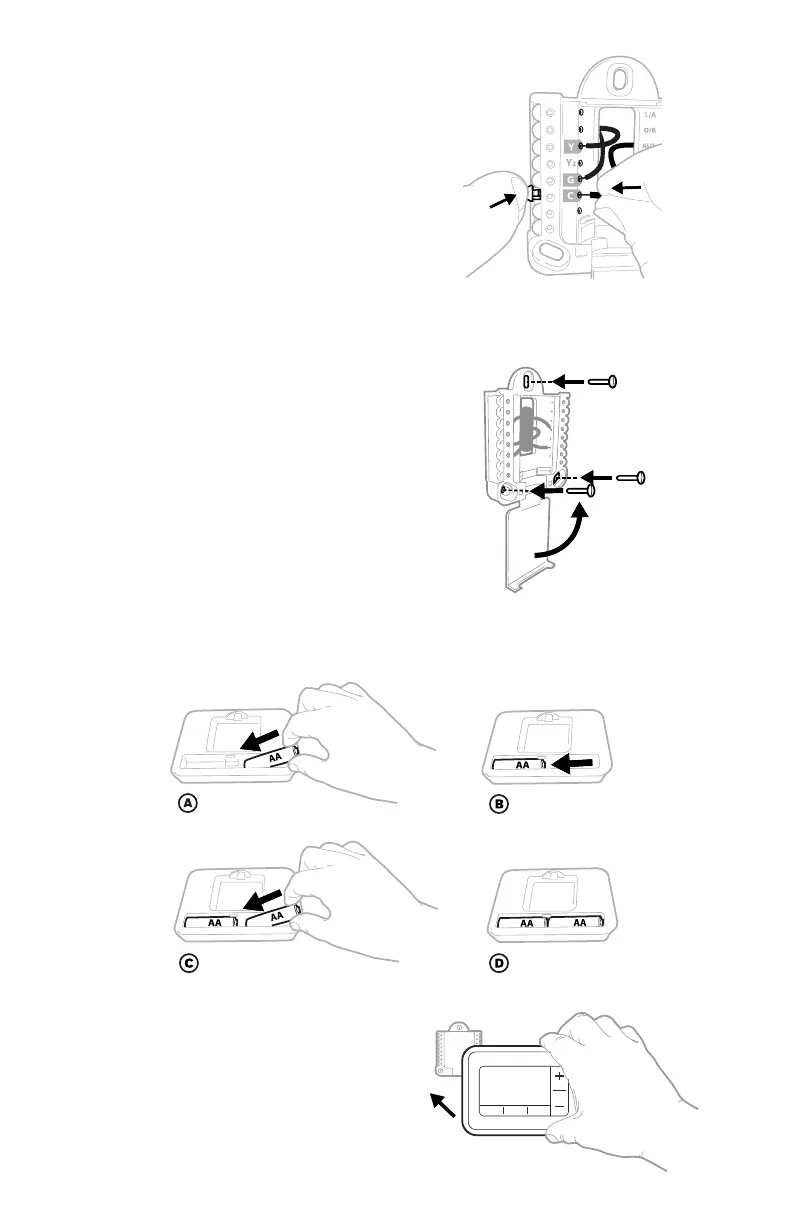
15 Confirm wiring matches snapshot.
Please confirm wiring matches
terminals from the photo you took in
Step 5.
Use 3x supplied screws
(#8 11/2” (38.1 mm)
for red anchors and
#6 11/2” (38.1 mm)
for yellow anchors)
16 Install batteries.
Insert two AA alkaline batteries in the back of the thermostat as shown.
17 Attach your thermostat.
Align the thermostat onto the UWP
and firmly snap it into place.
13 Connect wires from Step 8.
Depress the tabs to put the
wires into the inner holes of their
corresponding terminals on the
UWP (one wire per terminal) until it is
firmly in place.
Gently tug on the wires to verify
they are secure.
Tip: If you need to release the wires
again, push down the terminal tabs
on the sides of the UWP.
This wiring is just an example,
yours may vary.
 Loading...