EasyManua.ls Logo

Honeywell ALERTON VIP-363-HOA User Manual

Honeywell ALERTON VIP-363-HOA
10 pages
To Next Page IconTo Next Page
Page #1 background imageLoading...
Page #1 background image
Installation Instructions
© Honeywell International Inc. All Rights Reserved Printed in MEXICO 31-00254EF-05 06-22 Page 1
VIP Controller / VXIO Modules
WARNING! Always install equipment in accordance with
these instructions and in the manner consistent with
electrical codes and the authority having jurisdiction. Read
all instructions before mounting and wiring.
Overview
Alerton® VIP controller models:
VIP-363-HOA, a plant controller with expandable I/O
capability.
VIP-363-VAV, a VAV application controller with support
for one I/O expansion module.
Both models offer a high-performance, programmable
network programming system utilizing a built-in 4-port
Ethernet switch. It supports BACnet/Ethernet, BACnet/
IPv4, BACnet/IPv6 and RSTP protocols. The VIP-363-HOA
can also be configured for MSTP.
The VIP-363-HOA supports eight I/O expansion modules:
VXIO-322-HOA
VXIO-965-HOA
The VIP-363-VAV support one I/O expansion modules:
VXIO-322-HOA or
VXIO-965-HOA
Mounting
The VIP and VXIOs mount on a standard DIN rail:
vertically, with the connections on the right and left
sides of the device.
horizontally, with the connections on top and bottom.
The controller and both I/O expansion modules have a
locking clip. Mounting on a DIN rail ensures accurate
alignment of connectors between all modules. Or screw-
mount the VIP using the four mounting tabs, accessible
under the covers. These mounting tabs may be broken off if
needed to save space when DIN rail mounting.
Note: Mount the controller prior to mounting any
necessary items (I/O modules).
WARNING! Always disconnect the controller and I/O
expansion modules from power before mounting.
To mount the devices on a DIN rail:
1 Holding the device with its top tilted in towards the
DIN rail, hook the two top flex snaps on the back of
the device onto the top of the DIN rail.
2 Push down and in to latch the two bottom latching
tabs of the device onto the DIN rail.
3 Properly ground the panel, then terminate
grounded components of power, communications,
and I/O wiring.
To remove the device from the DIN rail:
1 Push straight down from the top to release the
bottom tabs.
2 Rotate the bottom of the device out towards you
and pull the device up and away from the DIN rail
to release the bottom latching tabs.
Question and Answer IconNeed help?

Do you have a question about the Honeywell ALERTON VIP-363-HOA and is the answer not in the manual?

Honeywell ALERTON VIP-363-HOA Specifications

General IconGeneral
BrandHoneywell
ModelALERTON VIP-363-HOA
CategoryController
LanguageEnglish

Summary

Overview of VIP Controller and VXIO Modules

VIP Controller Models

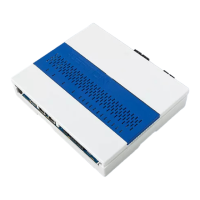
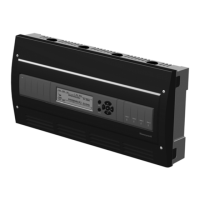
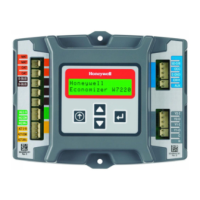
Details Alerton VIP-363-HOA and VIP-363-VAV controller capabilities and network protocols.

I/O Expansion Modules

Lists supported VXIO expansion modules for VIP-363-HOA and VIP-363-VAV controllers.

Mounting Instructions

DIN Rail Mounting

Procedure for mounting VIP and VXIO modules vertically or horizontally on a standard DIN rail.

Removing from DIN Rail

Step-by-step instructions for detaching modules from the DIN rail.

Power Requirements and Consumption

Power Specifications

Details 24 VAC half-wave power needs from UL Listed Class 2 transformers and wiring polarity.

Power Consumption Table

Lists VA ratings for VIP and VXIO modules; total must not exceed 100 VA.

Wiring and Connections

Grounding Guidelines

Instructions for connecting EGND and COM to a ground point on the transformer's secondary side.

Inputs and Outputs

Describes universal inputs, binary outputs, and universal inputs/outputs.

Terminal Block Wiring

Step-by-step guide for terminating cables using removable terminal blocks.

Network and Communication Setup

Ethernet Connections

Details the VIP controller's four-port Ethernet switch and RJ-45 jack pin assignments.

MS/TP Connection

Instructions for connecting to BACnet MS/TP LAN, including cabling and termination requirements.

Disposal and ESD Precautions

Information on WEEE Directive disposal and handling sensitive components to prevent ESD.

Compliance and Notices

Canadian Conformance

Digital apparatus compliance statements for CAN ICES-3 (B)/NMB-3 (B).

FCC Notice

FCC compliance statements regarding radio frequency energy and potential interference.

Related product manuals