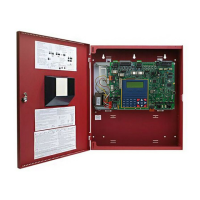
AQ250 SERIES HYDRONIC CONTROL PANELS
7 68-0306—05
Fig. 6. Strap-on temperature sensor installation.
IMPORTANT
Do not run sensor wires parallel, or close, to
telephone, Ethernet, or power cables. Cross all
power, Ethernet, and telephone wiring at right angles.
If sensor wires are located in an area with strong
sources of electromagnetic interference, or EMI, (e.g.,
if sensor wires are run in the same electrical chase as
line voltage wiring) use twisted pair, shielded cable, or
run wires in a grounded metal conduit.
This is important because the calculated temperature
- based on the sensor's resistance reading - can be
distorted by high EMI, potentially causing the AQ250
to not operate properly.
If using shielded cable or conduit, connect the shield
wire to earth ground only
at the AQ250 panel. Do not
ground the shield or conduit at any other location or
electromagnetic shielding will be ineffective. If
shielded cable is used, Honeywell recommends the
use of shielded cable with a continuous ground plane,
such as foil, with an integral drain wire for bonding to
earth ground.
System Demands Wiring
HEAT DEMAND
Wire the Heat Demand (terminals 7 and 8) to a system setpoint
demand (dry contact closure), such as a pool or spa
Aquastat®.
DOMESTIC HOT WATER (OPTIONAL)
If used, wire the DHW (terminals 9 and 10) to the Aquastat or
thermostat on the domestic hot water tank.
DHW priority allows only DHW heat for the first 30 minutes of a
call for DHW and then allows the space heating needs to be
added in for the next 30 minutes. This cycle continues until the
call for DHW is satisfied.
NOTE: If the AQ panel is to be connected to a modulating
condensing boiler with built-in DHW management, it
is recommended to use an AQ25A or AQ251 control.
If using an AQ250 panel, it is necessary to install
DPST (Double pole, single throw) relay to close the
DHW Demand on the boiler and the DHW Demand
on the AQ panel based on a call from the DHW
Aquastat.
Low Voltage Outputs Wiring
BOILER
Wire the Boiler dry contact output (terminals 11 and 12) to the
T-T terminals on the boiler Aquastat or the boiler's control
panel. See Fig. 14 on page 11 for wiring connections to a
typical boiler Aquastat.
It is not necessary to use the T-T terminals if connecting to a
Triple Aquastat, since the signal to the Aquastat is received
from the ZR/ZC terminals. See Fig. 14 and Fig. 15 beginning
on page 11 for line voltage connection to boiler Aquastats.
These contacts are made any time the system has a request
for boiler operation. When this occurs, the system’s primary
boiler pump comes on.
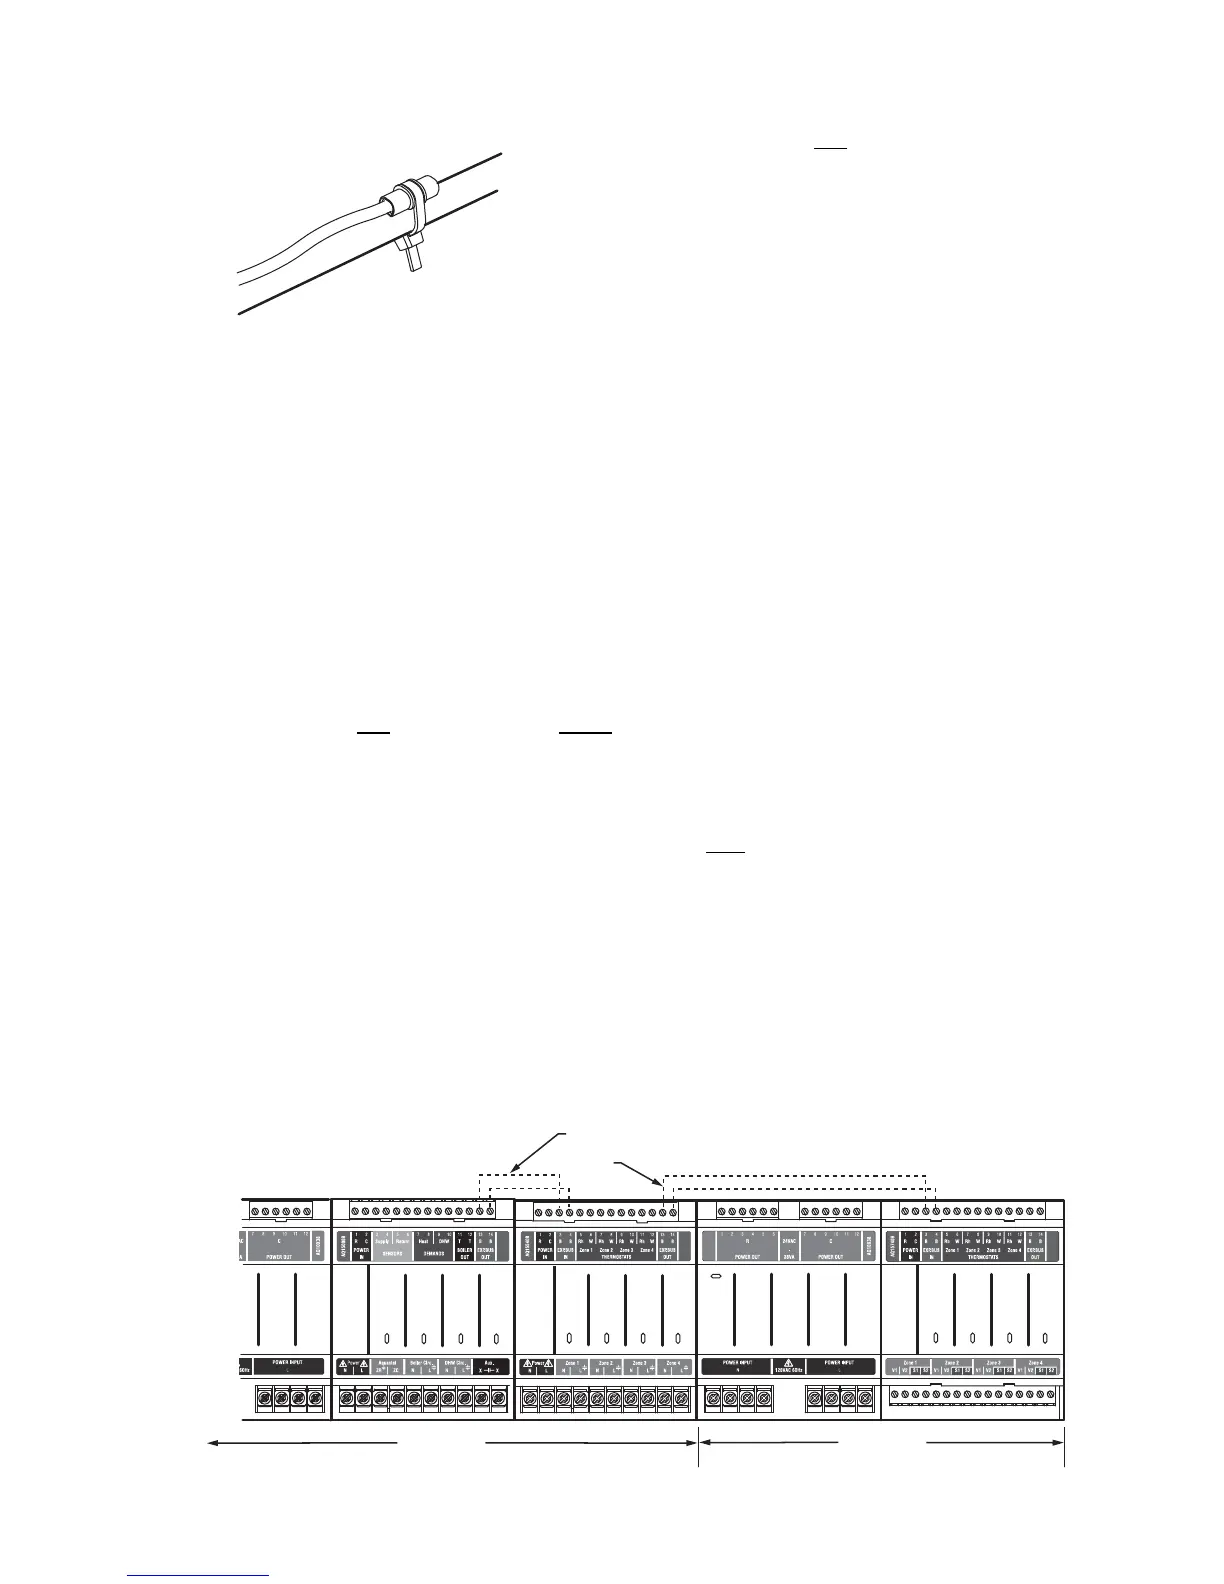
Communication Bus Wiring
All AQ2000 components communicate with each other on the
AQUATROL network using communication bus wiring. This
wiring must
connect all AQ2000 components. Otherwise,
features that depend on this networked communication (e.g.,
zone synchronization) will not function.
The communication bus wiring is polarity insensitive. The
installer does not need to worry about a +ve or –ve orientation
of the wires. If there are two wires connected between the B-B
Bus Exp. In on one module and B-B Bus Exp. Out on another
module, there will be communication. See example in Fig. 7 for
how this wiring is to be installed.
The communication bus connections for AQ250 Control
Panels are pre-wired at the factory.
Fig. 7. Wiring for communication bus.
Zone 1
Zone 2
Zone 3
Zone 4
ZR
Boiler
DHW
Aux
Zone 1
Zone 2
Zone 3
Zone 4
DATA BUS
COMMUNICATION
WIRING
M29036A
AQ25744B
AQ25042B
 Loading...