69-1631—1 4
Step 2. Remove Old Thermostat
Fig. 2. a. Turn off power to the heating/cooling system, either at the
furnace or at the fuse/circuit breaker panel.
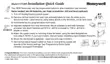
b. Remove the cover of your old thermostat (Fig. 2).
c. Unscrew and remove the old thermostat’s mounting plate
from the wall, but do not disconnect the wires.
d. Inspect the old thermostat wiring. If wiring meets any of
the following conditions, see special wiring instruc-
tions section after Step 7.
Fig. 3. • The old thermostat is a clock thermostat with wires attached
to the C or C1 terminals.
• The old thermostat has six or more wires, excluding wires
attached to C or C1 terminals.
• The old thermostat has three wires.
• There are five wires connected to the old thermostat.
• There are extra wires that are not connected to the old
thermostat.
e. Using enclosed labels, mark wires with letter of terminal it is
attached to on the old thermostat (Fig. 3). Do not label
using colors. If labels do not match letters on old thermostat
terminals, see wiring cross reference table in Special Wiring
Instructions section.
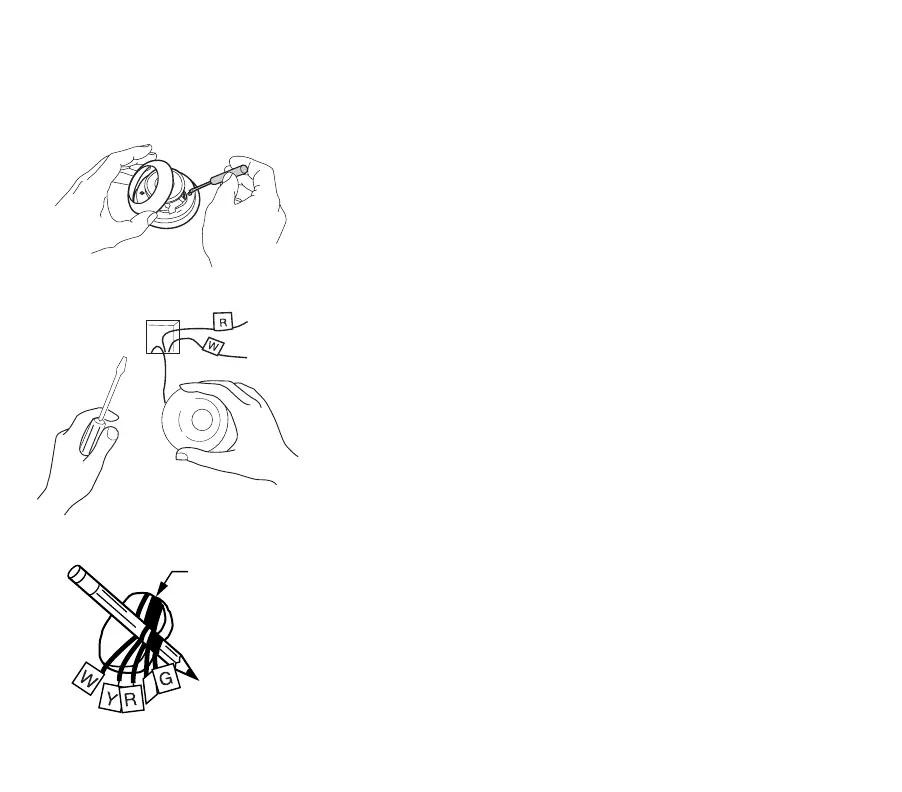
Fig. 4. f. Disconnect the wires from the old thermostat and wrap the
wires around a pencil to keep them from falling back into the
wall.
NOTE: Remember, if your old thermostat contains mercury,
you must recycle it. See Mercury Notice for more
recycling information.
✓Check your progress
Your wall should now look like Fig. 4.
M2014
M19086
WIRES THROUG
WALL OPENING
M20133
 Loading...