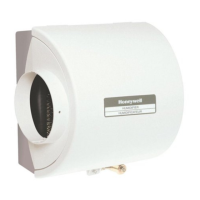
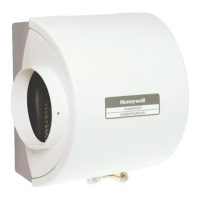
HE240, HE280 HUMIDIFIER AND INSTALLATION KIT
69-2686EF—01 8
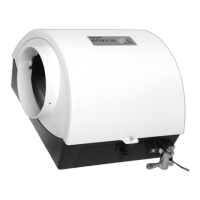
7. Make sure the humidifier housing is
level, then position it in the opening
so the plastic tabs are in place on the
lower sheet metal edge of the open-
ing. Use pliers, as necessary, to flat-
ten cut edges. See Fig. 5.
8. Secure the humidifier housing to the
opening at the top and bottom using
sheet metal screws.
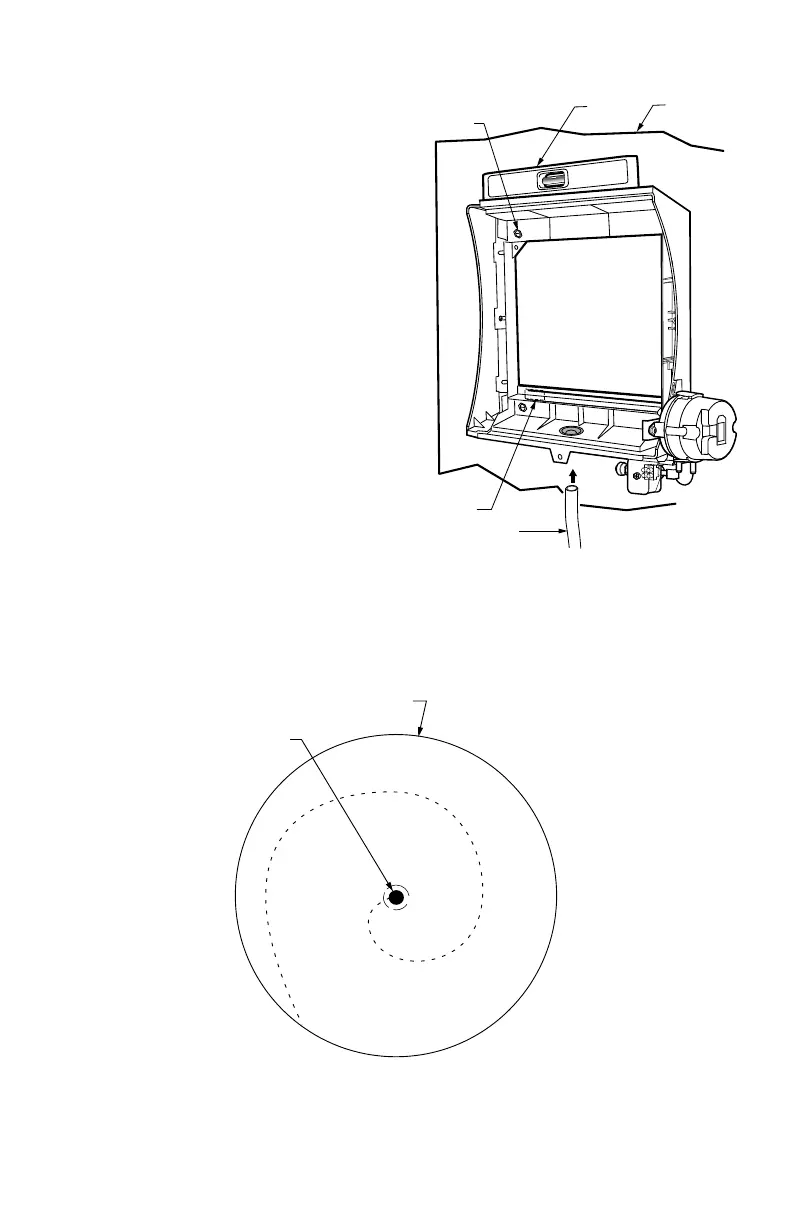
9. Use the 6 in. (155 mm) starter collar
as a template to mark the opening for
the bypass. The starter collar end
can be identified by the pliable metal
tabs.
Fig. 5. Installing humidifier on duct.
10. Carefully cut the opening for the 6 in. (155 mm) starter collar end of the 48 in.
(1.22 m) flex duct. See Fig. 6. Use a drill to start the cut in the middle of the cir-
cle. Cut in an outward spiral to assist in controlling the cut.
Fig. 6. Cutting bypass opening.
DUCT
LEVEL
SHEET METAL
SCREWS (4)
PLASTIC
TABS (2)
DRAIN TUBING
M33324
OPENING
TO AIR DUCT
STARTING
HOLE
6 IN. ROUND TEMPLATE
M20172
69-2686EF_A.book Page 8 Friday, March 9, 2012 11:37 AM
 Loading...