25
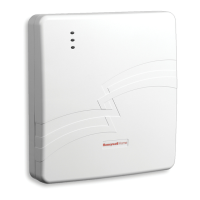
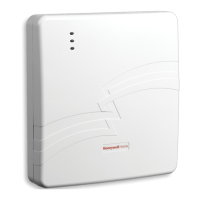
The wiring diagram below is depicted for point-to-point electrical connection checks used for troubleshooting or component
replacement. It is not intended to show the physical routing of wires. When replacing a wire or component, ensure the wire is
routed in the same manner as the original factory wire. (NOTE: Wire colors may vary.)
• All circuits are power limited except the backup battery which is non-power limited.
• Non-power limited wiring must be separated from the power limited wiring by at least 1/4 inch.
• If desired, use a Honeywell 955WH Tamper Switch with the 28-2 bracket.
 Loading...