4
DIRECTIONS:
1. Disconnect all power to control being replaced. Note
that more than one power supply disconnect may be
involved.
2. Remove old control from subbase.
3. Mark all wires on subbase; i.e., wires connected to
terminal 1 should be marked 1.
4. Disconnect wires from subbase.
5. Remove old subbase.
6. Mount Q7800 Subbase.
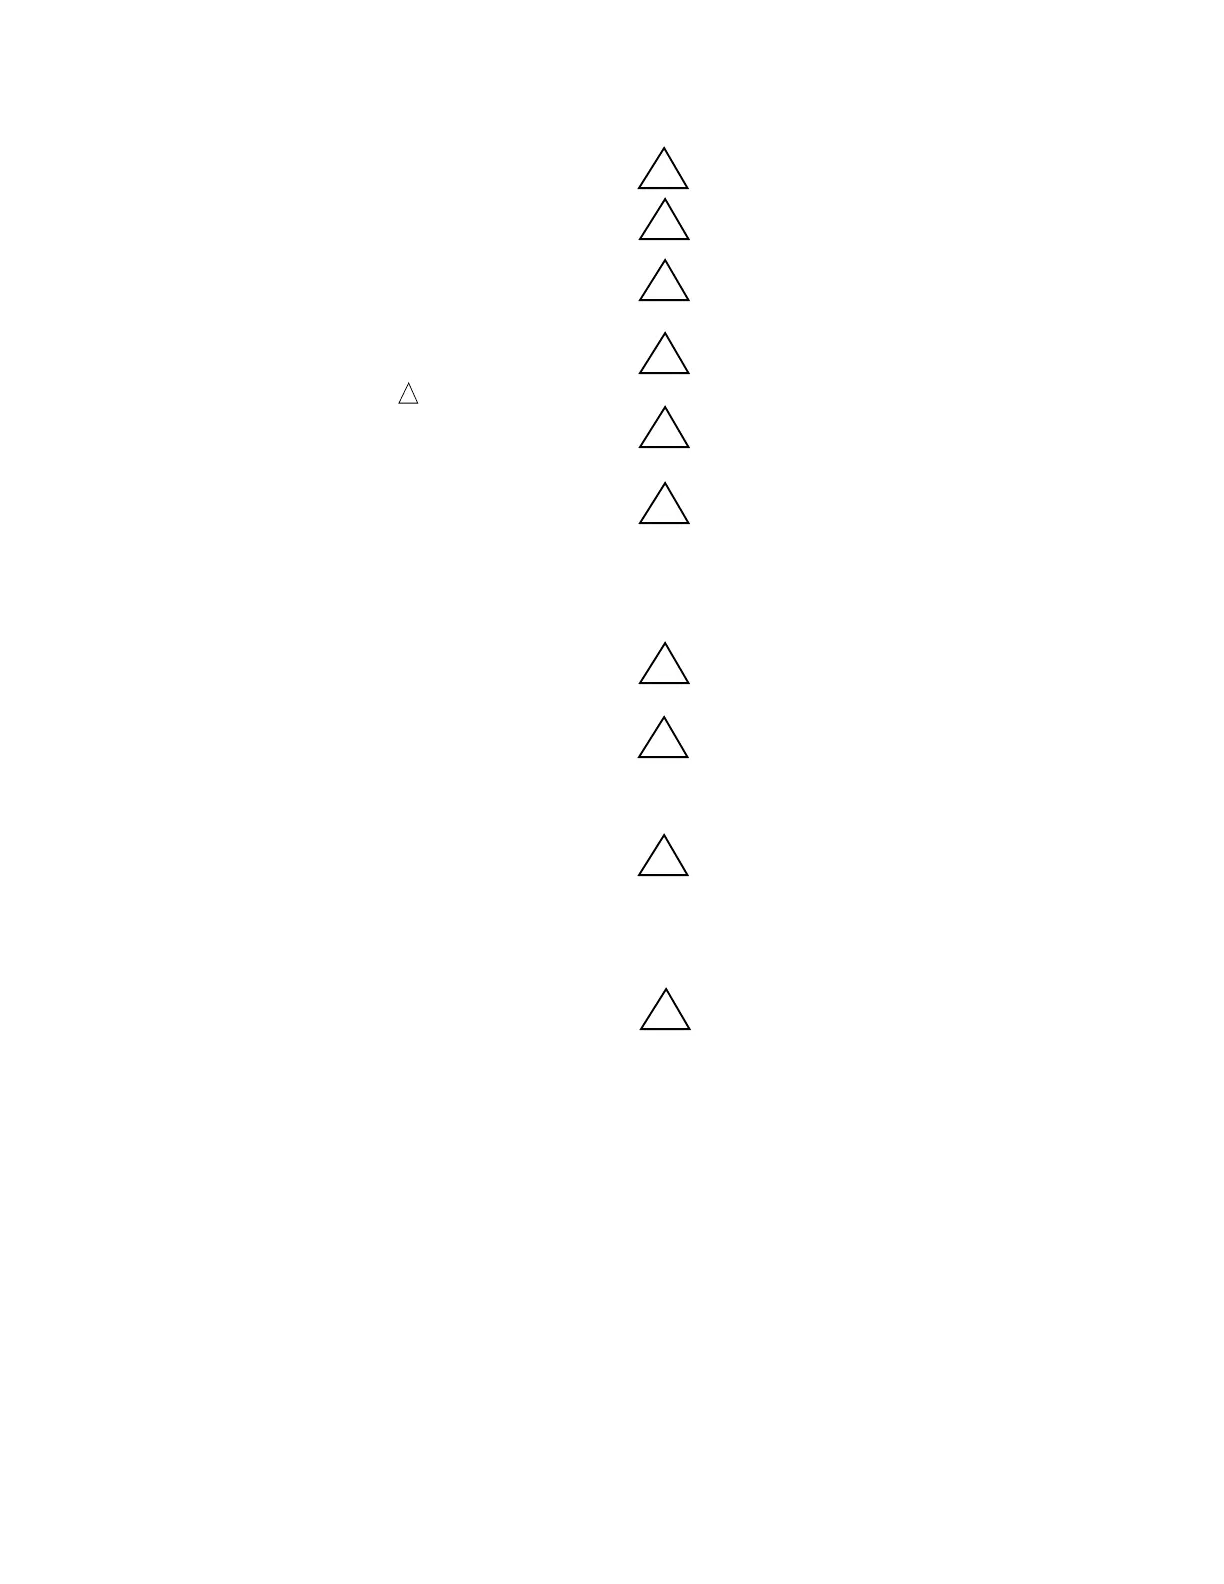
7. Connect wires to subbase according to wiring conver-
sion for control being replaced. Pay close attention to
footnotes. The triangle symbol
with a number or letter
inside designates a footnote.
8. Install the RM7838A control. Make sure the proper
ST7800 purge card and flame detector have been se-
lected for the application.
9. The RM7838A has one site configurable jumper option
that is used to select the Pilot Flame Establishing Period.
Refer to the RM7838A instructions, form 60-0108, for
assistance and proper selection.
10. Refer to the RM7838A instructions, form 60-0108, for
checkout and start-up.
GENERAL FOOTNOTES:
1 Be sure system is modernized to 120 Vac. The
replacement 7800 SERIES control is 120 Vac.
2 Select subbase.
3 The RM7838A cannot be wired for redundant appli-
cations without external relay logic to isolate the
safety critical loads test of the RM7838.
4 Select proper prepurge card based on the purge
timing of the control being replaced or the external
purge timer.
5 Select proper flame amplifier according to the
cross reference table or to meet the needs of the
application.
6 Select proper flame detector when converting from a
competitive control to Honeywell or if a different
flame detection system is desired; i.e., the old flame
amplifier was flame rectification and the new flame
amplifier is to be ultraviolet. Refer to the product
selection matrix on page 3 to select proper flame
detector.
7 Proper grounding of the green subbase terminal
screw to an electrical earth ground is a MUST for
proper operation of the 7800 SERIES control.
8 NOTE: UL allows only two electrical wires to each
subbase terminal. Wiring information may show
more than two wires to a particular terminal, which
may require an external connection to accomplish the
termination.
9 Select proper site configurable jumper configuration
as required by the application. Refer to the cross
reference table and to Specifications, form 65-0108.
NOTE: Jumper number 1 selects Pilot Flame
Establishing Period.
10 Do not use any unused subbase terminals as a wiring
junction or termination point.
1
 Loading...