RPLS530A/RPLS531A 1/6
RPLS530A/RPLS531A
Installation and User Guide
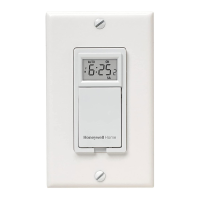
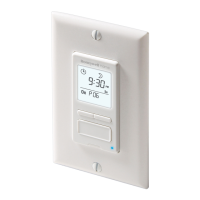
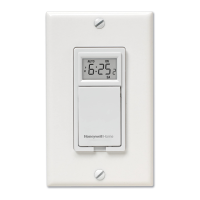
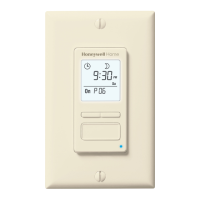
Programmable Wall Switch
The RPLS530A/RPLS531A switch can be used in a single-pole or 3-way
installation with the following types of lighting:
• Incandescent
• Halogen
• Low-voltage halogen with transformer
• Fluorescent
The
RPLS530A/RPLS531A
switch cannot be used with a load below 40
W, a load above 500 W or a motor.
Cut power at the circuit breaker to avoid electric shock.
Remove the existing switch. (For a 3-way installation, identify and
label the wire that is connected to the “common” screw.)
Install the new switch (refer to the appropriate section below).
Apply power at the circuit breaker.
SINGLE-POLE INSTALLATION
Connect wires "2" and "C" of the RPLS530A/RPLS531A to the line
(120 V) wire.
EXISTING 3-WAY INSTALLATION
Connect wire "C" of the RPLS530A/RPLS531A to the "common" wire,
identified when removing the old switch. Connect the other two
RPLS530A/RPLS531A wires to the two remaining wires.
At the other 3-way switch, connect the jumper wire between the "com-
mon" screw and the screw where wire "1" of the RPLS530A/RPLS531A
is connected.
NEW 3-WAY INSTALLATION
The jumper wire is not required in this installation. A single-pole switch
can be used as the other switch in a 3-way installation.
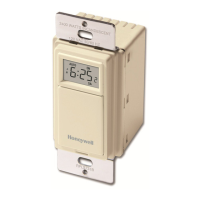
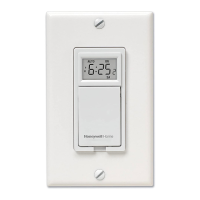
Pry the switch door open from the
bottom using a small screwdriver.
Ensure the ON/OFF selector is set to
ON.
Reset the switch using a paper clip.
0:00 and MO will flash.
If the display is blank:
• Ensure the ON/OFF selector is prop-
erly engaged in the ON position. Push it to the right using a small
screwdriver.
• If the programmable switch controls a lamp equipped with a built-in
On/Off switch, ensure the lamp switch is set to On.
• Ensure the light bulb is not burned out and is tightly screwed in its socket.
EXISTING 3-WAY INSTALLATION
If either switch does not work properly, rewire the jumper between the
"common" screw and the other screw.
WARNING: Before replacing the light bulb, place the ON/OFF selector in
the OFF position. Failure to do so might damage the switch.
NOTE: The switch displays the time in 24-hour format by default or fol-
lowing a reset.
To change to 12-hour format (or vice versa), proceed as follows:
a) Press one of the control buttons to ensure the MAN or AUTO
indicator is displayed.
b) Press the MIN and HOUR buttons simultaneously and brieftly
(0:00 display = 24-hour, 12:00 display = 12-hour ).
Set the time using the HOUR and MIN buttons. If you have selected
the 12-hour format, ensure that PM appears on the screen when an
afternoon time is displayed.
Set the day by using the DAY button.
Press one of the control buttons or close the switch door to return to
normal operation.
Applications
1.
Installation
2.
NOTE A:
The white wire is not the neutral wire but the wire going to the load.
Line
Neutral
See NOTE A
120 VAC
Line
Neutral
120 VAC
Red
120 VAC
Jumper
Red
3-wire cable
See NOTE A
Power-On
3.
Setting the Clock
4.
Control (4)
Reset
On/Off selector
http://waterheatertimer.org/Honeywell-timers.html