EasyManuals Logo

Honeywell RTH221B1021 Quick Installation Guide

Honeywell RTH221B1021
40 pages
To Next Page IconTo Next Page
To Previous Page IconTo Previous Page
Page #5 background imageLoading...
Page #5 background image
3 69-2448ES—03
RTH2300/RTH221
If any wires are not attached to your old thermostat or are
attached to a terminal marked C or C1, they will not be
connected to your new thermostat. Wrap the bare metal
end of each of these wires with electrical tape, so it can-
not touch and short other wires.
Identify Wires
3
M29988
Disconnect wires and remove the old wallplate only after
all wires are labeled. Wrap the wires around a pencil to
prevent them from falling though the wall opening.
Do not use non-connected
wires.
Do not use C or C1 wires.
Identify and label each wire.
IGNORE WIRE COLORS:
Use terminal screw
designations to identify
wires.

Other manuals for Honeywell RTH221B1021

Questions and Answers:

Question and Answer IconNeed help?

Do you have a question about the Honeywell RTH221B1021 and is the answer not in the manual?
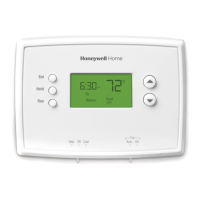
Honeywell RTH221B1021 Specifications

General IconGeneral
TypeNon-programmable
DisplayDigital
Power SourceBattery
Temperature Control Range40°F to 90°F (4°C to 32°C)
Stages1 Heat/1 Cool
Voltage24V
BacklightNo
CompatibilitySingle-stage heating and cooling systems

Related product manuals