Contents [ hide
1 Installation is Easy
2 Identify System Type
3 Remove Old Thermostat
4 Identify Wires
5 Mount New Wallplate
6 Connect Wires (typical wiring)
7 Connect Wires (less common
wiring)
8 Specify Furnace Type
9 Install Batteries
10 Install thermostat
11 System Setup
12 Customer Support
13 File Downloads
14 Related Manuals
Installation is Easy
Your new thermostat has been designed for fast and easy installation. Just follow the simple step-by-step instructions in
the following pages.
1. Identify your system type.
2. Remove your old thermostat.
3. Identify the wires.
4. Mount the new wallplate.
5. Connect the wires.
6. If the wire labels don’t match.
7. Specify the furnace type.
8. Install the batteries.
9. Install the thermostat.
10. Set the system.
Identify System Type
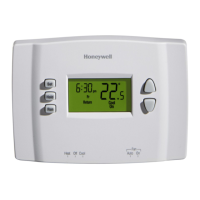
This thermostat is compatible with the following systems:
Gas, oil or electric furnace
Central air conditioner
a hot water system with or without pump
a millivolt system
a central heating and cooling system
If you are not sure of your system type or if you have any other questions, call us toll-free at 1-800-468-1502.
This thermostat is not compatible with heat pumps or multi-stage systems.
Remove Old Thermostat
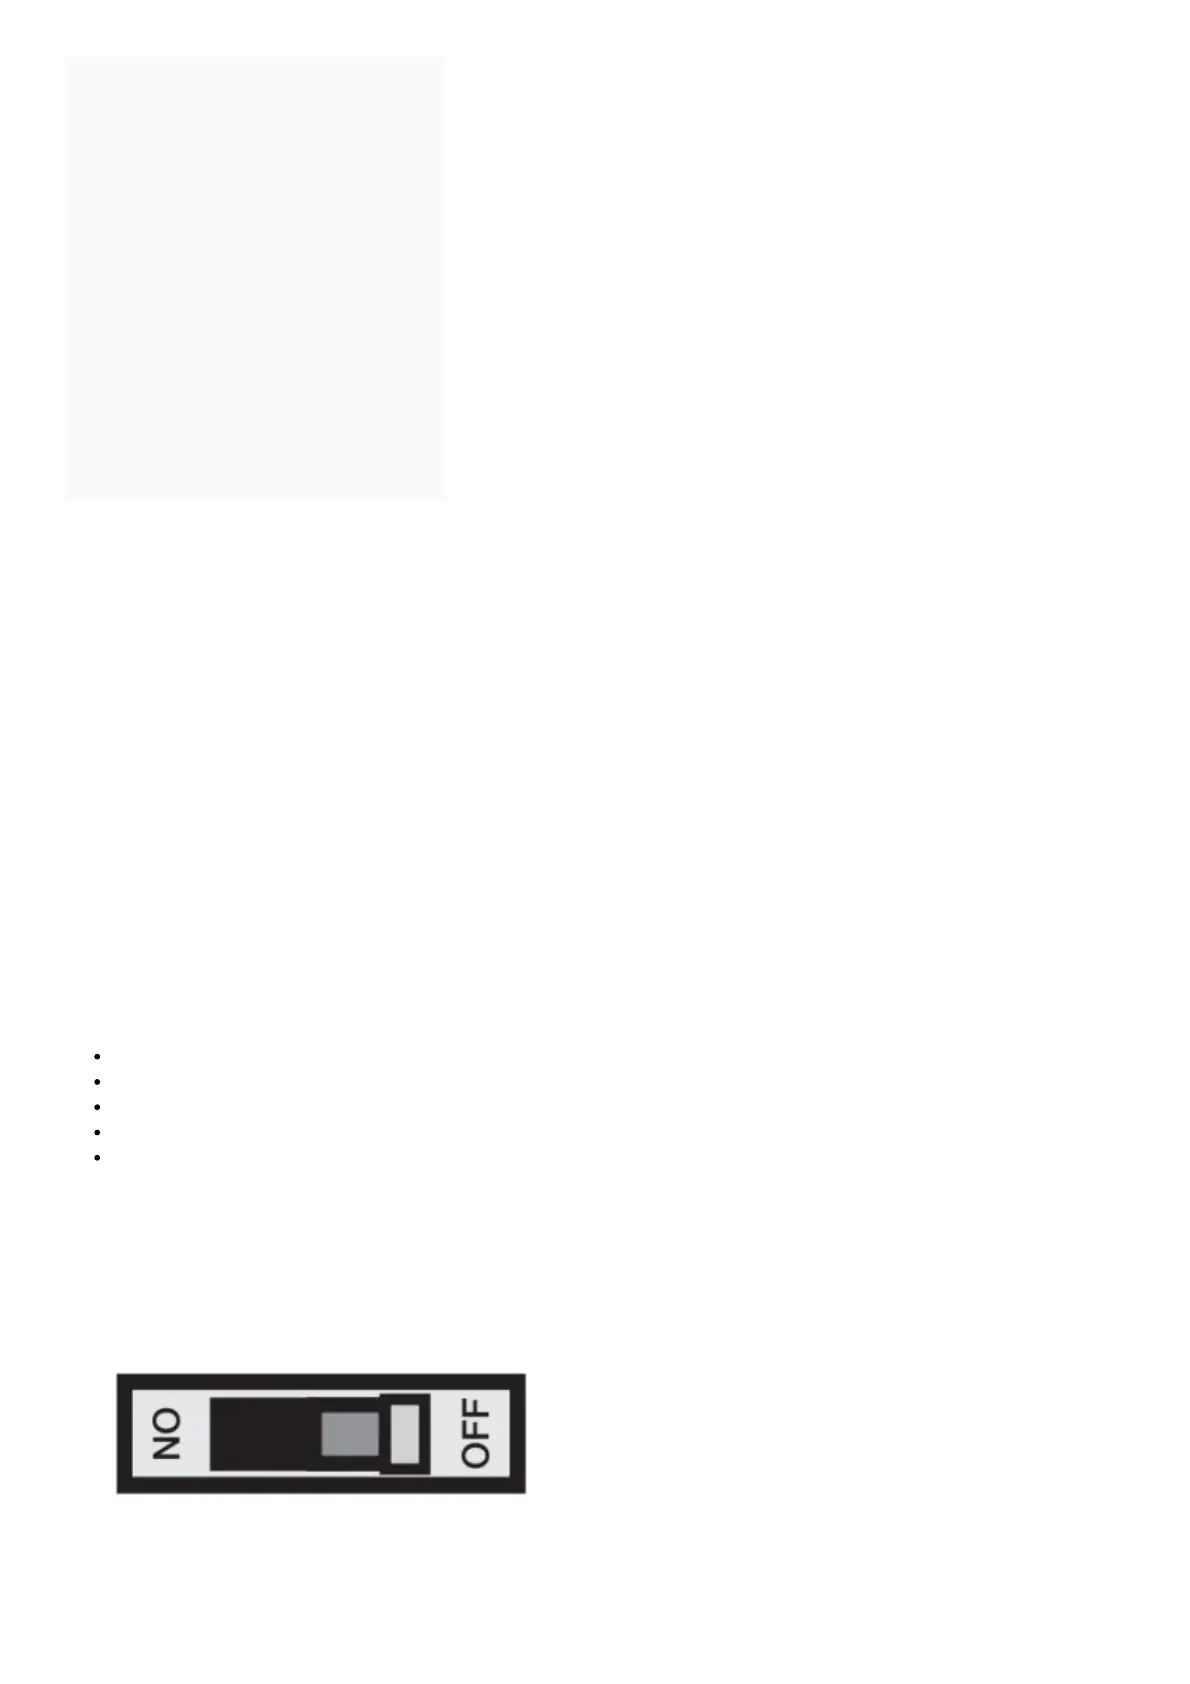
1. Turn power off at the heating/cooling system.
2. Remove old thermostat, but leave wallplate with wires attached.
Do not remove wallplate yet.

 Loading...