EasyManuals Logo

Honeywell RTH2510 Series Quick Installation Guide

Honeywell RTH2510 Series
60 pages
To Next Page IconTo Next Page
To Previous Page IconTo Previous Page
Page #24 background imageLoading...
Page #24 background image
Advanced Installation Guide
69-2602EF 01 22
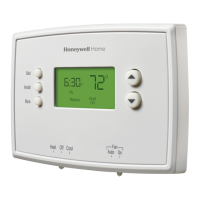
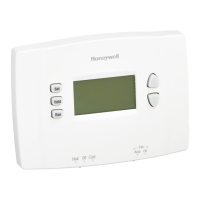
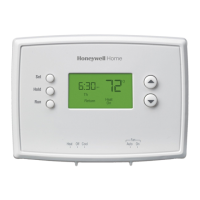
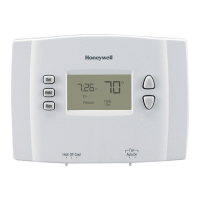
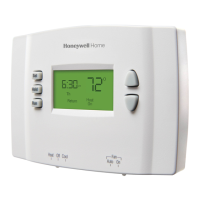
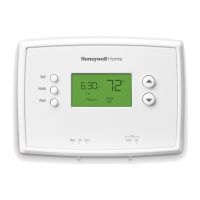
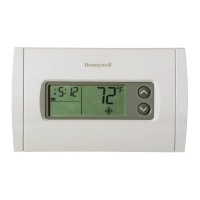
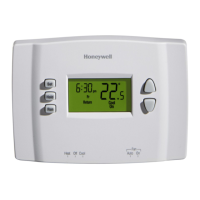
About your new thermostat
SETUPWIRINGASSISTANCETROUBLESHOOTING
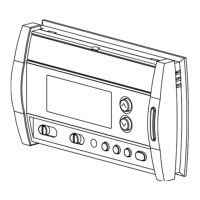
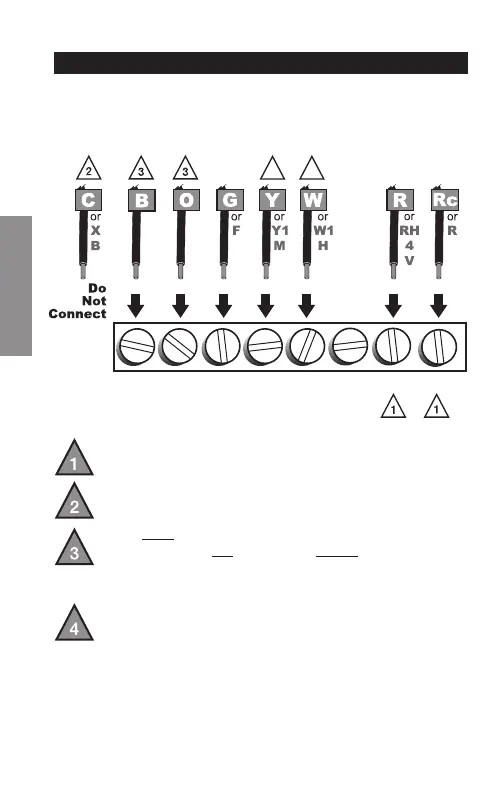
If labels do not match letters on the thermostat, check the
chart below and connect to terminal as shown here (see
notes, below).
Wiring—Conventional System
If wires will be connected to both R and Rc terminals,
remove metal jumper (see page 6).
Do not use C or X. Wrap bare end of wire with
electrical tape.
If you have a heat pump without auxiliary/backup heat
connect O or B, not both. If you do not have a heat
pump, do not connect B. Wrap bare end of wire with
electrical tape.
Place a jumper (piece of wire) between Y and W/Aux
if you are using a heat pump without auxiliary/backup
heat.
B O G Y
W/
AUX
NOT
USED
R Rc
M32726
44

Other manuals for Honeywell RTH2510 Series

Questions and Answers:

Question and Answer IconNeed help?

Do you have a question about the Honeywell RTH2510 Series and is the answer not in the manual?

Honeywell RTH2510 Series Specifications

General IconGeneral
Display TypeDigital
ProgrammableYes
Power SourceBattery
Battery TypeAA Alkaline
Number of Batteries2
Temperature ControlDigital
CompatibilitySingle Stage Heating and Cooling Systems
Stages1 Heat/1 Cool
Voltage24V
Temperature Range40°F to 90°F (4°C to 32°C)
Programming Options7-Day, 5-2 Day
DisplayBacklit
Weight0.5 lbs (227 g)

Related product manuals