EasyManuals Logo

Honeywell RTH7400 series Quick Installation Guide

Honeywell RTH7400 series
60 pages
To Next Page IconTo Next Page
To Previous Page IconTo Previous Page
Page #23 background imageLoading...
Page #23 background image
RTH7400/RTH7500 Series
21 69-2487EF—01
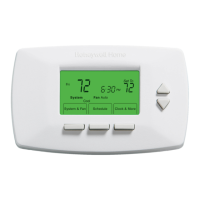
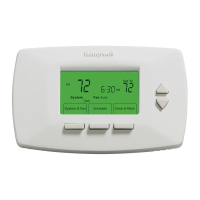
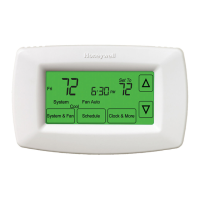
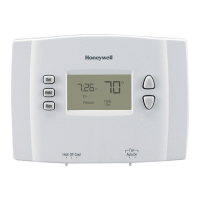
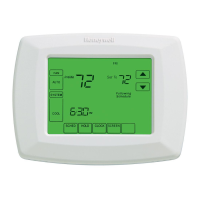
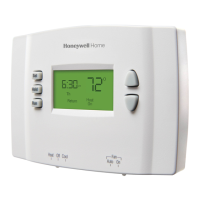
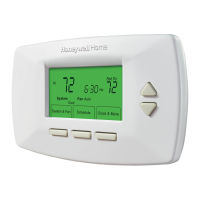
About your new thermostat
SETUP WIRING ASSISTANCE TROUBLESHOOTING
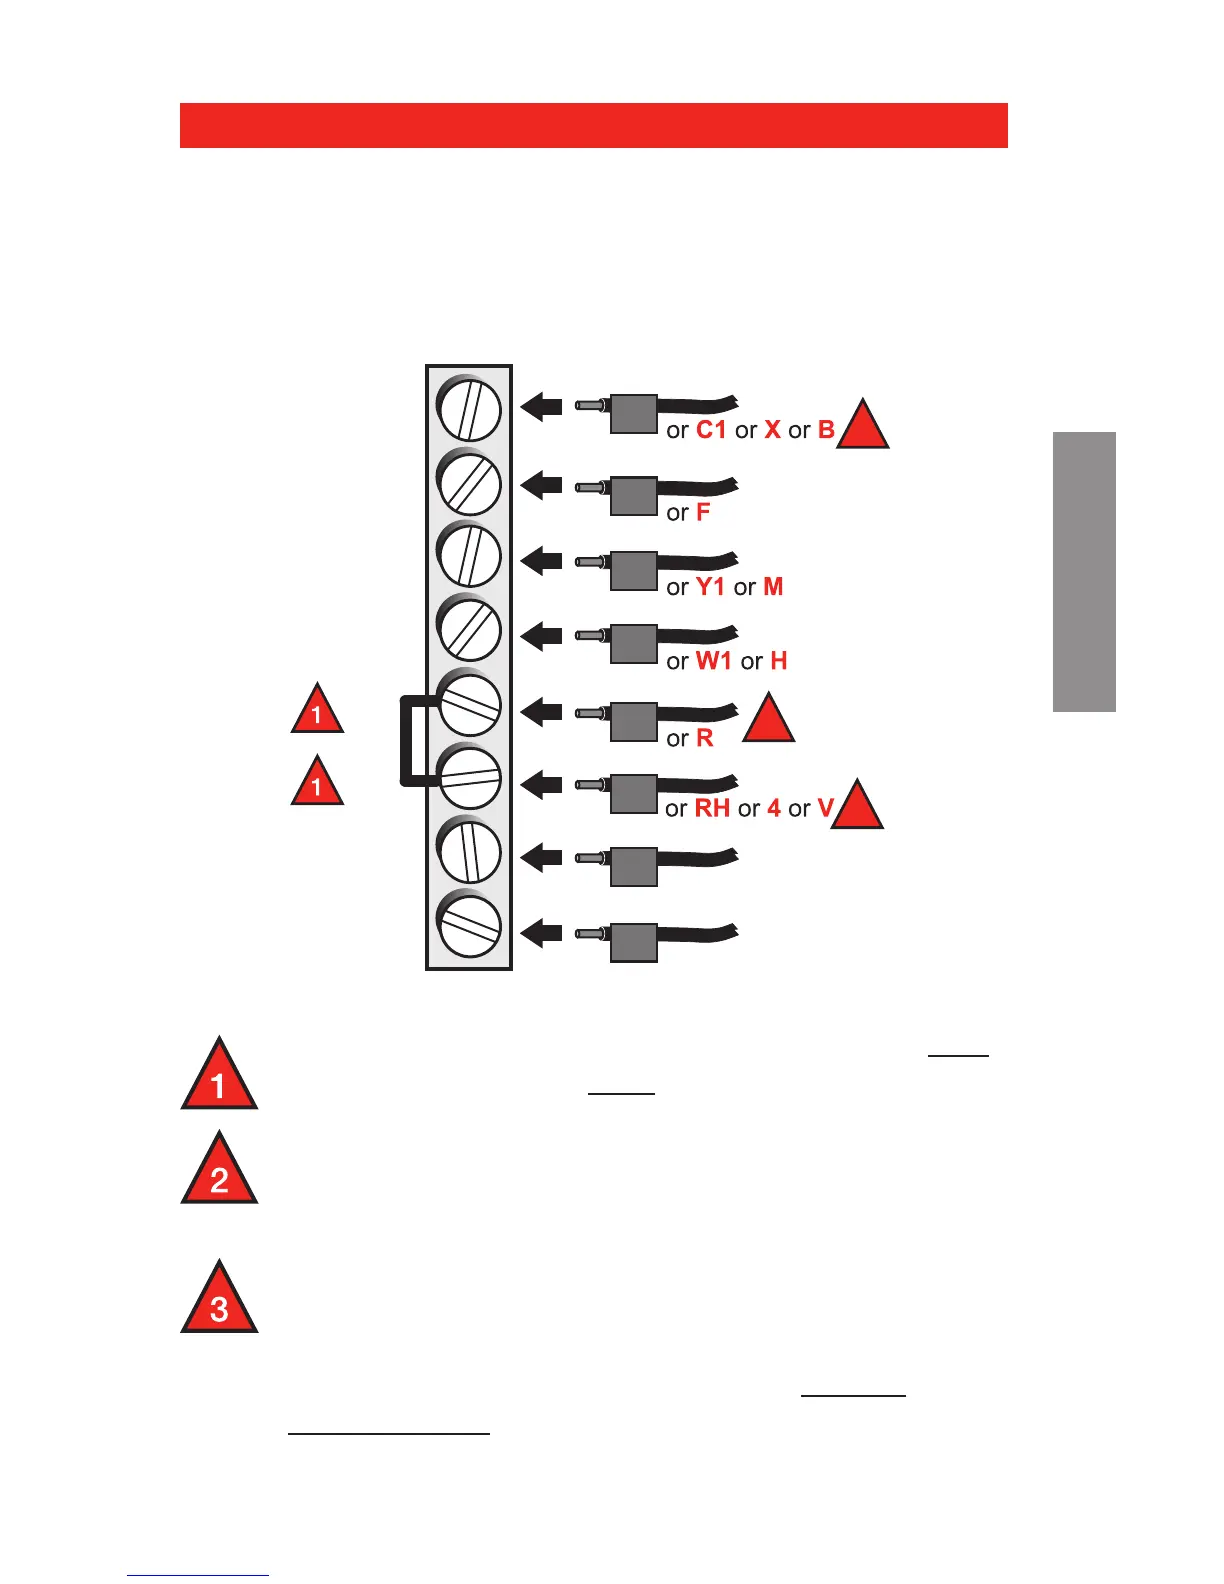
Remove metal jumper connecting R and Rc only
if you must connect both R and Rc wires.
If your old thermostat had both R and RH wires,
remove metal jumper. Connect the R wire to the
Rc terminal, and the RH wire to the R terminal.
If your old thermostat had only 1 C or C1
wire, connect it to the C terminal. If your old
thermostat had 2 C or C1 wires, wrap each
separately with electrical tape and do not
connect them.
Wiringconventional system
Alternate wiring (conventional systems)
If labels do not match terminals, connect wires as
shown here (see notes, below).
C
G
Y
W
RC
R
W2
Y2
Y2
W2
W
Y
G
MCR32160
R
2
Rc
2
C
3

Other manuals for Honeywell RTH7400 series

Questions and Answers:

Question and Answer IconNeed help?

Do you have a question about the Honeywell RTH7400 series and is the answer not in the manual?

Honeywell RTH7400 series Specifications

General IconGeneral
Display TypeDigital
ProgrammableYes
Program Periods Per Day4
Wi-Fi ConnectivityNo
Programmability7-Day
Voltage24V
BacklightYes
Power SourceBattery
BatteryAA
Temperature Range40°F - 90°F

Related product manuals