Do you have a question about the Honeywell RTH8500WF Wi-Fi Series and is the answer not in the manual?
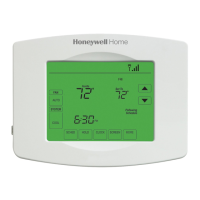
| Wi-Fi Connectivity | Yes |
|---|---|
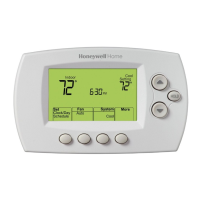
| Display | Touchscreen |
| Programmability | 7-Day Programmable |
| Operating Modes | Heat, Cool, Auto, Off |
| Type | Smart Thermostat |
| Compatibility | Heating and Cooling Systems |
| Temperature Range | 40°F to 90°F |
| Mobile App | Honeywell Home App |
| Voice Control | Works with Amazon Alexa, Google Assistant |
| Power Source | 24 VAC (C-wire required for continuous power) |
| Stages | Up to 2 Heat / 2 Cool |
| Fan Modes | Auto, On, Circulate |
| Remote Access | Yes |
| Alerts | High/low temperature alerts, filter change reminders |
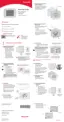
Protect equipment by turning off power at the breaker box or system switch.
Take a picture of wire connections before disconnecting. Check for C wire availability.
Use supplied tags to label wires according to old terminal designations, not wire color.
Detach the old wallplate from the wall after all wires are labeled and disconnected.
Gently pull the thermostat unit away from its wallplate using the designated finger holds.
Secure the new wallplate using provided screws and anchors, checking alignment.
Match wire tags to terminal labels, insert wires securely, and verify connections.
Insert the coin cell battery observing polarity for time/date backup during power outages.
Align and snap the thermostat unit onto the mounted wallplate.
Verify C wire, secure system door, then restore power at the breaker or power switch.
Adjust the displayed time and date using up/down buttons for accurate operation.
Set the correct system type for proper thermostat function and to prevent damage.
Engage the SYSTEM button to test heating or cooling functions and confirm system readiness.
Use a tablet, laptop, or smartphone to connect to the thermostat's temporary Wi-Fi network.
Access setup page via browser, select home network, and enter credentials to connect.
Verify the thermostat displays a successful connection status to your home Wi-Fi network.
Go to the specified website to begin the registration process for remote thermostat access.
Log in to an existing account or create a new one, following on-screen and email prompts.
Enter thermostat's MAC ID and MAC CRC from the ID card for successful remote access registration.