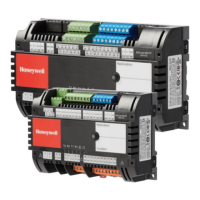
SPYDER® LON PROGRAMMABLE, VAV/UNITARY CONTROLLERS
Automation and Control Solutions
Honeywell International Inc. Honeywell Limited-Honeywell Limitée
1985 Douglas Drive North 35 Dynamic Drive
Golden Valley, MN 55422 Toronto, Ontario M1V 4Z9
customer.honeywell.com
® U.S. Registered Trademark
© 2009 Honeywell International Inc.
62-0287—03 K.K. 02-09
LON®, LONTALK®, LONWORKS®, and NEURON® are registered trademarks of Echelon® Corporation.
L
ONMARK® and the LonMark Logo are trademarks of the LonMark Association.
N
IAGARA FRAMEWORK® and the Niagara framework logo are registered trademarks of Tridium, Inc.
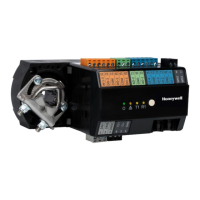
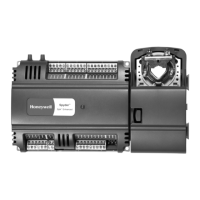
5. Mount the new controller and actuator assembly (see
“Installation” on page 2).
6. Reconnect the two air flow pickup tubes to the pressure
sensor (see “Piping (PVL0000AS, PVL4022AS,
PVL4024NS, PVL6436AS, and PVL6438NS)” on
page 5).
7. Replace the terminal blocks:
• Insert each terminal block onto its alignment pins.
• Press straight down to firmly seat it.
• Repeat for each terminal block.
8. Restore power to the controller.
9. Perform checkout.
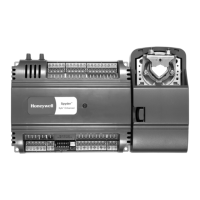
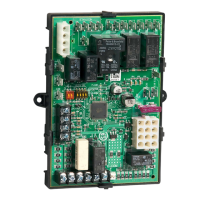
Controller Replacement (PVL4024NS and
PVL6438NS)
Perform the following to replace the PV4024NS and
PVL6438NS controllers:
1. Remove all power from the controller.
2. Remove the two air flow pickup connections from the
pressure sensor.
3. Remove the terminal blocks.
4. Remove the old controller from its mounting.
IMPORTANT
(FOR CONTROLLERS MOUNTED TO A DIN RAIL):
1. Push straight up from the bottom to release the top
pins.
2. Rotate the top of the controller outwards to release
the bottom flex connectors (see Fig. 8 on page 5).
5. Mount the new controller.
• see “Installation” on page 2
6. Reconnect the two air flow pickup tubes to the pressure
sensor (see “Piping (PVL0000AS, PVL4022AS,
PVL4024NS, PVL6436AS, and PVL6438NS)” on
page 5).
7. Replace the terminal blocks:
• Insert each terminal block onto its alignment pins.
• Press straight down to firmly seat it.
• Repeat for each terminal block.
8. Restore power to the controller.
9. Perform checkout.
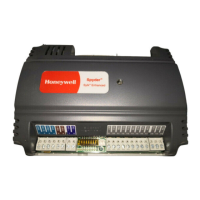
Controller Replacement (PUL1012S,
PUL4024S, and PUL6438S)
Perform the following to replace the PUL1012S, PUL4024S,
and PUL6438S controllers:
1. Remove all power from the controller.
2. Remove the terminal blocks.
3. Remove the old controller from its mounting.
IMPORTANT
(FOR CONTROLLERS MOUNTED TO A DIN RAIL):
1. Push straight up from the bottom to release the top
pins.
2. Rotate the top of the controller outwards to release
the bottom flex connectors (see Fig. 8 on page 5).
4. Mount the new controller (see “Installation” on page 2).
5. Replace the terminal blocks:
• Insert each terminal block onto its alignment pins.
• Press straight down to firmly seat it.
• Repeat for each terminal block.
6. Restore power to the controller.
7. Perform checkout.
By using this Honeywell literature, you agree that Honeywell will have
no liability for any damages arising out of your use or modification to,
the literature. You will defend and indemnify Honeywell, its affiliates
and subsidiaries, from and against any liability, cost, or damages,
including attorneys’ fees, arising out of, or resulting from, any
modification to the literature by you.
 Loading...